Whether it’s how to remove fake tan like a pro or apply false lashes with ease, According To A Millennial brings you expert advice, direct from the coolest beauty millennials.
Up until a couple of years ago, I hardly ever used to wear false lashes or DIY lash extensions. Tackling a pair of monstrous falsies before a night out would only end in me ruining my makeup, or, pending a rare successful lash application, leave me with a lash hanging halfway off my eye by 10pm.
Daytime lashes never even passed through my mind, with a strict 15 minute-or-less makeup routine involving a slick of mascara seeing me through most mornings.
That was until I discovered what can only be described as life-changing lashes.
The discovery came after getting lash extensions applied professionally for the first time, which I fell head over heels for.
While they looked fantastic, once they had fulfilled their lifespan and fallen out, they left me yearning for fluttery lashes once more. It was time to find an affordable alternative I could keep up at home…
Looking for more lash lessons? Right this way…
- Your ultimate guide to the best false eyelashes
- How to apply false eyelashes in 30 seconds according to a lash expert
- Mascara hacks: how to get clump-free, flake-free eyelashes every time
What are lash extensions?
For those that are venturing into the world of lash extensions for the first time, you’re in for a treat. Typically, getting your lashes done professionally involves a lash technician fusing individual lashes to your natural lashes with industrial-strength glue.
This gives them a lifespan of around 6 weeks before you need to get them done again, making them ideal for when you’re travelling away or have an event-packed month coming up.
I’m incredibly picky about where I go to get mine done, after all, your lashes are delicate and you should only put them in very trustworthy and capable hands. Edy London is my go-to lash technician as she gives me the exact natural, fluttery lashes that I’m looking for.
Can you apply lash extensions at home?
While there are many benefits to getting your lash extensions done professionally, it can be an expensive beauty habit to keep up.
So if you’re looking for an alternative in the cost of living crisis, there is a way to maintain fluttery lash extensions at home without having to become a fully-trained lash technician yourself.
Enter, DIY lash extensions: the at-home alternative to professional lash extensions that allow you to apply your own lashes in a matter of minutes and can last for up to a week.
Which are the best DIY lash extensions?
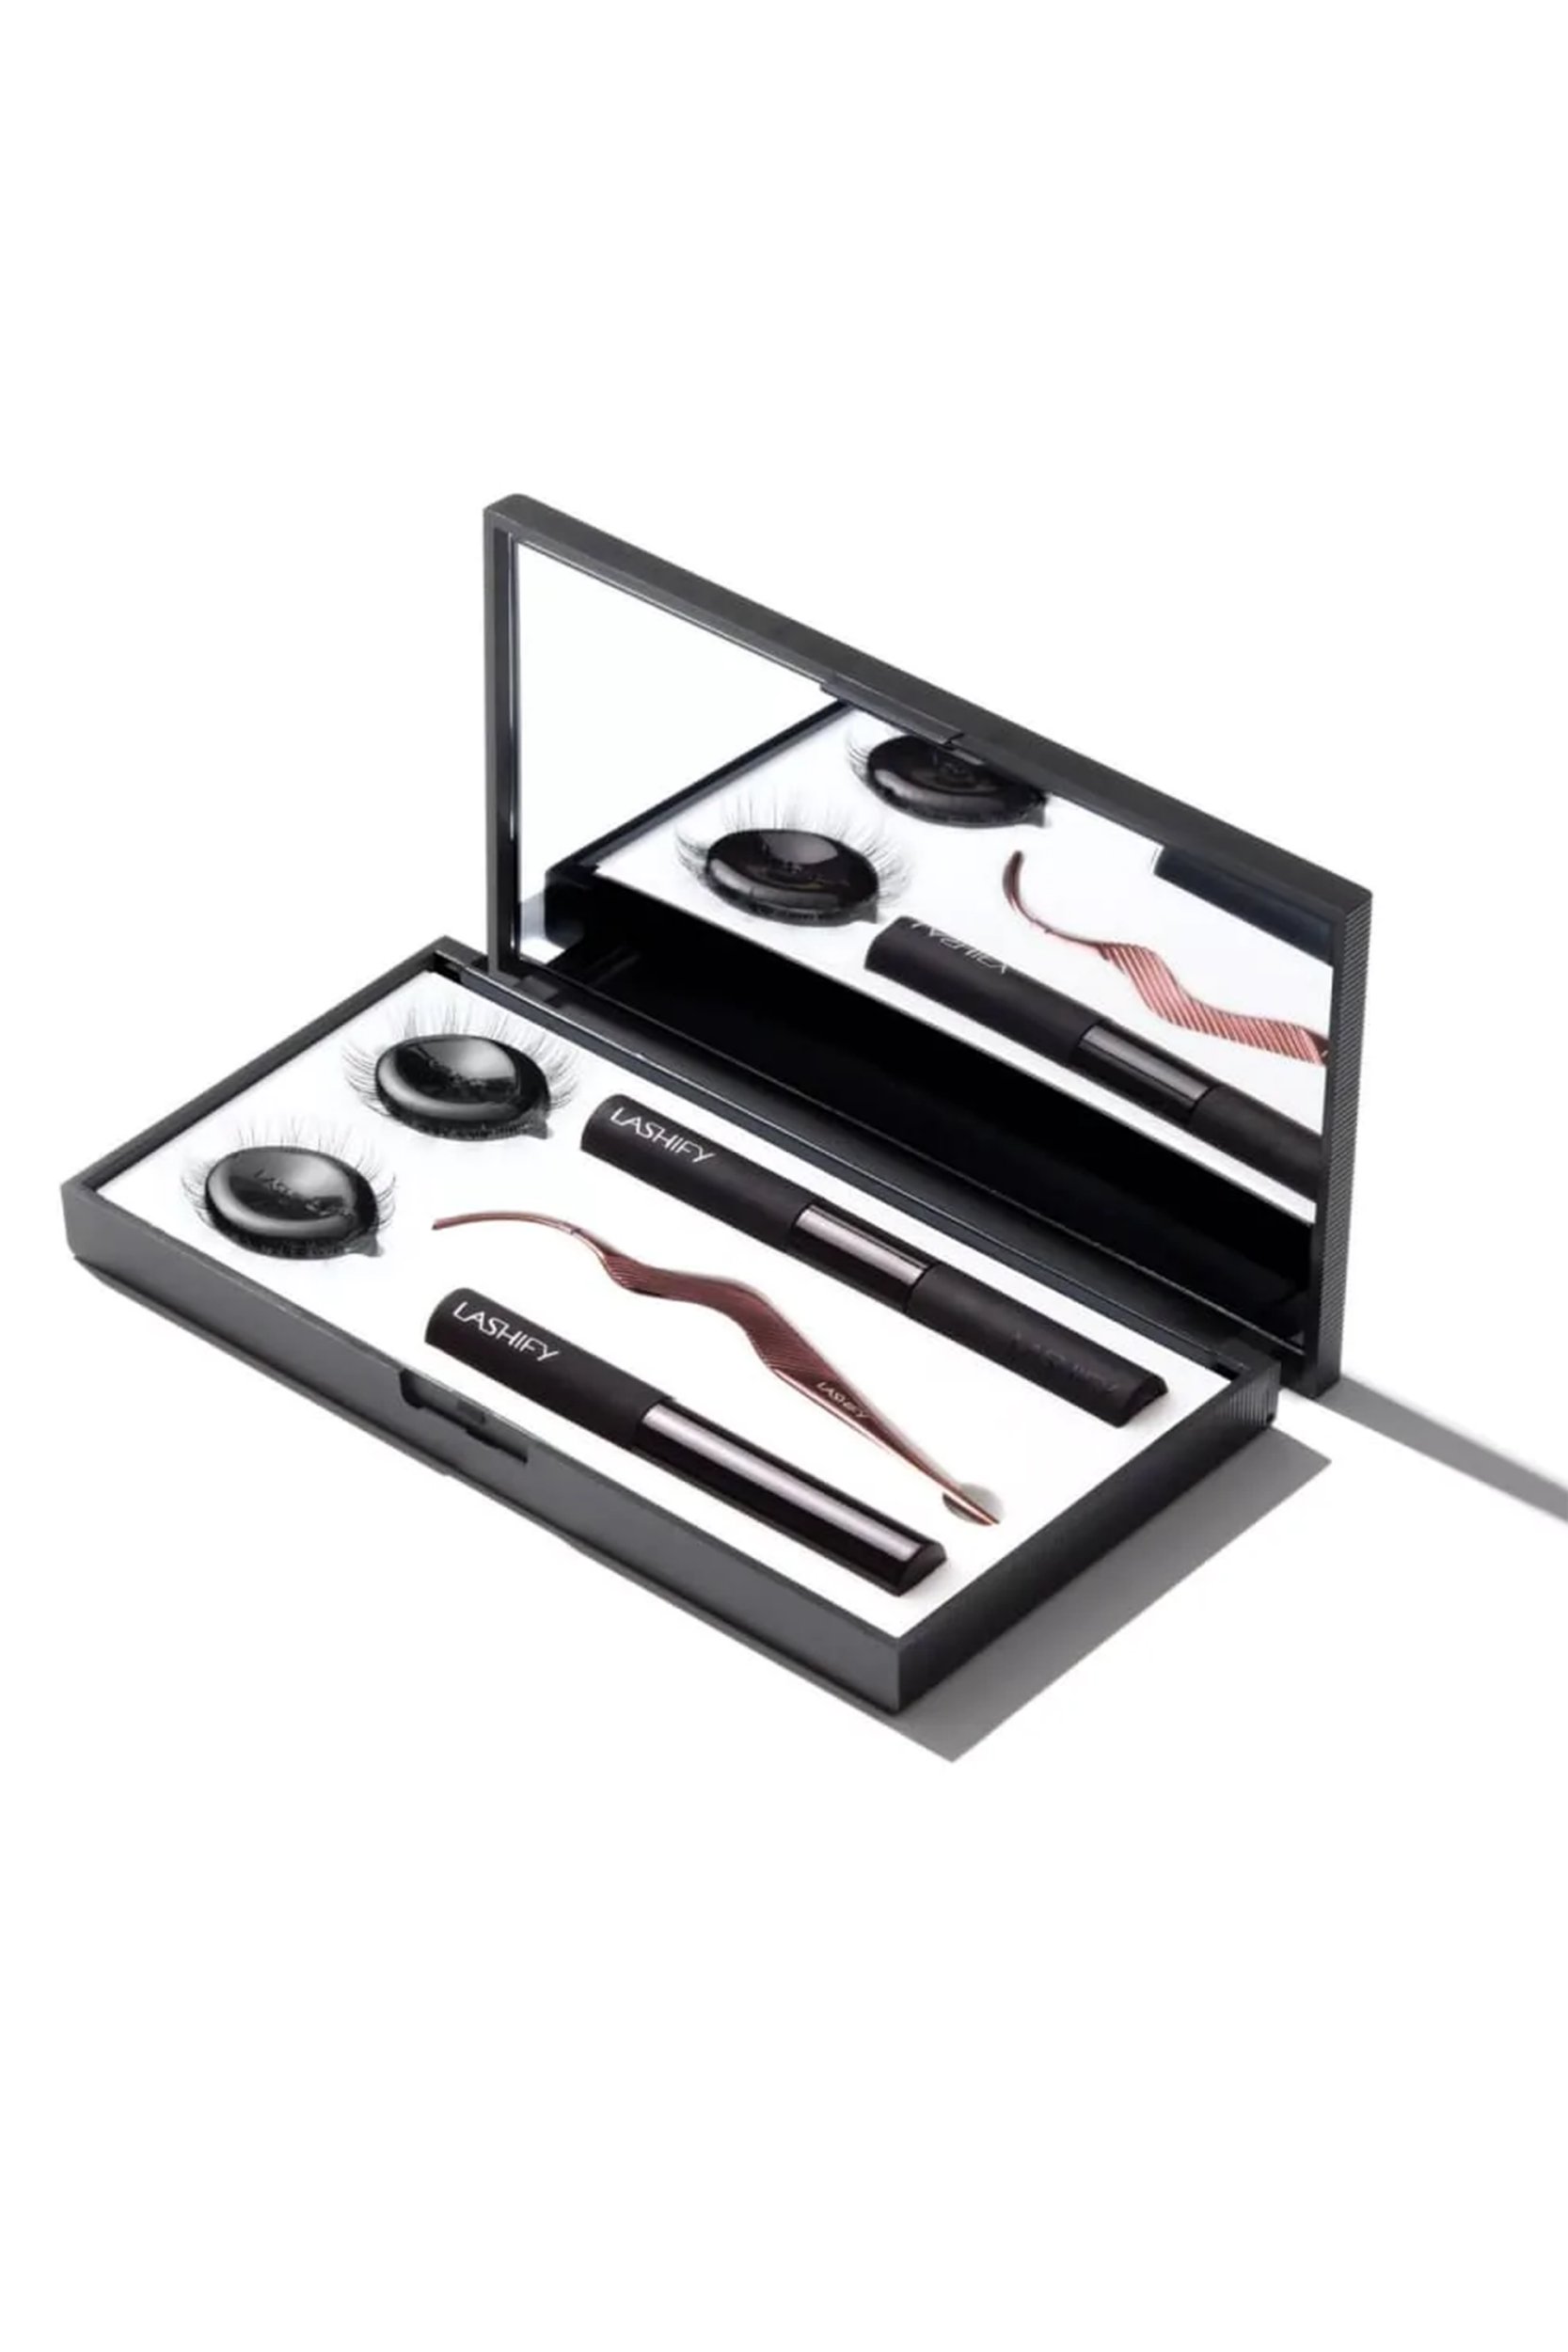
Lashify was the first DIY lash extension brand I tried, and the one which got me instantly hooked. For those that aren’t familiar with the brand, Lashify created one of the first lash-at-home systems, available as a starter kit in the Lashify Control Kit, £102, Lashify. This includes a glue or ‘bond,’ product, curved tweezers for precise application, a finishing coat or ‘sealer,’ and of course, the lashes.
While at first glance, these lashes look similar to the individual falsies you might be used to, there are a few big differences which converted me from a lash novice to a one-handed pro.
What are the benefits of at-home lash extensions?
Firstly, they’re a lot less fiddly than individual lashes, fitting two or three clumps to a band. They’re still a lot more flexible when it comes to tailoring to your eye shape (as opposed to strip bands which I found never fit my eye shape properly), and look incredibly natural.
I’ve also had no problem with Lashify causing damage to my natural lashes, and I’ve been wearing them back-to-back with no break in-between for over a year. Because the bond products aren’t as strong as the professional-grade glue used when you go to a lash technician, the lashes easily slide off with warm water or cleanser.
How long do Lashify lash extensions last?
If like me you’re a fan of beauty products that make life easier, perhaps the best part about Lashify lashes is the longevity. Where standard high-street lash glue only holds halfway through the evening, these at-home lash extensions have lasted me up to four days – while others I know have gotten over a week’s wear out of them.

As much as I love Lashify lashes, there’s no denying they’re an expensive habit. It is however cheaper over time than going for monthly lash extension appointments. The starter kit which I mentioned earlier is an investment but includes everything you need to get started, including two sets of lashes, and you’ll only need to purchase the starter kit once.
When you need to buy more lashes, prices start from £20.
Which are the best affordable DIY lash extensions?
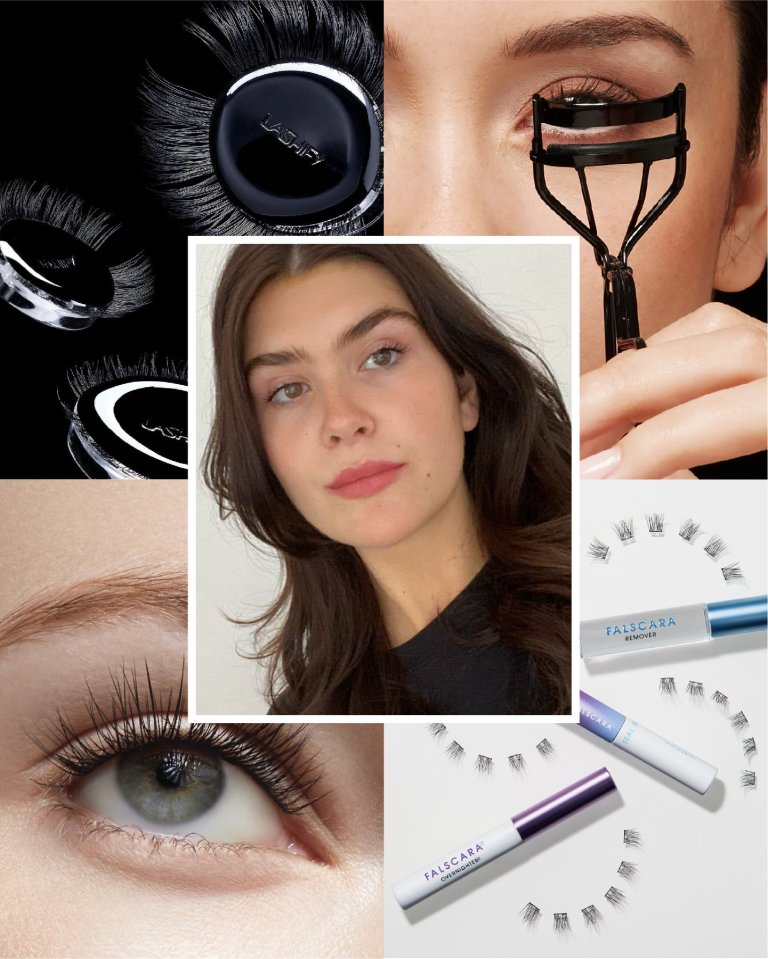
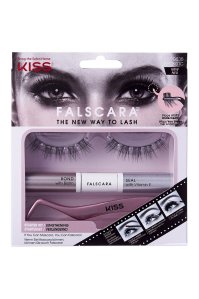
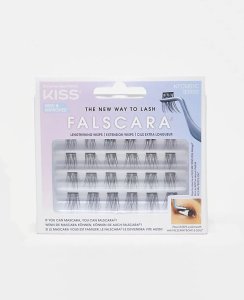
Thankfully, some more affordable alternatives have started coming through on the high street. Kiss Lashes has launched its Kiss Falscara Individual Lashes Starter Kit, £24.99, Look Fantastic, which is a pretty good dupe for Lashify’s kit. I showed how easy the application was in a video for our Instagram:
Kiss has three different types of Wisp lashes, with my favourite being the Kiss Falscara Eyelash in Wisp 01, £9.99, Superdrug, which gives a super natural, fluttery look.
Swipe and shop: DIY lash extensions
*Eliza may earn commission on sales from these product links
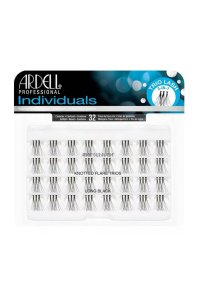
Ardell also has some great individual lashes at a fraction of the price; the Ardell Individual Eyelashes Knotted Flare Trios, £4.95, Sephora, are very similar to Lashify in terms of band size and come in different lengths too. I definitely recommend investing in the bond and sealant products from Lashify, but in terms of the lashes, the affordable alternatives are pretty good.
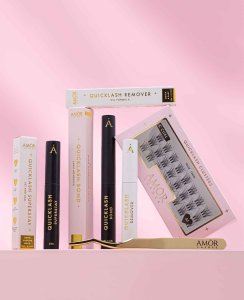
My most recent discovery, which has now become my favourite brand for DIY lashes, is Amor Lashes. Its QuickLash Starter Kit is £50, but is often on sale for around £30, and contains a set of QuickLash Clusters of your choice, a bond, sealant, remover and lash tweezers. The brand has a huge array of lashes in different styles and lengths starting at around £10, which is a great price considering how many you get in each pack and the high quality.
Swipe and shop: Amor Lashes
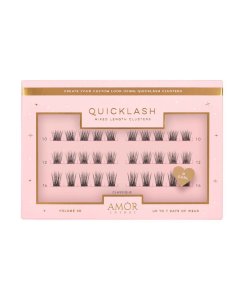
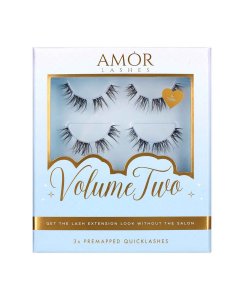
*Eliza may earn commission on sales from these product links
How to apply DIY lash extensions at home
Once you’ve got your hands on your lash extensions of choice, it’s time to get on with the application. I highly recommend laying everything out on a table or desk and sitting in front of a makeup vanity mirror as you’ll need to have a close-up view of what you’re doing.
The lashes can also be fiddly when getting them out of their packaging, so take these out before you get started, otherwise you might find the bond setting before you can get them on.
From there, take the bonding product (this usually has a thin mascara wand applicator) and brush through your lashes. You’ll want to do one or two coats, but avoid applying too many as you’ll find the formula will start to get tacky and make your lashes stick together. Rather than brushing all the way through, I tend to concentrate most of it at the base of the lashes to avoid clumping.
Taking your lash applicator tool, you’ll then want to pick up one of the individual lash bands. Finding the best way to hold it will take a bit of practice, but it’s best to grab the lashes somewhere from the middle to the tip to allow you to get the band into place.
Instead of applying on top of your lashes, the trick with at-home lash extensions is to apply underneath your lash line, which gives you a natural, blended finish. When placing each lash, try to get close to the water line, but keep in mind you shouldn’t feel the lash at all once it’s on, so if it’s uncomfortable, take it off and try again a little further back.
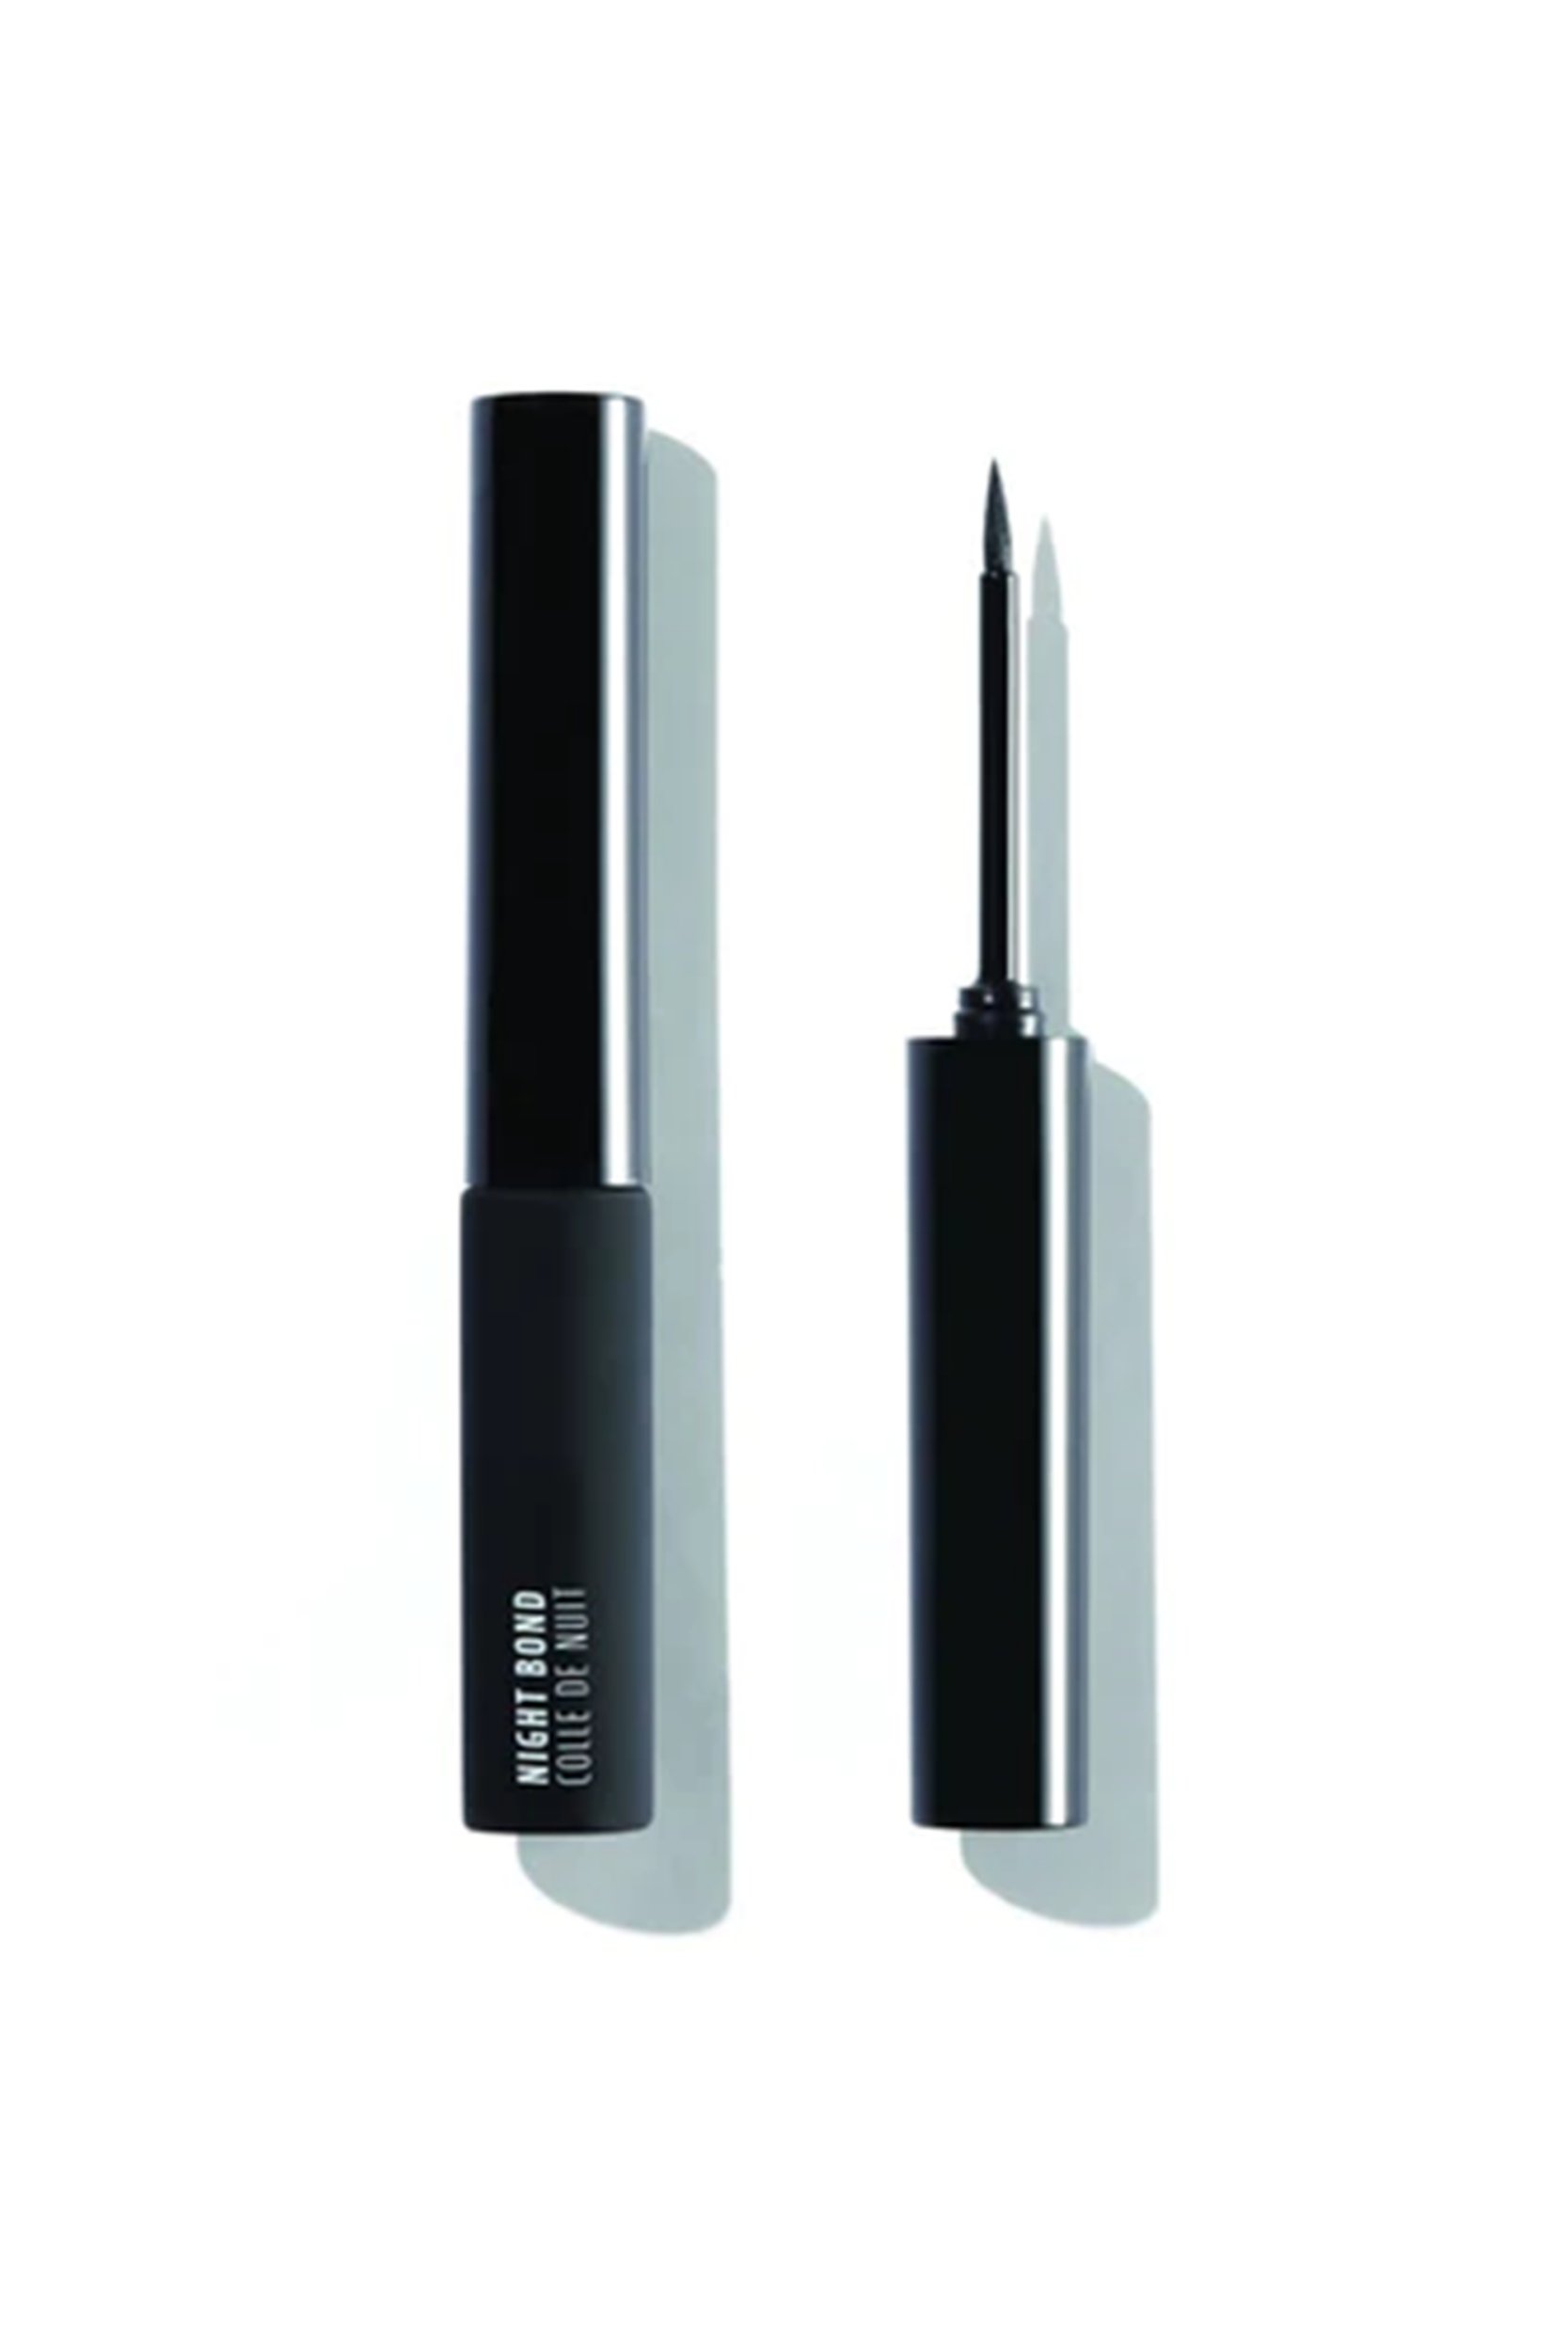
Once you’ve applied your lashes, it’s time for the sealant. Lashify and Kiss specify different waiting times before applying their sealing products and also offer different ones for longer-lasting results, such as Lashify’s Night Bond Sealer, £23, Lashify, but the main point is to seal the lashes in and extend their lifespan.
Et voilà! Say hello to your new, natural-looking, your-lashes-but-better look. Below, find some extra tips I’ve learned along the way to achieve the most seamless lash application.
Tip one: curl your lashes beforehand
It’s as simple as that really. I’m still taken aback when I meet people who say they don’t curl their lashes before they apply mascara, because it really does enhance the entire performance of the mascara, and the same goes for applying lash extensions.
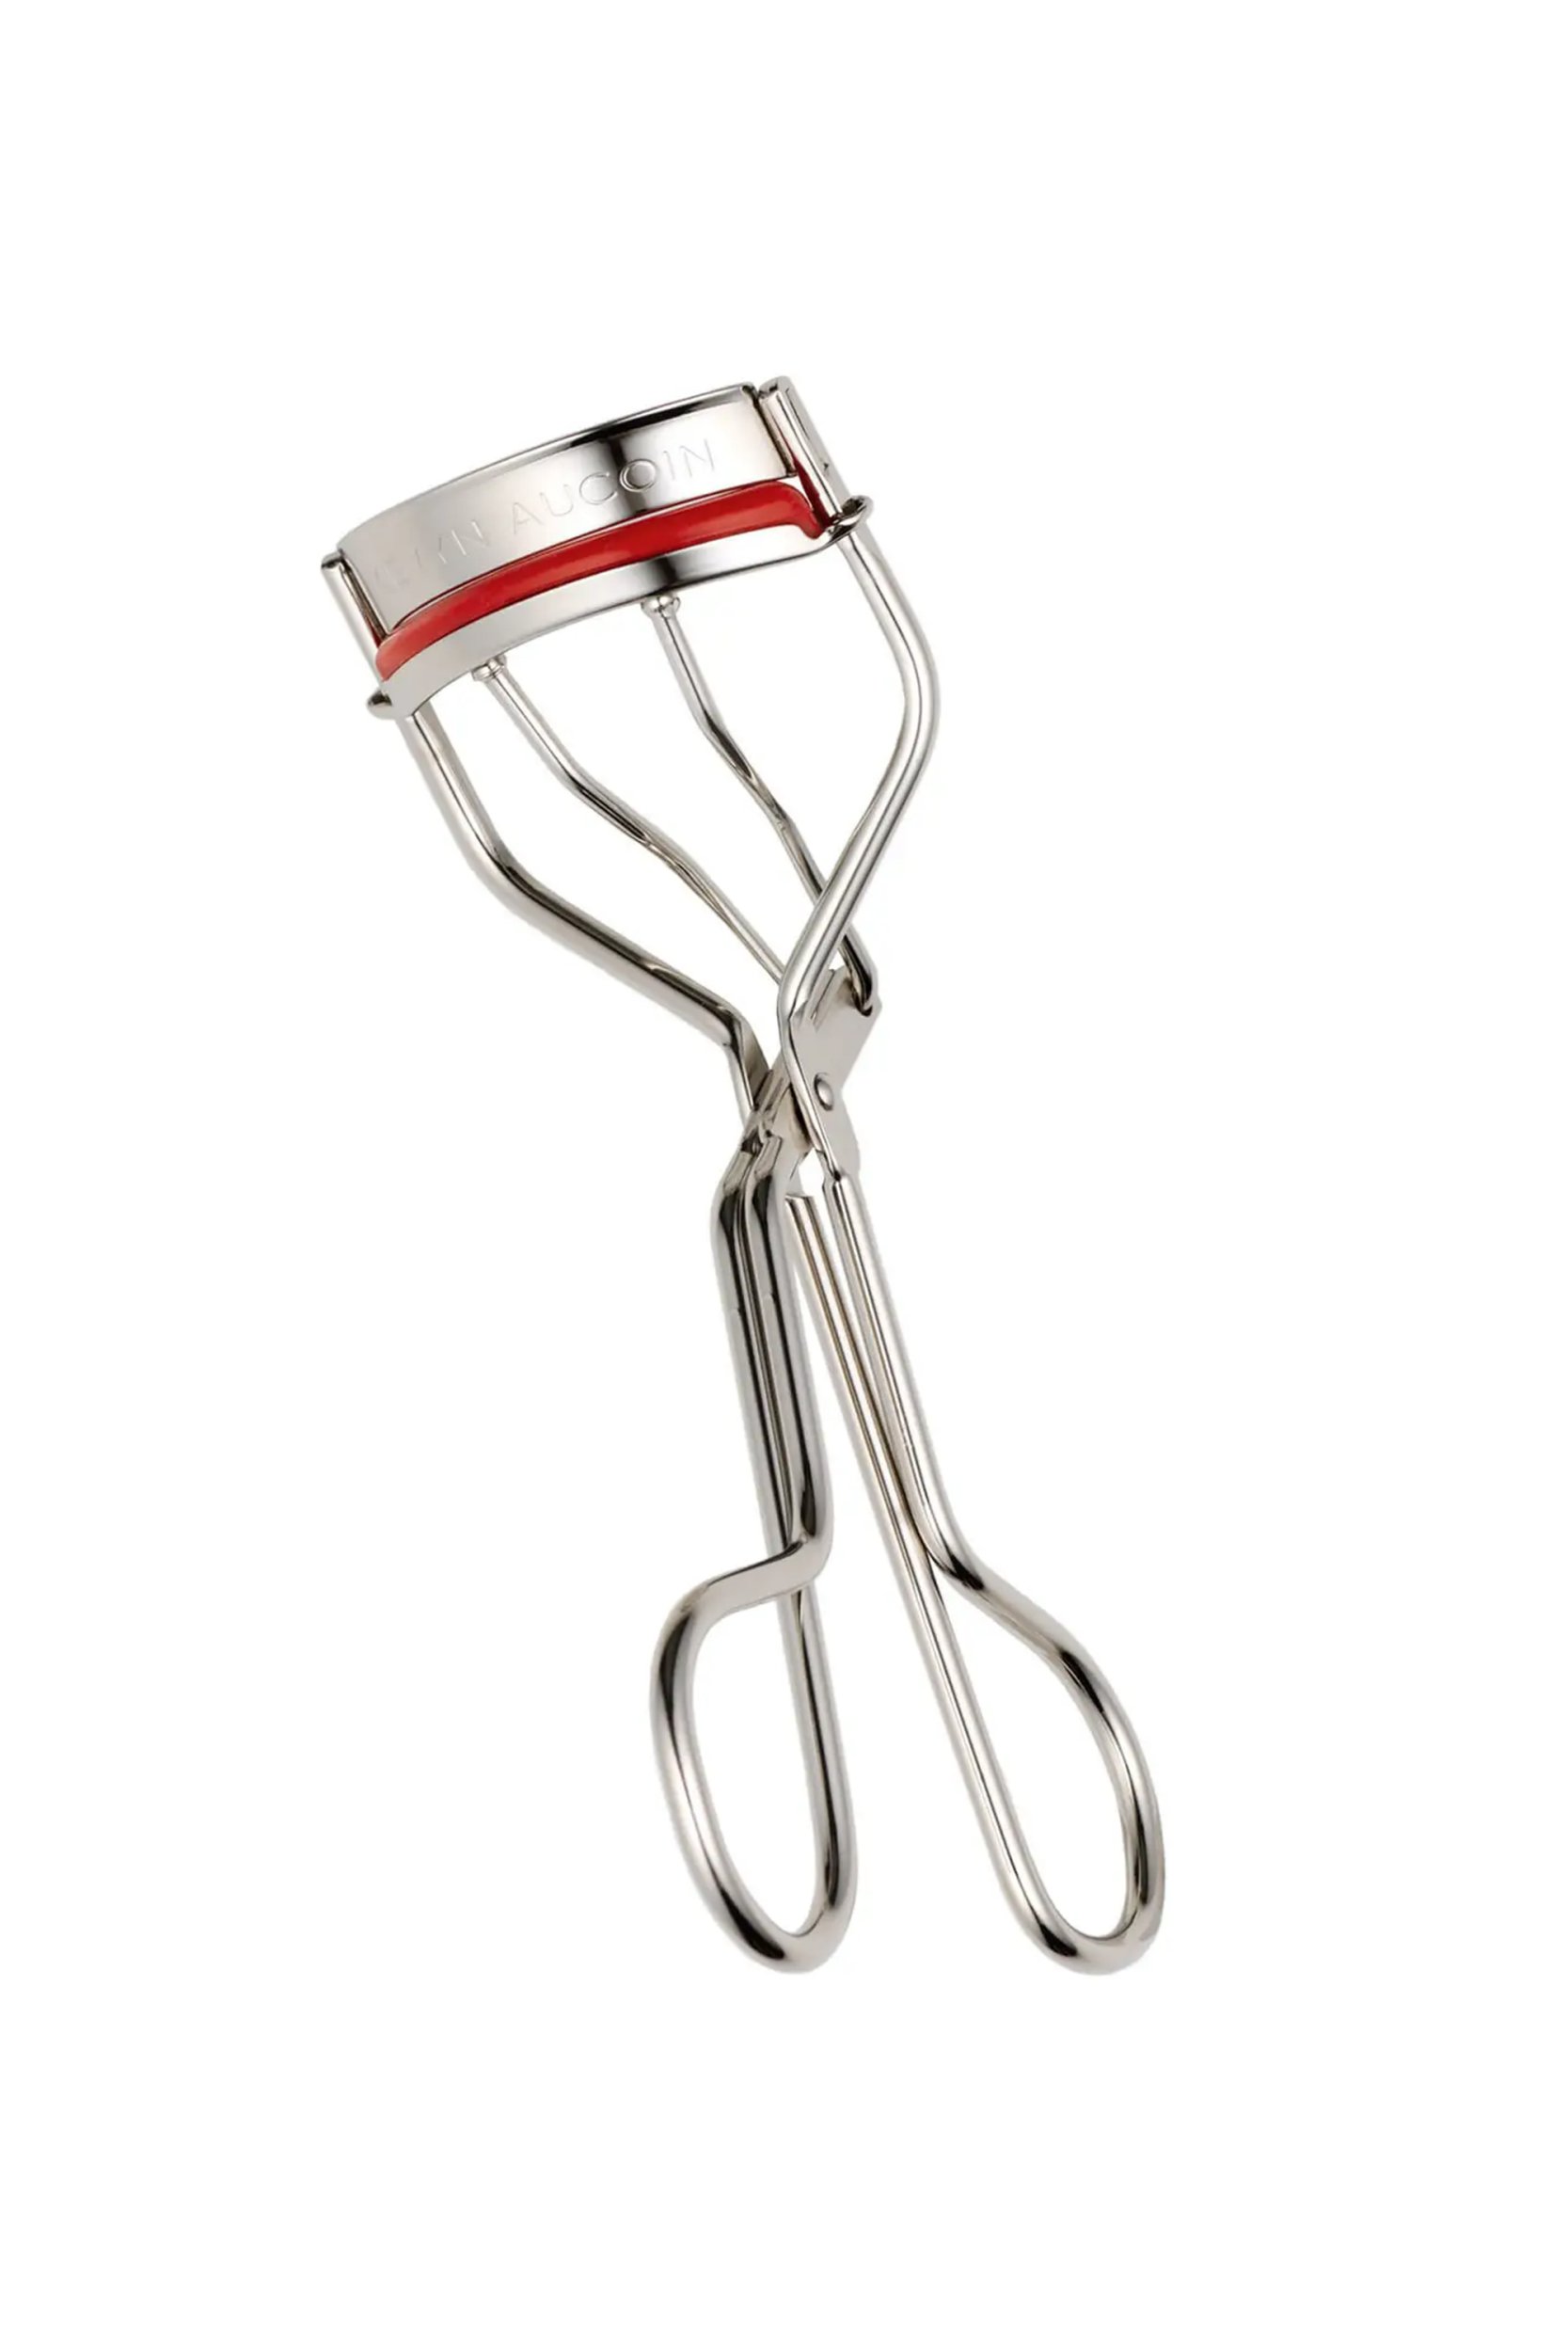
Curling your lashes (and thus, lifting them) will make it easier to place the lashes underneath your lash line and will allow them to blend in for a natural finish. My go-to lash curler that I’ve been using for years is Kevyn Aucoin’s The Eyelash Curler, £26.40, Cult Beauty.
Tip two: start in the outer corner
If, like me, you’re super pedantic about your lashes looking even and natural, start applying your lashes from the outer corner and move inwards as you continue to add more. That way, you won’t mess up the spacing and leave yourself with an unwanted gap at the end.
Tip three: for a lifted lash look, only go halfway
Half lashes or ‘winged lashes’ have blown up in popularity recently, being worn both by celebrities on red carpets and in hundreds of videos on TikTok. The reason? Whereas full-strip lashes can sometimes make eyes look smaller, half lashes give a lifted and elongated look to the eyes. To mimic this look with at-home lash extensions, only apply lashes from the outer corner along to where your pupil sits.
Tip four: different lengths will look the most natural
Different styles of lash will give a different look, but mixing up the lengths can also completely change your eye shape. For example, Lashify numbers its Gossamer lashes, starting at 8 for the shortest length, going all the way up to 18. Kiss also offers different sizes in its packs of Wispies, ranging from S to L, and Amor Lashes has options from 10mm to 16mm.
To achieve the natural winged look, I start with the longest length on the very outer corner, going down in increments as I move in along the eye, usually only using three or four in total. I avoid applying lashes too close to the inner corner of the eye as that’s when they start looking obviously false.
Tip five: avoid oil cleansers
Although you’re absolutely fine to wear eyeliner and eyeshadow, you’ll want to swap out your oil cleansers and makeup removers for an oil-free version, as anything with oil in will break up the glue and loosen the lashes.
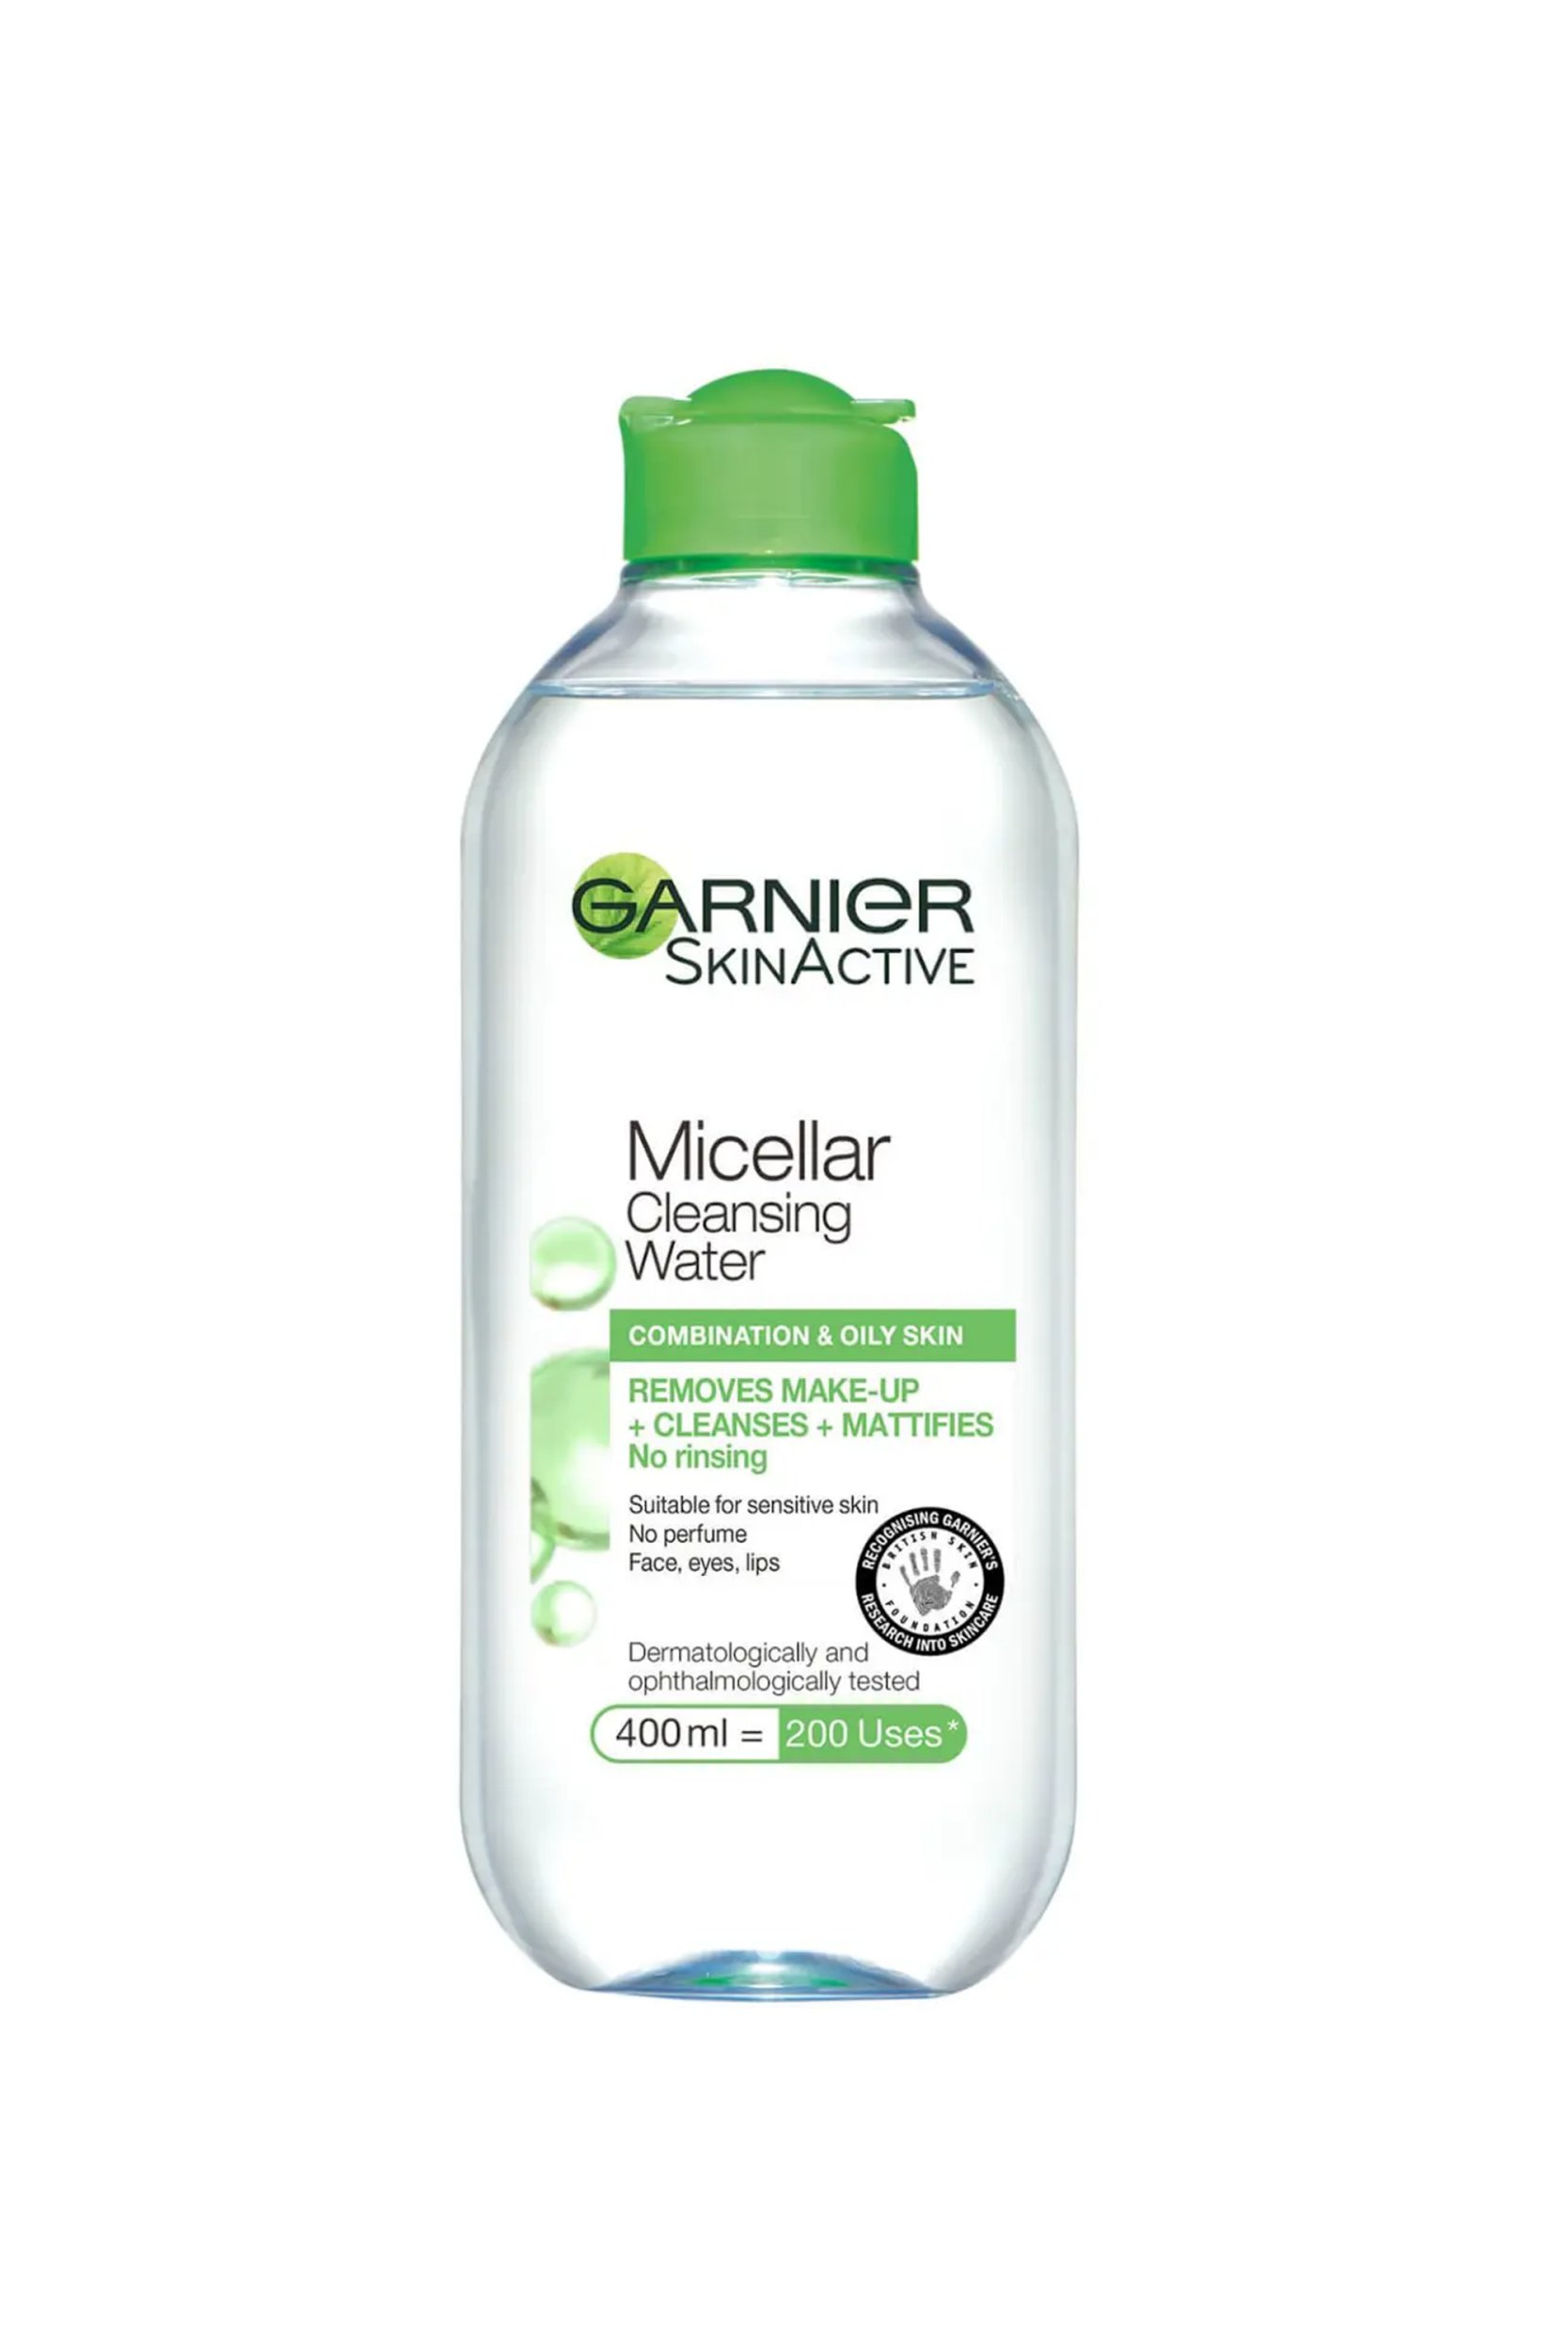
Try Garnier Micellar Water Facial Cleanser Combination Skin, £5.99, Boots.
