Find that your mascara always smudges? Worry expensive perfume just won’t last? Concerned about constant concealer piling? Enter: Beauty SOS, here to solve your biggest beauty challenges.
Lip liner has never exactly fallen out of beauty fans’ favour but, thanks to the TikTok-fuelled Nineties resurgence going on right now, it feels like it’s more popular than ever before.
And whether you always have a pencil that exactly matches your lipstick of choice, or prefer to go in with a trusty darker shade for a contoured look (I’m a MAC Spice or Whirl girl), it’s OK if you still feel like you don’t quite have the art of lip liner application down to a fine art just yet.
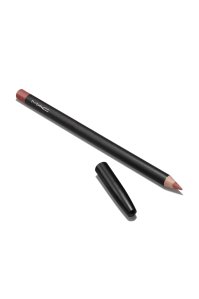
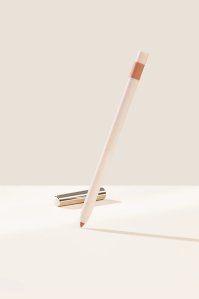
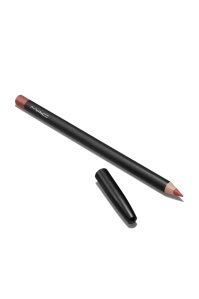
*Eliza may earn commission on sales from these product links
Over the course of my career in beauty journalism, I’ve picked up several nuggets of wisdom, everywhere from professional makeup artists to TikTok, and I have a few quick and easy fixes to share.
Lip liner application tips
So whether you’re struggling to create that super defined edge or you find that your liner doesn’t wear evenly no matter how you apply it, below are a few of the need-to-know lessons in the art of lip liner, explained.
1. Lip liner SOS one: a smudgy, short-lasting finish
Depending on the formula of your lip colour, you may have noticed that your lipstick wears away a lot faster than your pencil, leaving you with half filled-in lips a few hours into your day.
This is because lip liners tend to be more pigmented than your regular bullet lipstick – not always, in the case of long-wear formulas, but if this is a phenomenon you’re familiar with then this is most likely the explanation.
How to make your lip liner last longer
Sometimes the solution is the simplest answer, and it’s worth remembering that the secret to any great lip look is healthy lips. If your lip liner isn’t looking smooth or lasting as you might like, take a look at the condition of your lips.
Are they smooth and healthy-looking, or a bit dry, flaky or even sore? If the latter sounds more like you, this could be scuppering your lip liner application.
Just as you wouldn’t paint a wall without levelling the surface first, your lip products will look their best when you apply them to smooth lips. The trick is to gently exfoliate your lips (provided they aren’t super sore) and ensure they’re well moisturised.
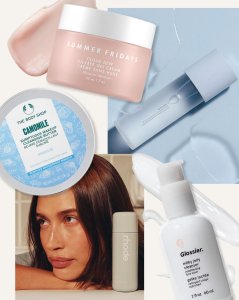
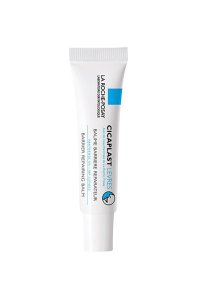
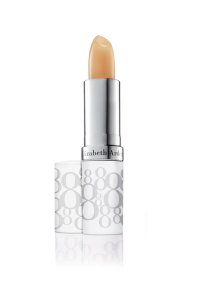
Try a gentle lip scrub like Fresh’s Sugar Lip Polish Exfoliator, £15, LookFantastic, and invest in a good lip balm that you apply during the day as well as before bed. A few of my personal favourites include Burt’s Bees Beeswax Lip Balm, £3.99, Lookfantastic, La Roche-Posay Cicaplast Baume B5 Lips, £7, Lookfantastic or for more of a splurge, Elizabeth Arden Eight Hour Cream Lip Protectant Stick, £21, Boots.
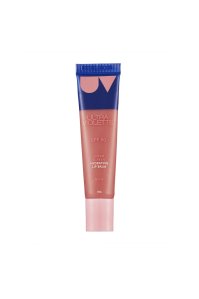
In the summer, opting for an SPF formula is a wise idea, too. I love Ultra Violette Sheen Screen Hydrating Lip Balm SPF 50, £16, Cult Beauty – though note that it does have quite a glossy finish, in case that’s not your thing.
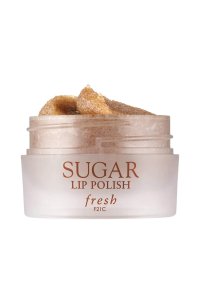
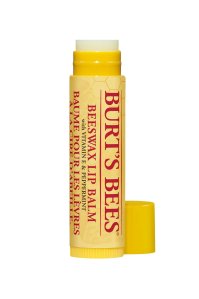
*Eliza may earn commission on sales from these product links
2. Lip liner SOS two: lack of definition
If your lips are in good nick but you still don’t really feel that lip liner has ever “added” anything to your look or made it look particularly precise or defined, it’s likely that your pencil isn’t quiiiiite sharp enough.
A great sharpener doesn’t have to cost the earth but it is an essential part of your makeup bag if you use any kind of pencil. Unless you’re specifically after a blurred, lived-in look, ensuring your pencil has a fine point will mean you can trace the outline of your lip far more precisely.
Sadly, any old pound shop pencil sharpener just won’t cut it and may even wreck your lip liner, so you’ll need a purpose-built sharpener for the job.
The best sharpeners for lip liners
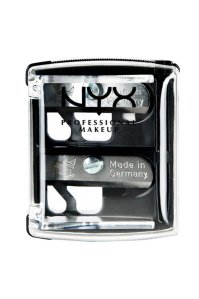
Go for the NYX Professional Makeup Pencil Sharpener, £4.50, Boots, No7 Pencil Sharpener, £4.95, Boots, or Nars Pencil Sharpener, £8, Boots, which features two holes for sharpening lip pencils and crayons.
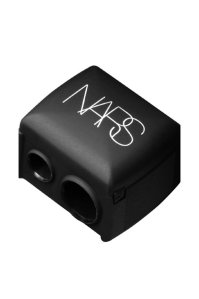
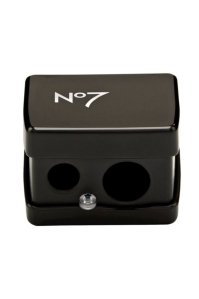
*Eliza may earn commission on sales from these product links
You can also sharpen your eye pencils while you’re at it.
3. Lip liner SOS three: lipstick mis-match
Unless you are purposely aiming for a more contoured, ‘90s-style look, you’ll likely want your liner to match your lipstick hue. Problem is, sometimes your fave lipstick won’t come with a matching pencil (although these days, many do which is handy).
Apply your lip liner under your lipstick
To avoid the mis-matched look, once you’ve outlined (or overlined) your lips, take the pencil and continue tracing inwards towards the centre of your lips before blending the whole thing for a diffused base.
You don’t want a thick layer of liner, but just enough that it’ll support the lipstick you layer over the top, should that fade away after eating or drinking. Bonus: this will also help to create a plumper-looking pout overall.
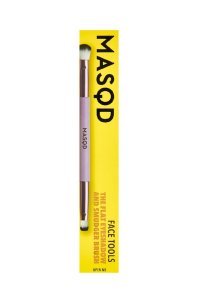
To blend, you can either use your finger, a cotton bud, or a lip brush. If you want to invest in the latter, any small but very tightly packed smudging brush will do, but nice options are MAC’s 316 Lip Brush, £16.50, MAC, Lottie London LE05 Dense Smudger Brush, £5, Lookfantastic, and the MASQD Dual Ended Flat Eyeshadow & Smudger Brush, £8, Boots.
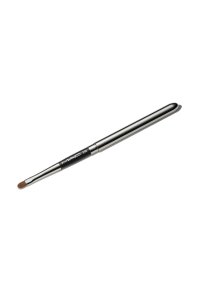
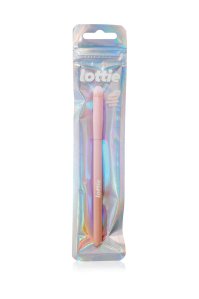
*Eliza may earn commission on sales from these product links
There you have it, three of your biggest lip liner woes, solved. Consider your intensive course in how to nail this makeup product complete.
