It feels right to preface this piece with a little disclaimer: I am not a hairdresser. In fact, I can only wholeheartedly apologise to all the wonderful stylists and hair experts I know for what I’m about to divulge. For, despite having the utmost respect and adoration for the skill and dexterity of all those that work in the hair industry, I have a confession to make… I cut my own fringe. On a fairly regular basis, too.
In fact, I pretty much exclusively cut my own fringe. And do you know what? I think I’ve gotten pretty good at it. Sure, there have been mishaps along the way (my family still joke about one particular hack job, which involved the kitchen scissors.) But as someone that has rocked bangs for pretty much her entire life, I think I’ve nailed the formula for a disaster-free fringe cut at home.
Of course, it goes without saying that the best person to cut your fringe is a professional (and especially if you are getting a brand new one cut in).
But fringes are high maintenance and can need trimming every two to three weeks to keep them in shape and at your desired length. And does anyone seriously have the time to visit the salon that regularly?
Instead, when your hair is starting to poke you in the eyes and there’s no time for an appointment with a pro, I’ve put together a fool-proof step-by-step guide to cutting your own fringe at home. Plus, I consulted with a couple of hair experts just to make sure that I wasn’t getting too scissor happy. Just don’t tell your stylist…
How to trim your own fringe: the top tips
- Invest in some basic tools
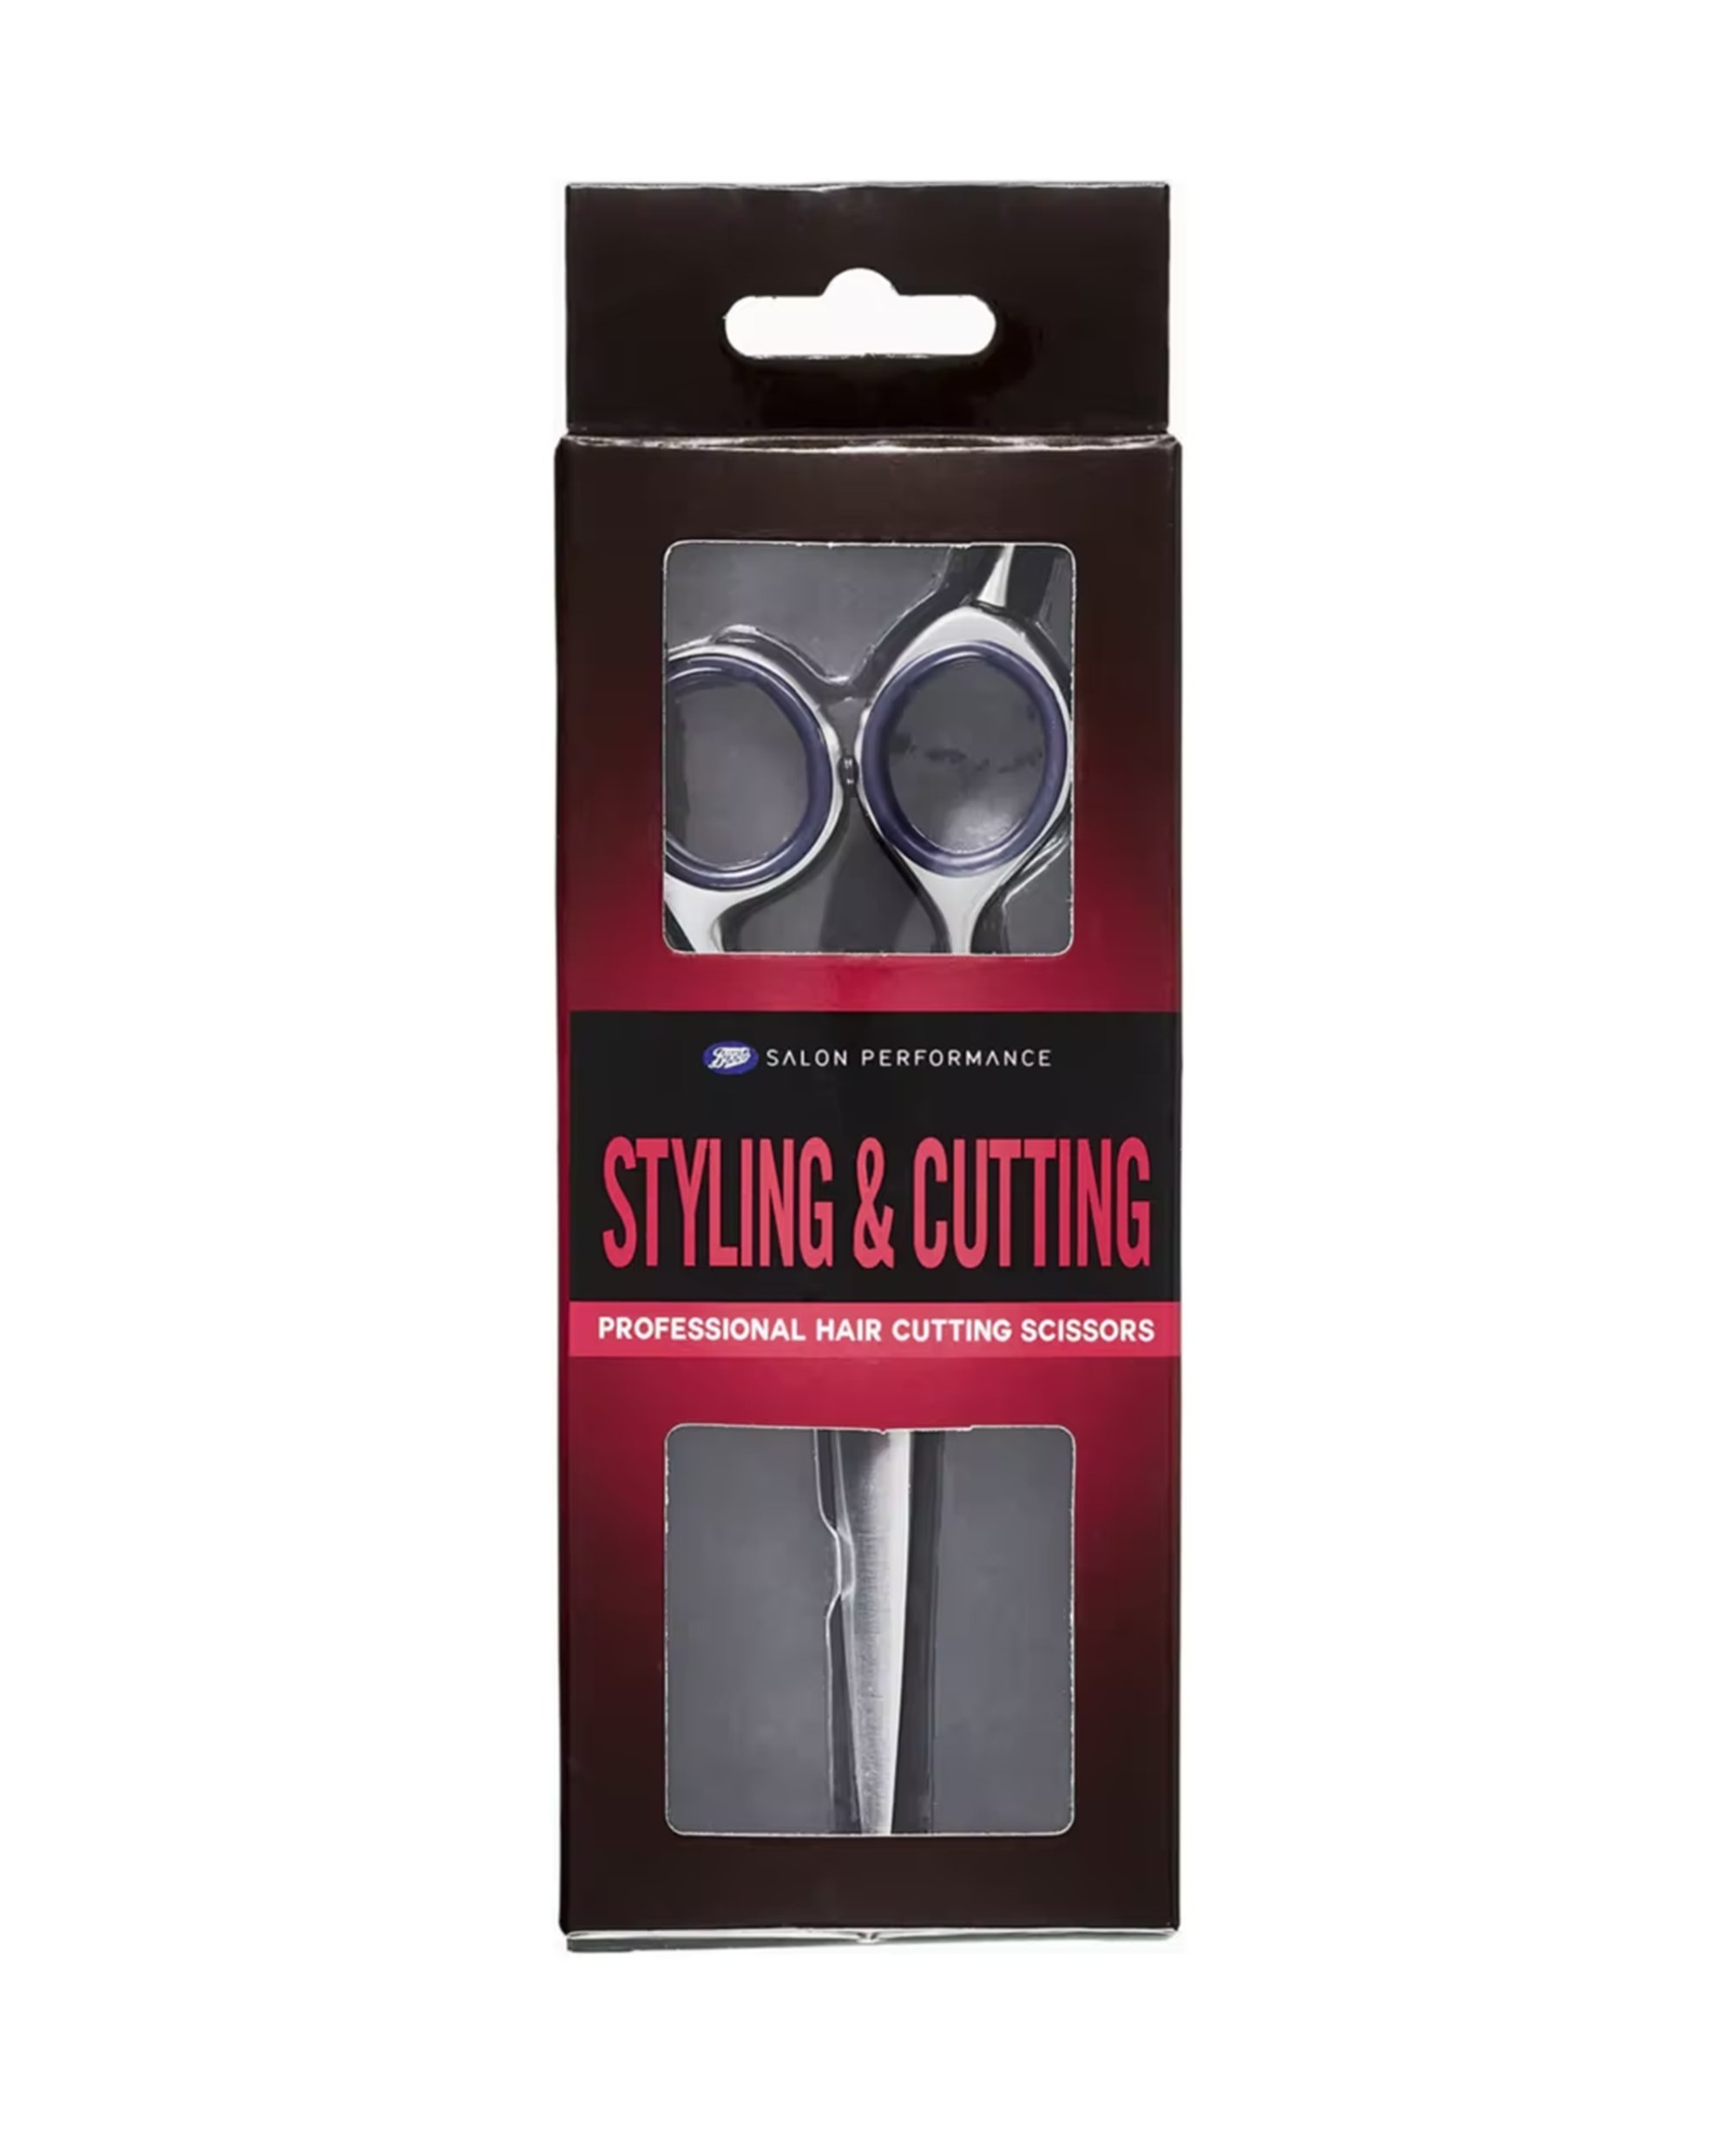
If you think you’re going to be trimming your fringe at home on the regular, then buying a pair of hair-cutting scissors is essential (and I say this having cut my own fringe with everything from kitchen scissors to nail scissors over the years).
Mine cost around a tenner and I’ve had them for years. They have a thinner, sharper blade than household scissors and therefore make it easier to achieve a more precise cut.
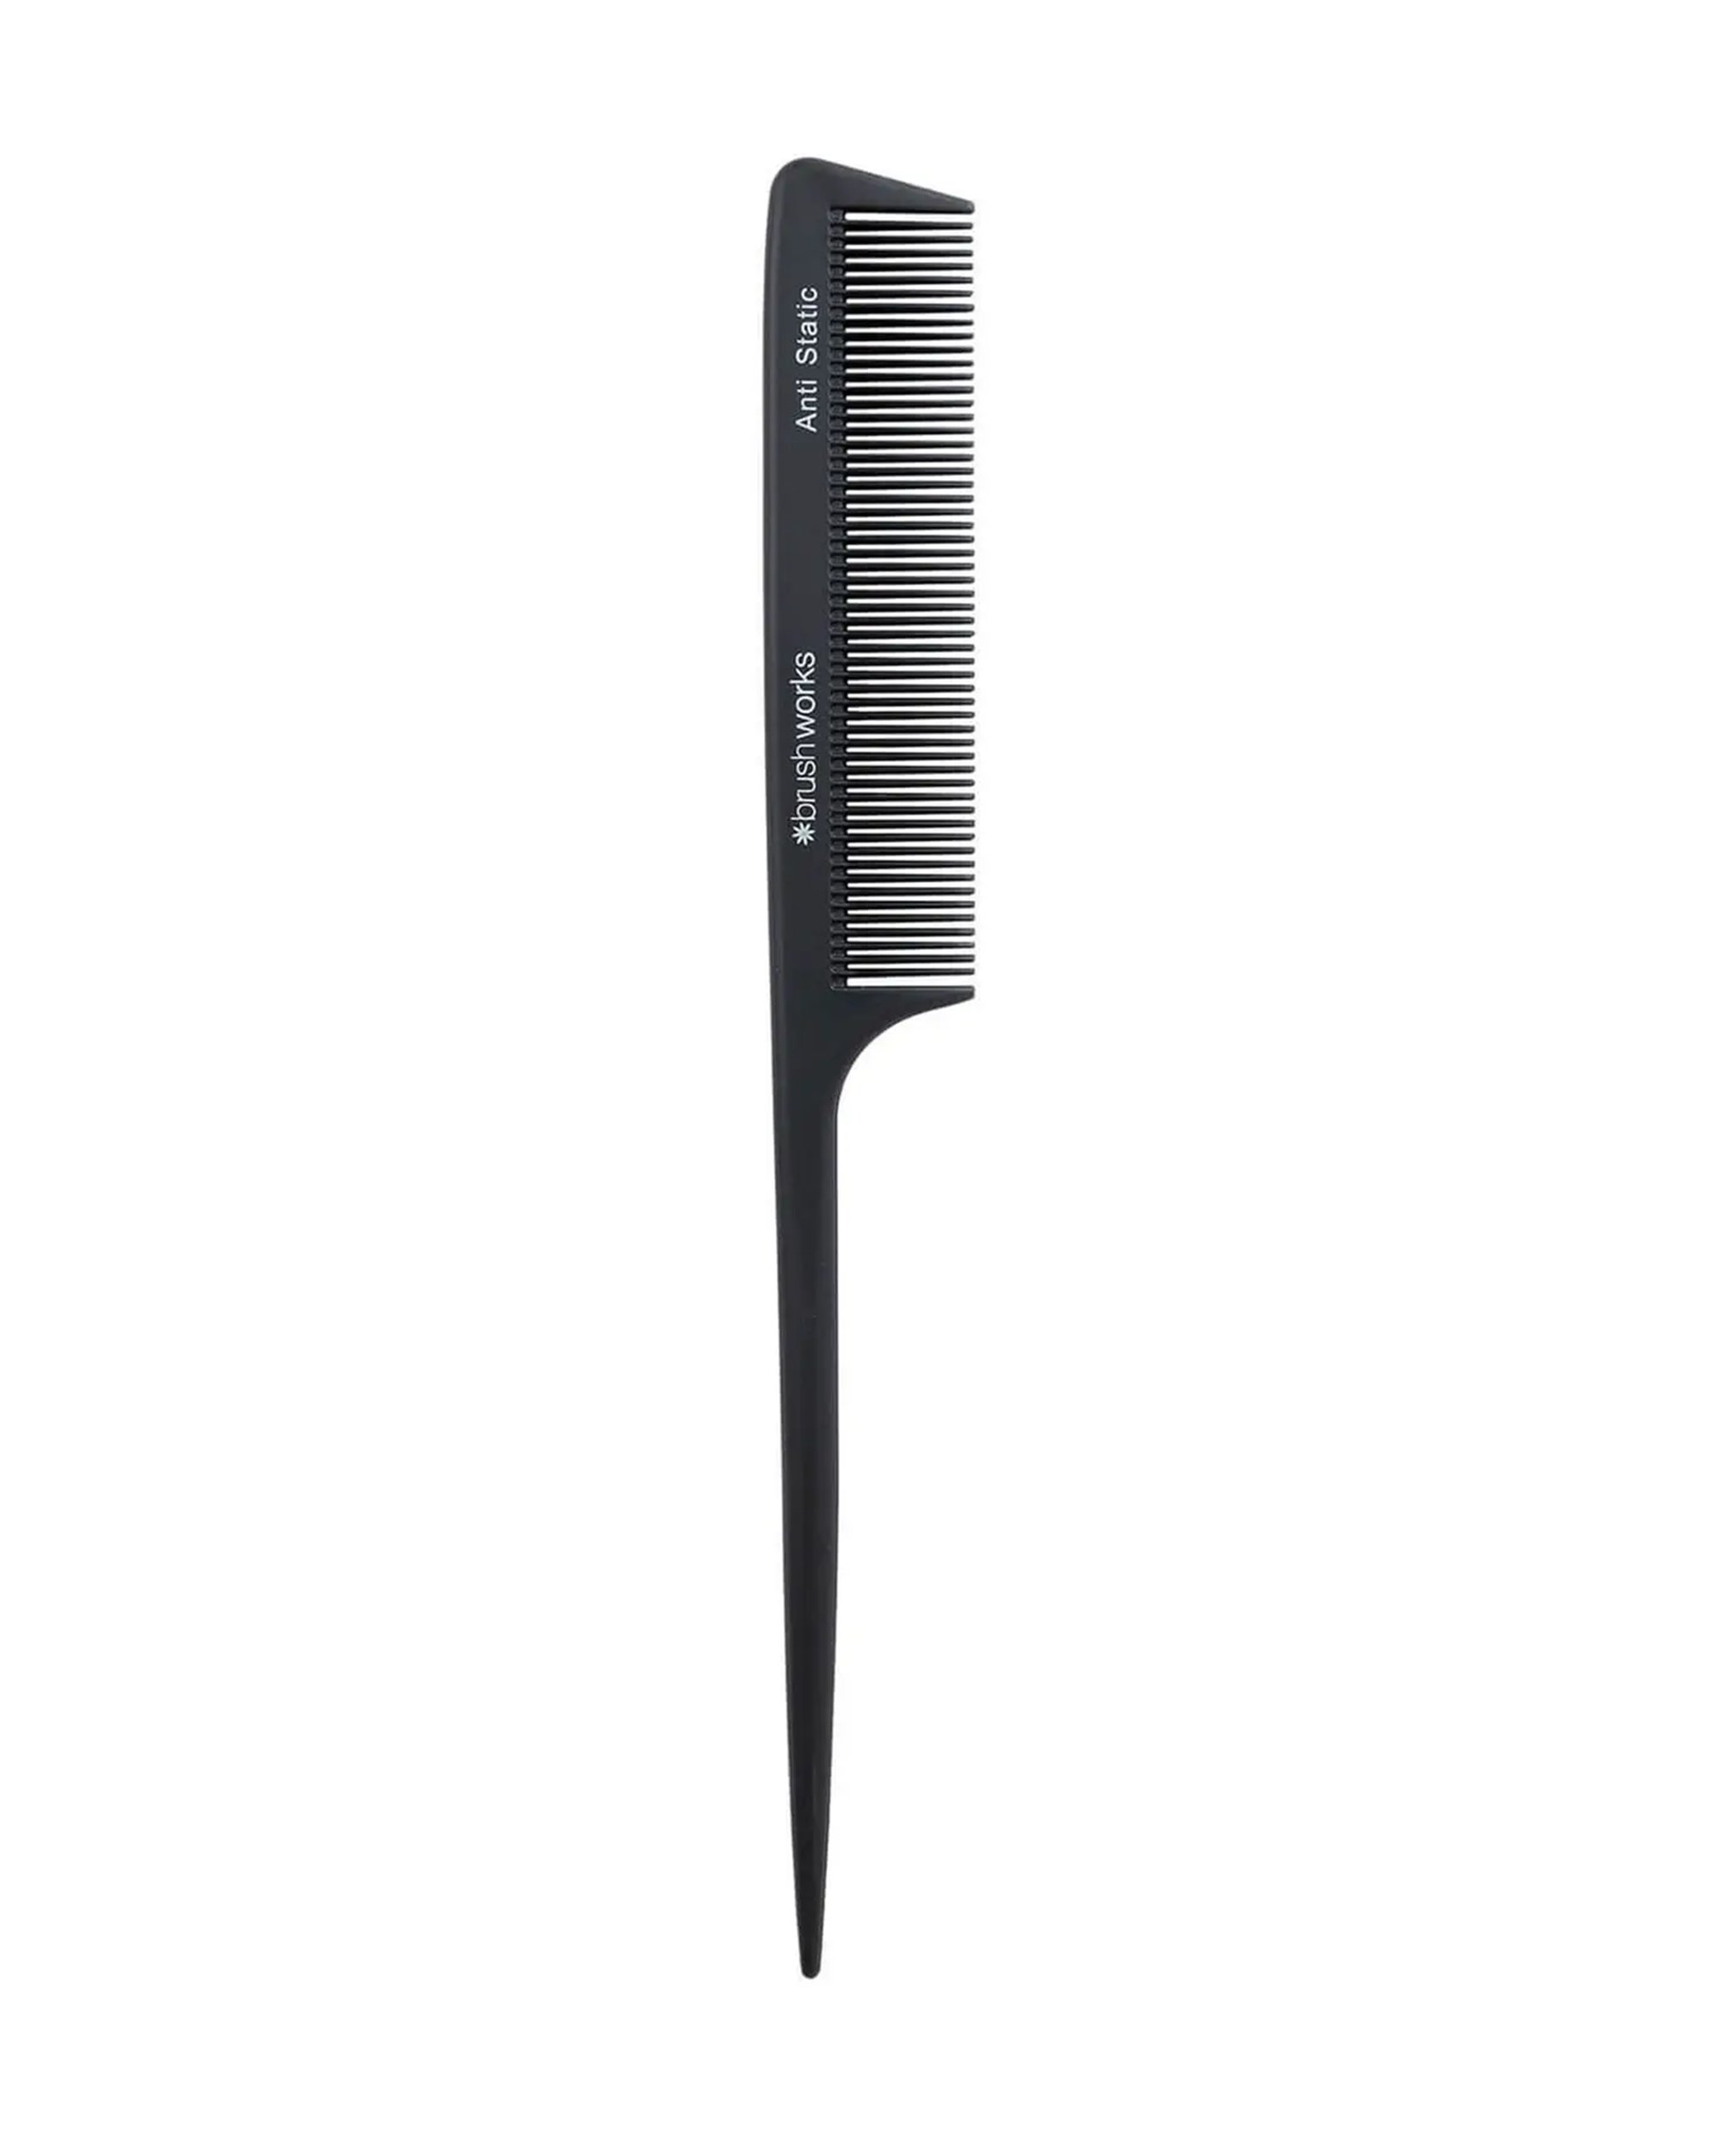
I’d also suggest getting your hands on a fine-tooth tail comb, which can be used to brush through your fringe, section off areas and can help with cutting hair in a straight line.
- Make sure you’ve got time to spare
Pretty much all my at-home fringe cuts that have ended in disaster have been down to the fact I haven’t allowed myself enough time for the trim. Often, I’ll be ready to go out and my fringe will be annoying me, so I’ll whip out the scissors in a cutting frenzy and, inevitably, will be left with a rather wonky result.
Instead, make sure you’ve got a good 20 minutes or so to cut slowly and carefully. Grab a friend the first time you do it for extra moral support…
- Section your hair
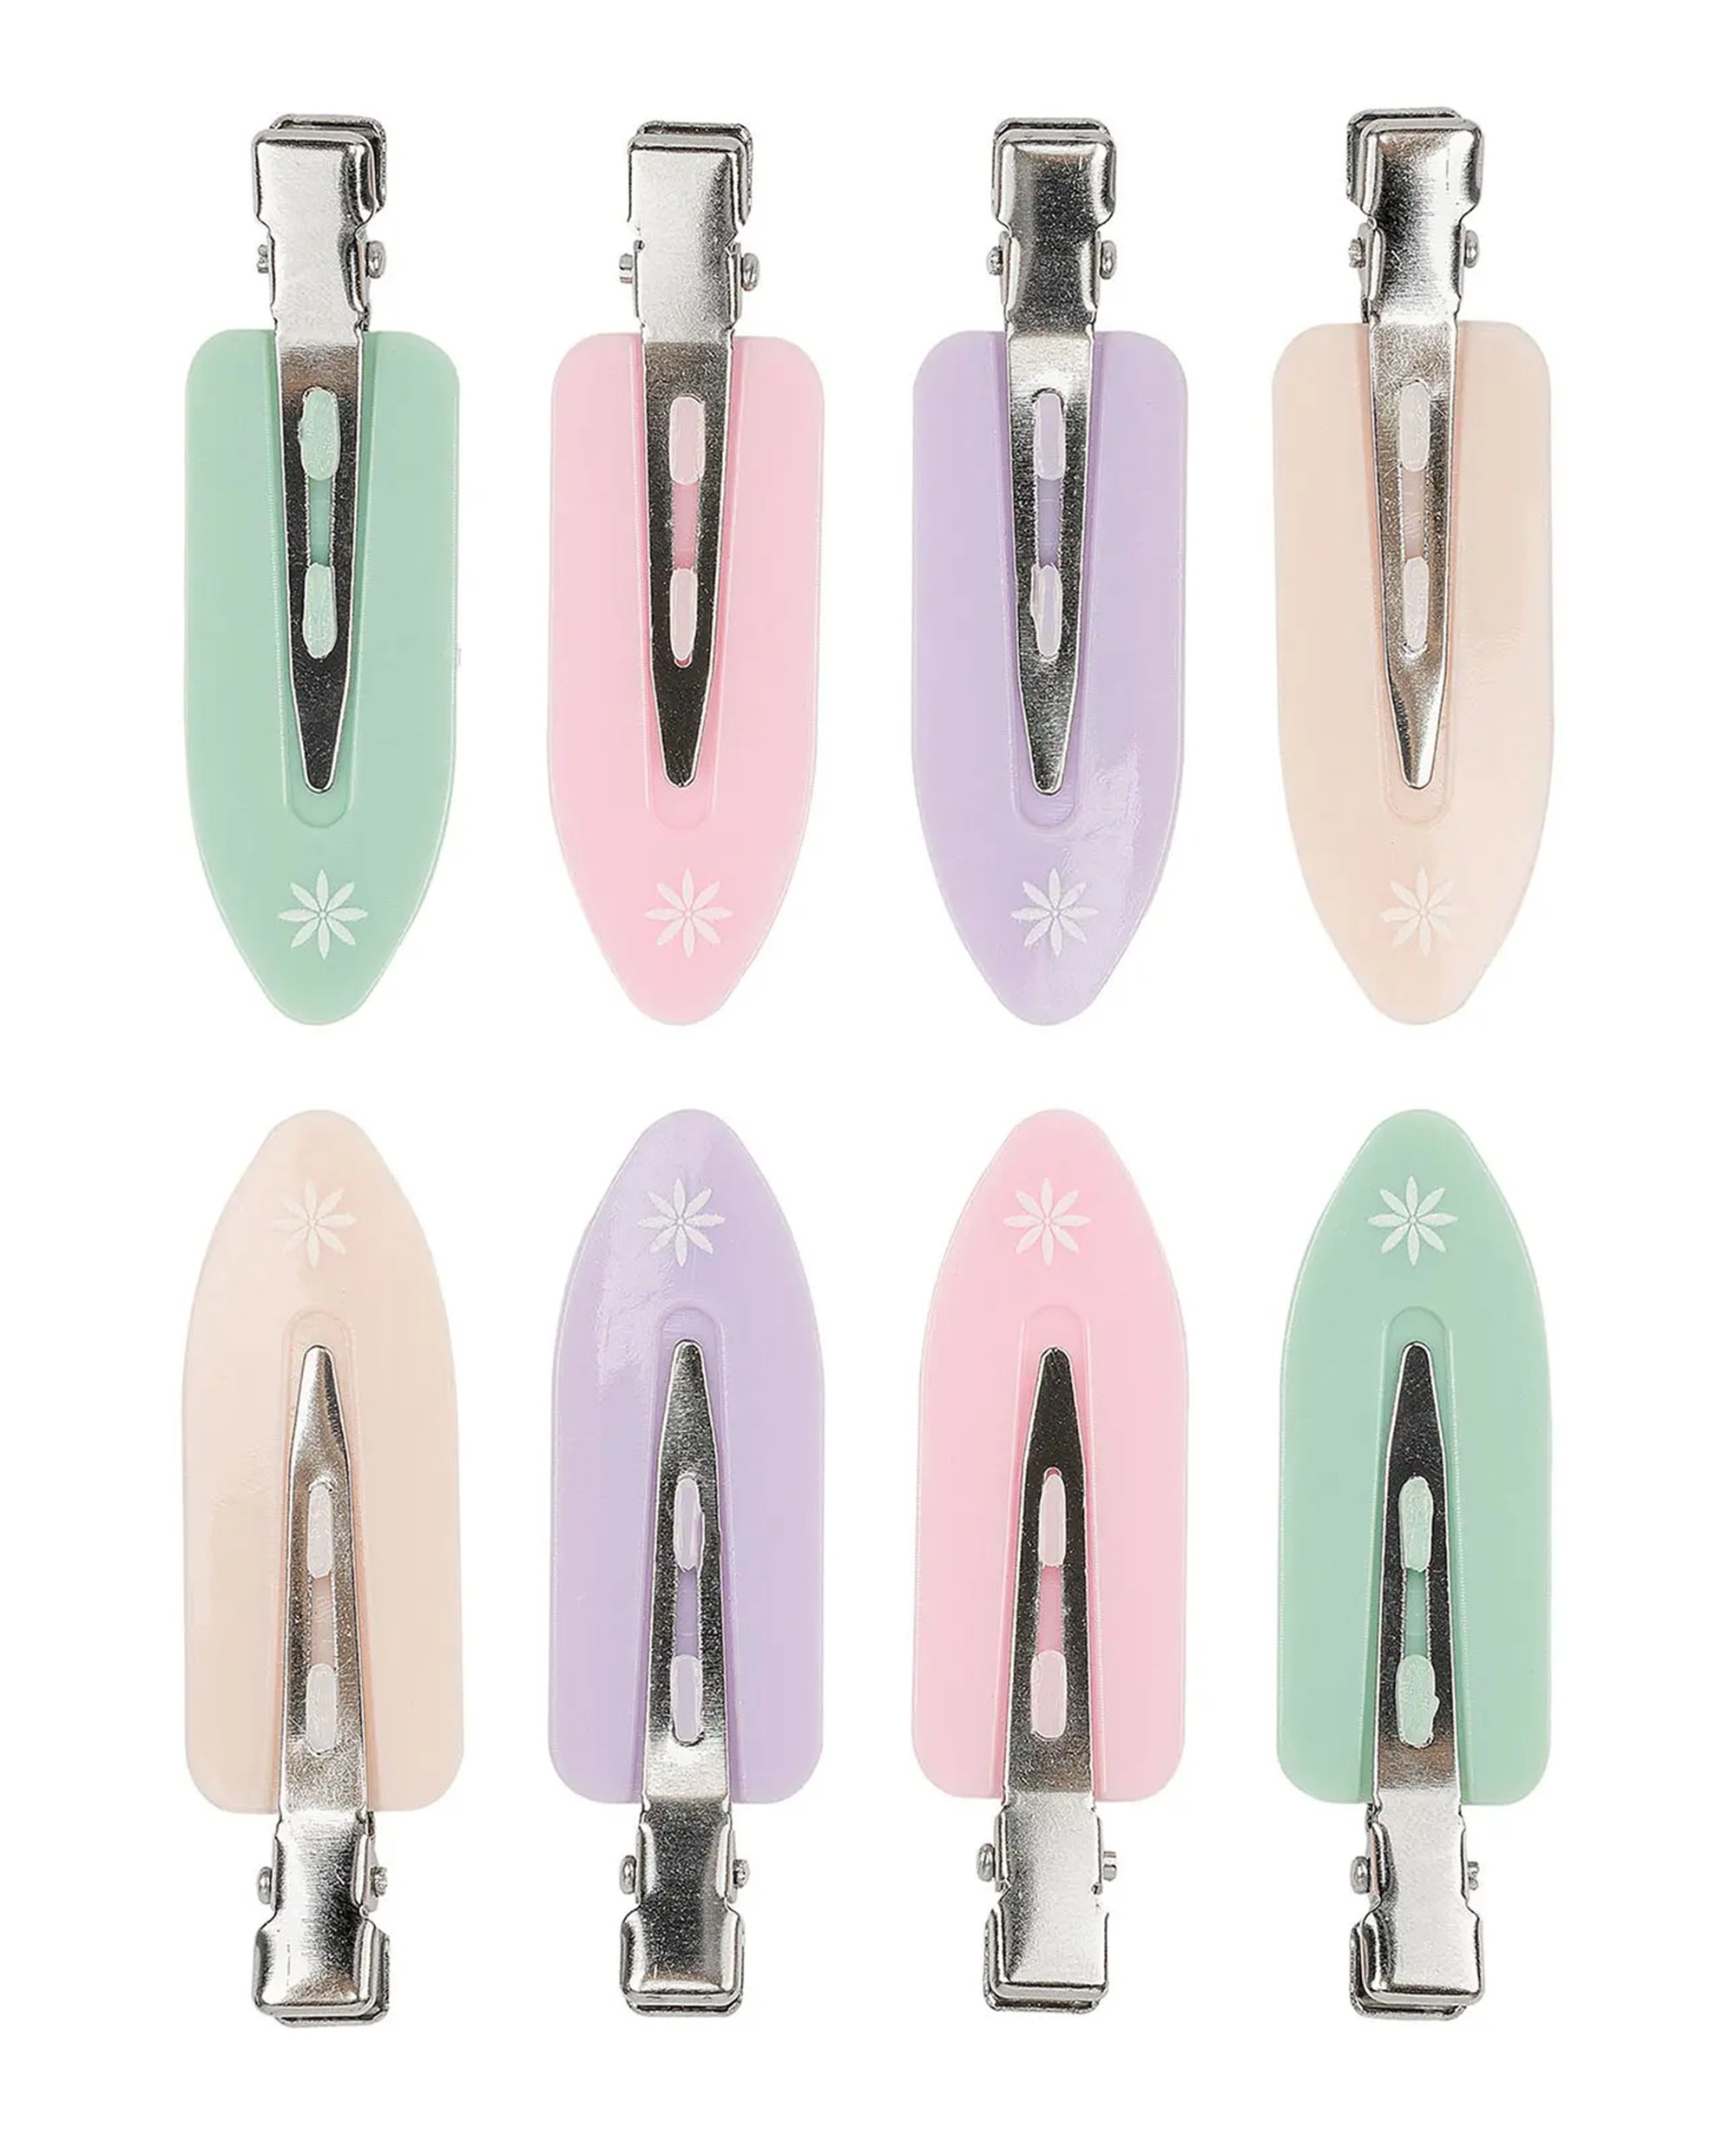
Now that you’re ready to start snipping, I like to pull all my hair back into a ponytail so that only my fringe is left loose. I have some slightly flyaway shorter hairs around the front of my hairline at the moment too, so I’ll pin those back with hair clips just to make absolutely sure that I don’t cut any strands I shouldn’t.
- Leave your hair dry
While professional stylists will cut your hair wet, cutting it dry when you’re more of a novice leaves less room for error. Too many times have I cut my own fringe wet, only for it to dry into its natural wavy texture and end up looking way shorter than I intended.
“When it’s wet the hair is stretched out so appears longer,” explains Dom Seeley, International Creative Director of Color Wow. “If you have curly hair, remember to factor in the shrinkage too and consider where the curls will fall.”
- Follow your existing fringe shape
So, you’re ready to take the first cut. Stand directly in front of a mirror so that your head is straight then, rather than pulling the hair taut or stretching it between my fingers like you see professionals doing in the salon, follow the shape of your existing fringe as it hangs by taking teeny-tiny cuts starting at the centre and working outwards.
And remember, start snipping your hair a bit further down than you think, until you’re happy the shape looks right. You can always take more off, but you can’t add it back on!
- Cut vertically, not horizontally
This advice was the ultimate game-changer to me for achieving a successful at-home fringe cut.
“The biggest mistake people make when cutting their fringe is cutting horizontally,” advises Frédéric Fekkai, celebrity hairstylist and founder of FEKKAI haircare.
“When you are ready to trim, ensure you are cutting vertically to add softness and movement.” A small, upwards-cutting technique means that your hair will look naturally choppy and voluminous and leaves more room for error than a sharp, blunt fringe cut.
There we have it! Now your fringe is looking sharp, here are a few of the best styling products to lend a professional finish to your at-home fringe cut:
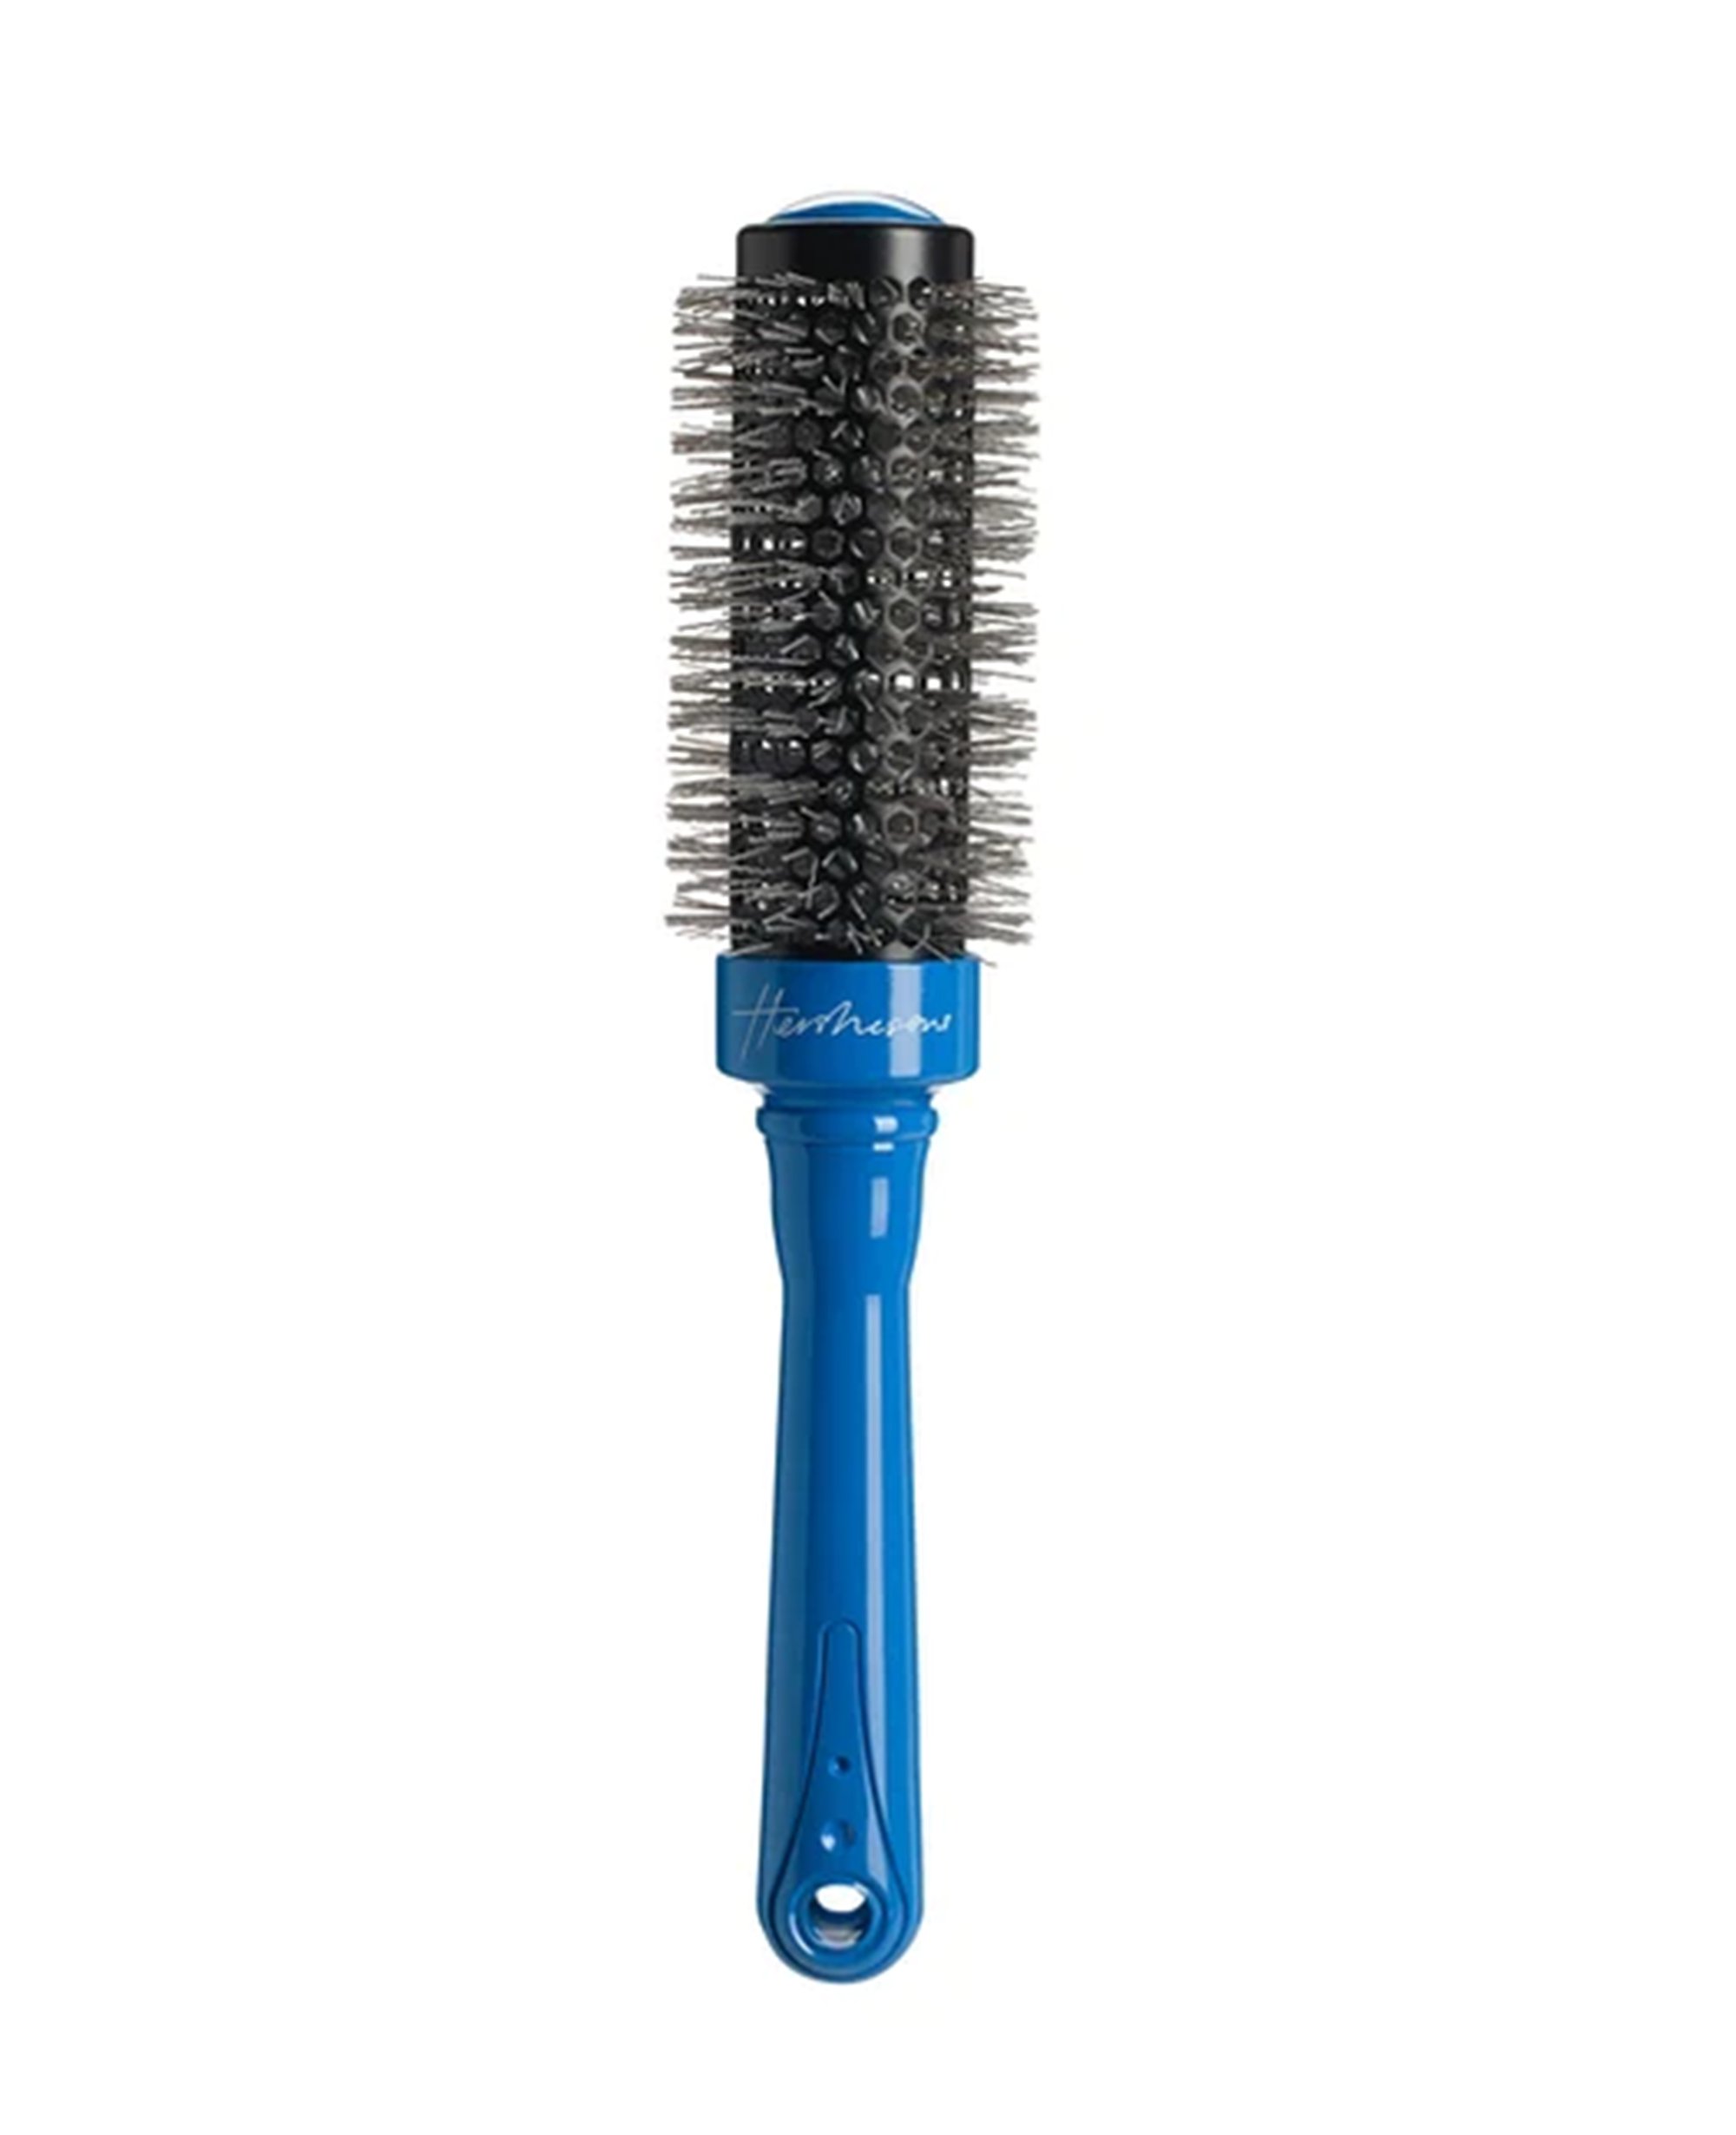
Post-fringe trim I like to spritz my strands with water then give it a blast with a hairdryer and a round brush. This adds volume and lift, and a little professional polish.
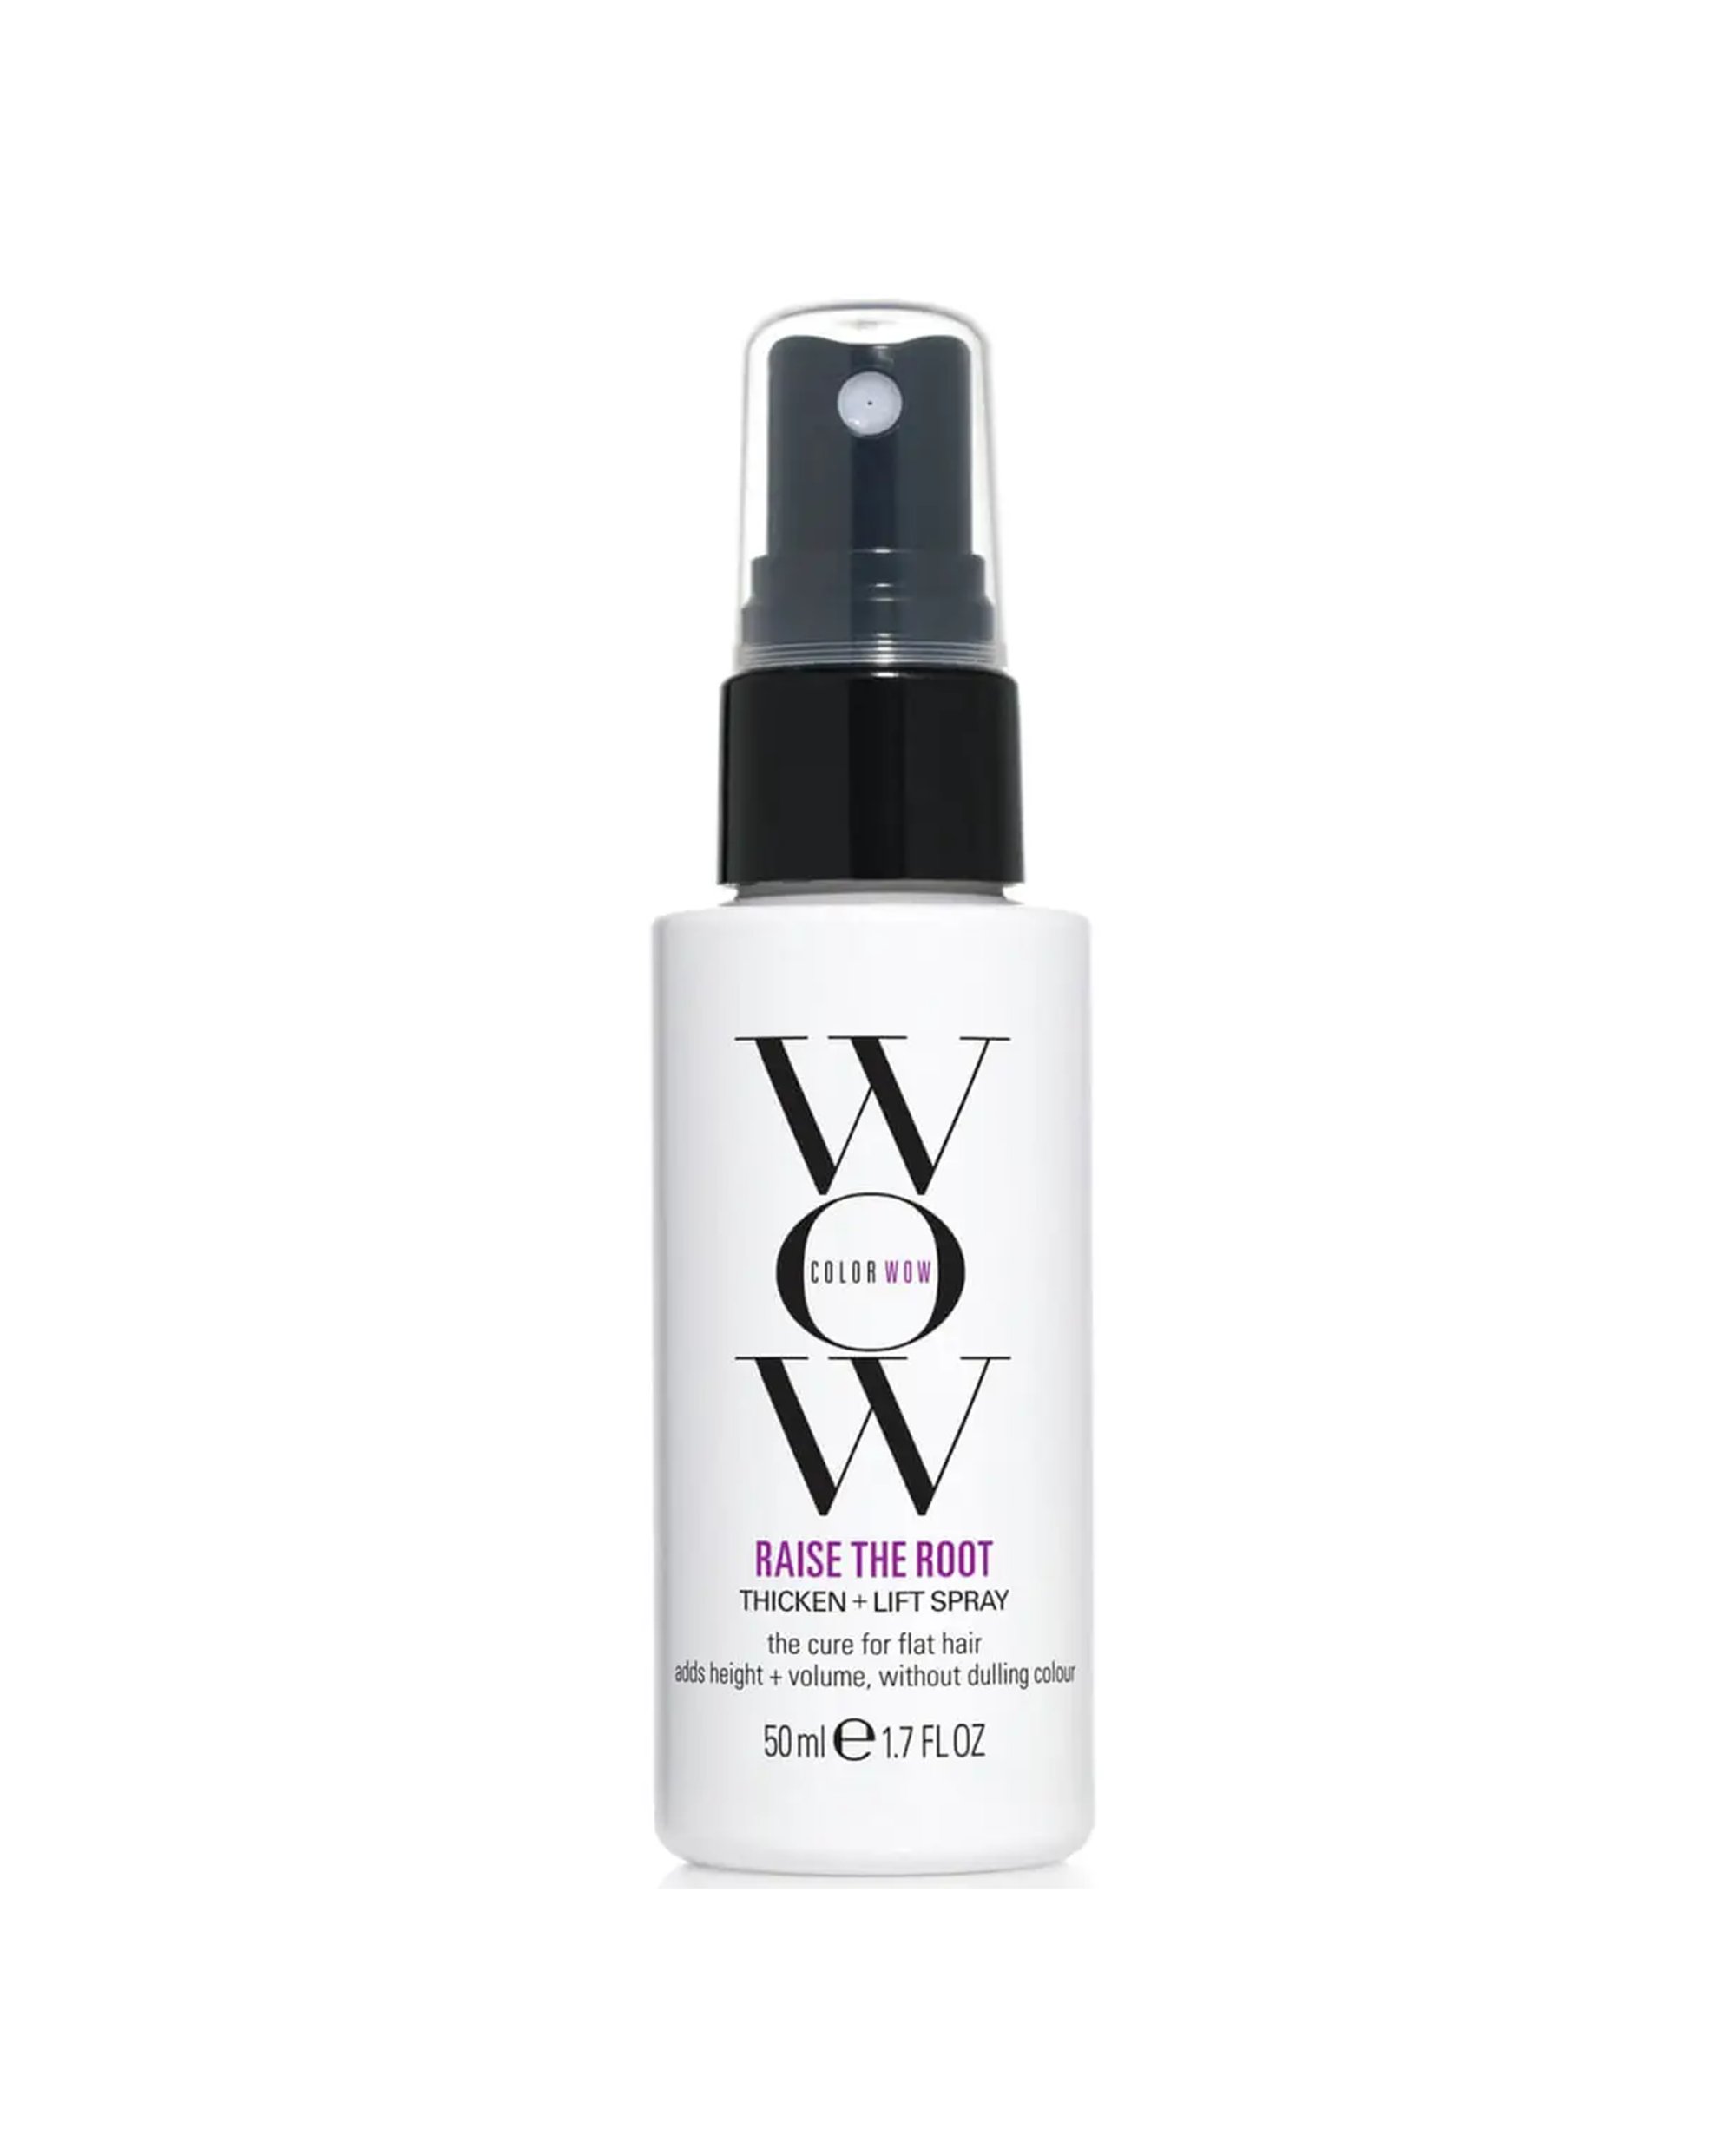
If your fringe tends to fall flat, a little of this sprayed onto the roots before styling adds instant lift and volume, and helps bangs to hold their shape all day.
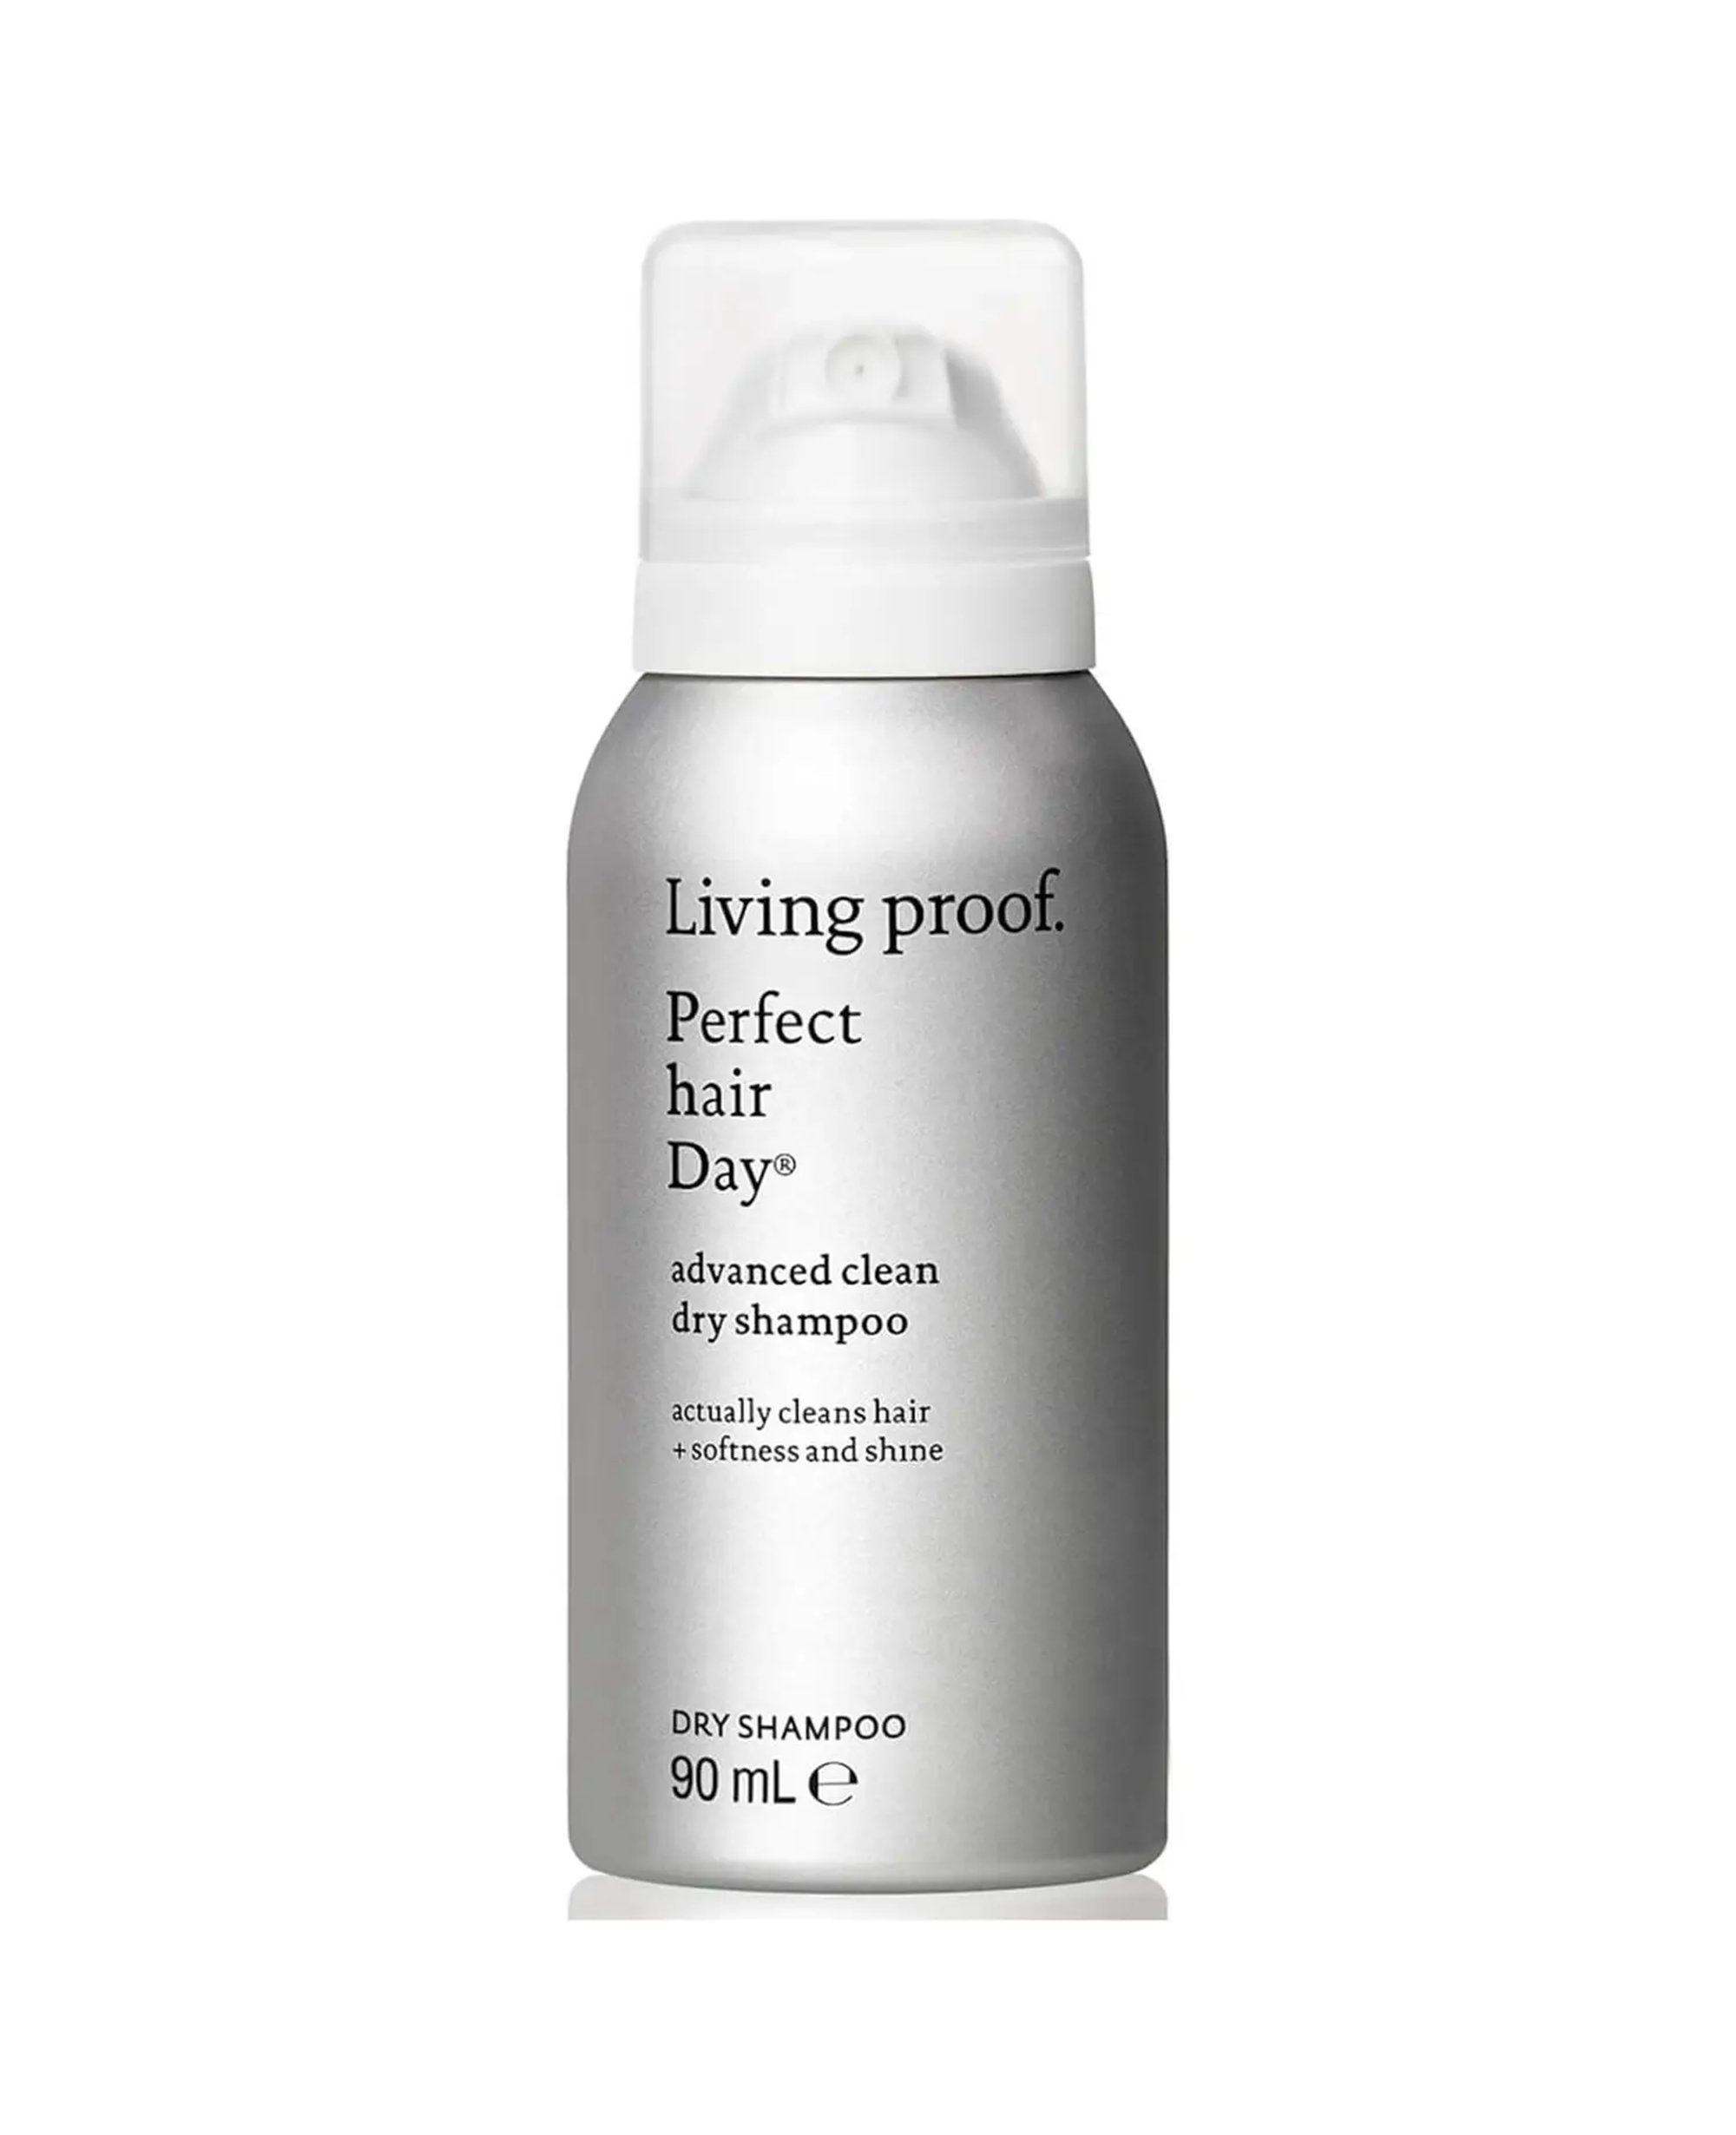
My fringe is the first thing to get greasy, so I swear by dry shampoo. This one from Living Proof actually cleans the hair to refresh your fringe in seconds.
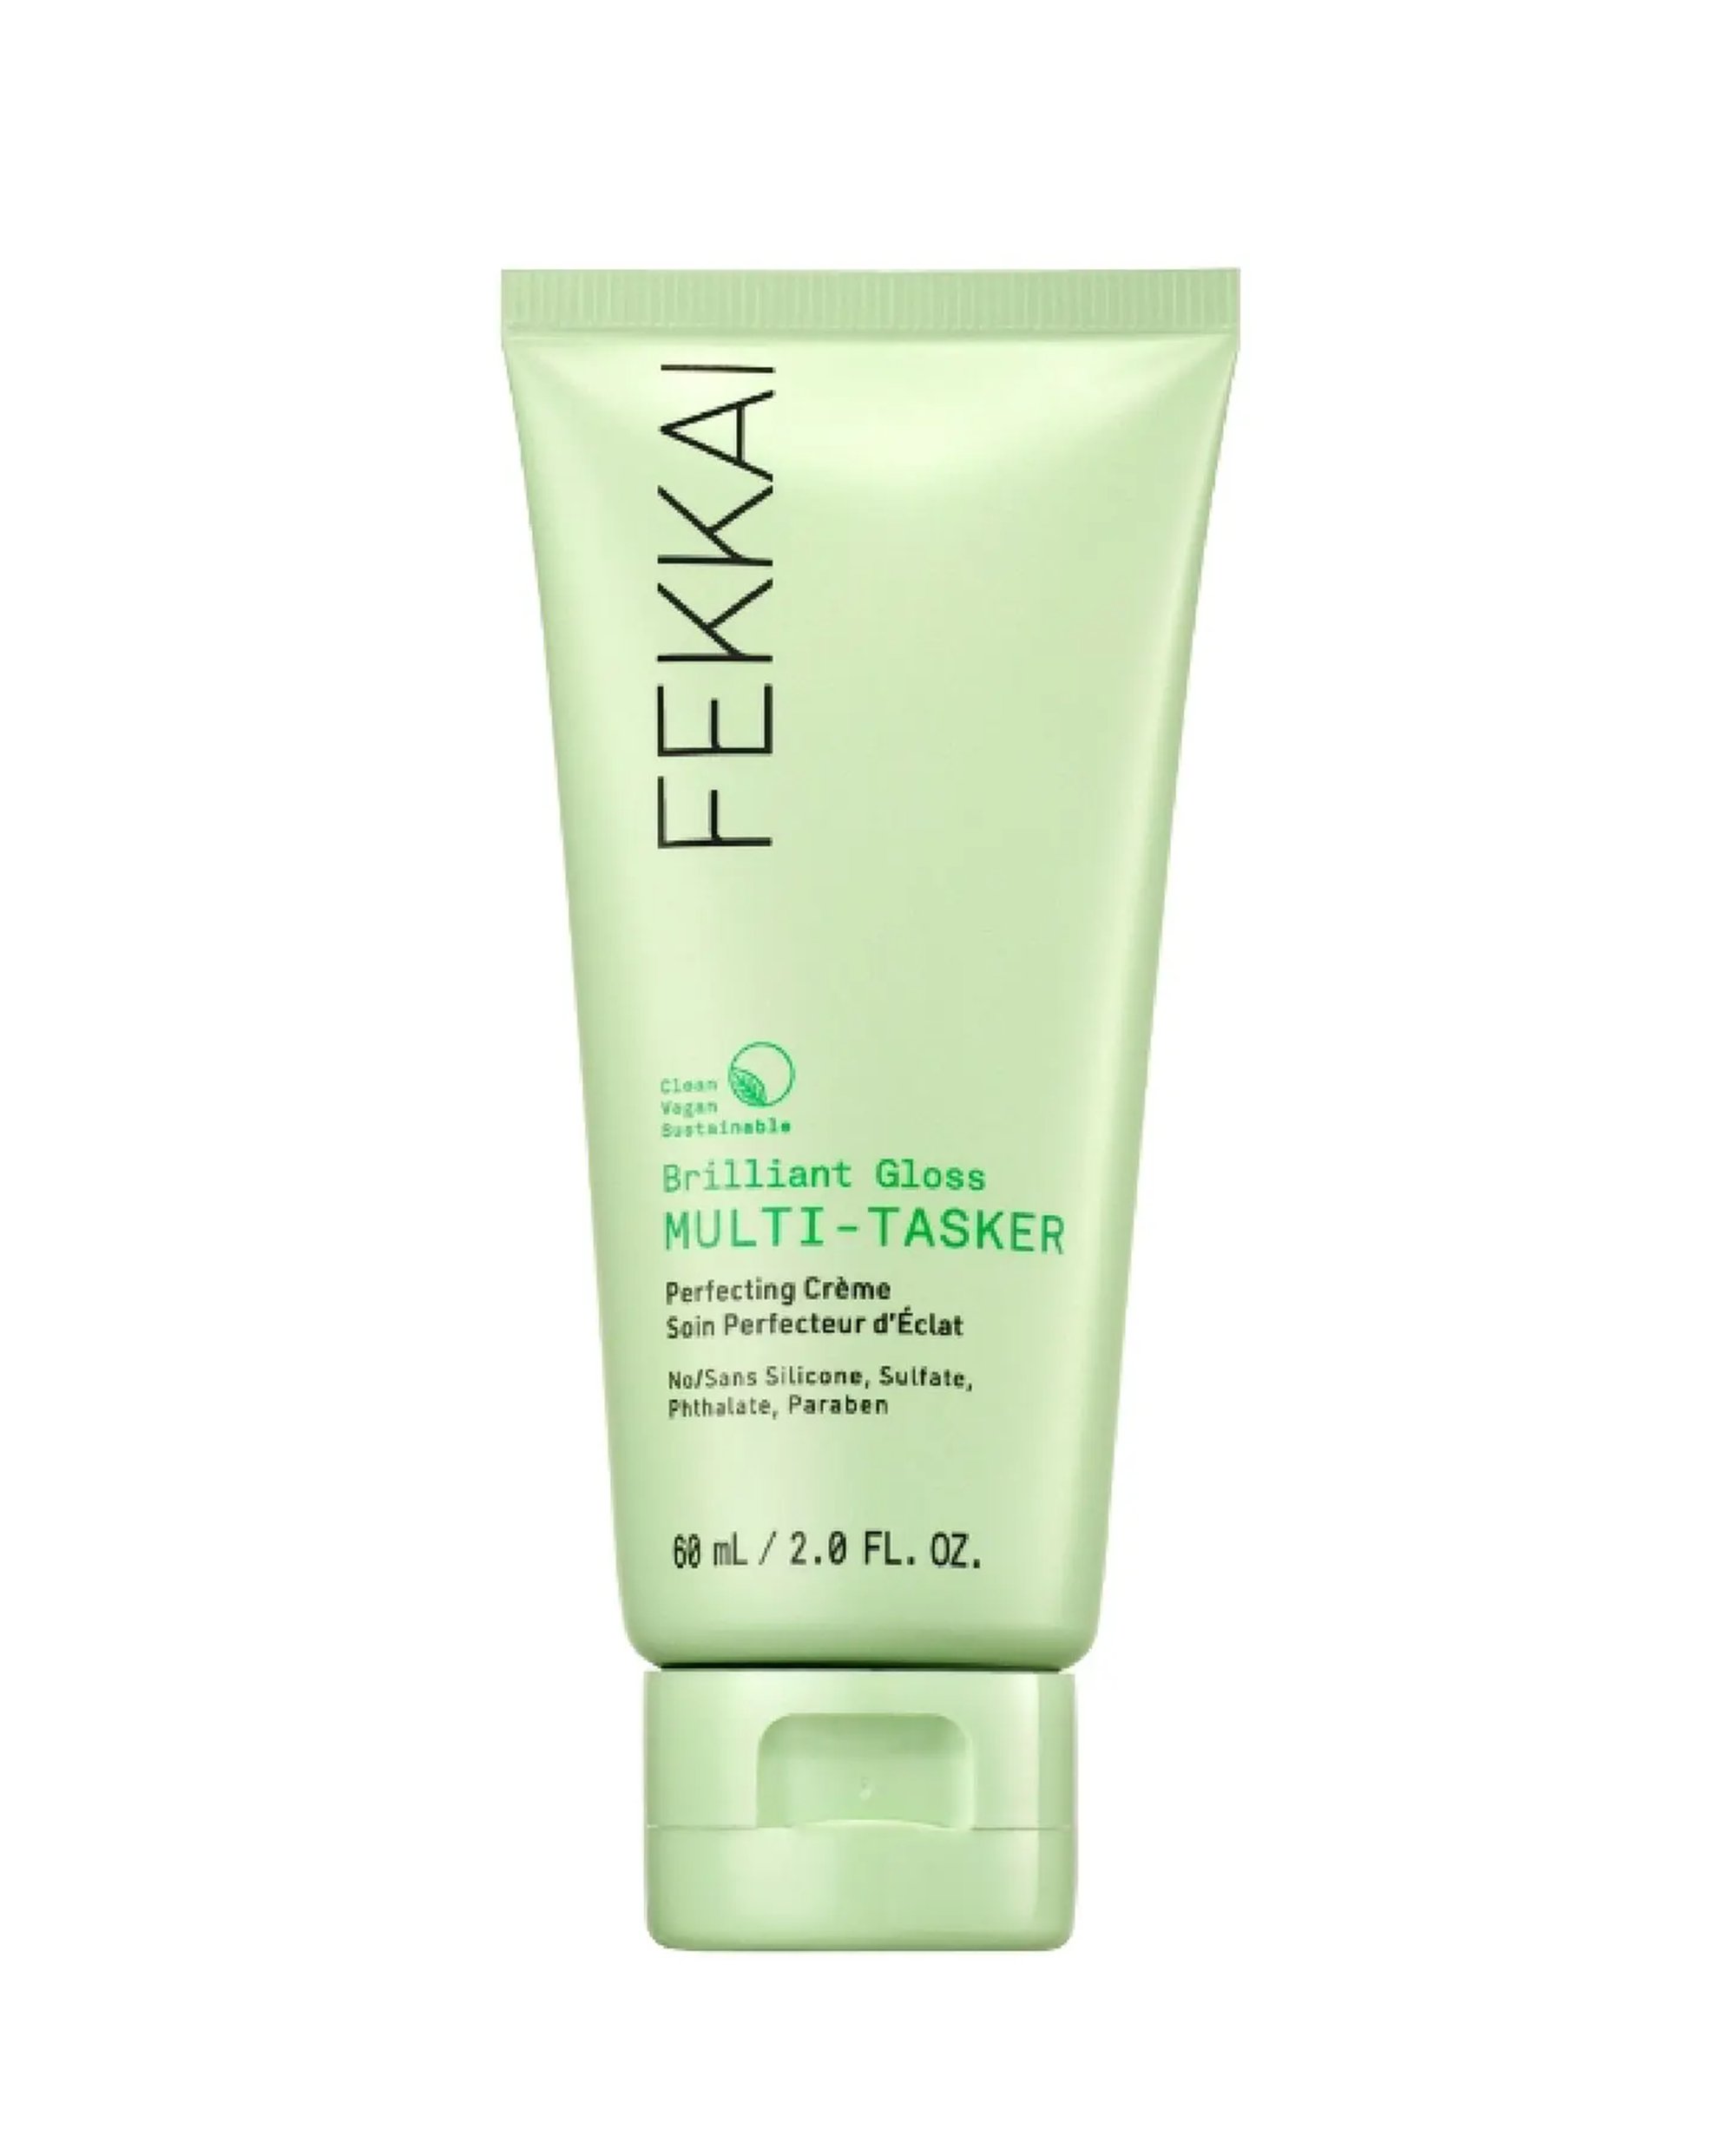
When my fringe is getting a bit unruly but there’s no time for a trim, this shine-boosting finishing cream smooths flyaways and adds a salon-standard shine.

