Demystifying ingredients, clarifying how to apply products and revealing everything you’ve always wanted to know about skin types; Eliza Explains will help you become a beauty pro.
Sandal season is well and truly here: a sentence that will send a shiver down the spines of those who have neglected their toes since September last year. I hold my hands up to this, lavishing TLC on my fingernails through bi-weekly salon appointments and a stash of cuticle oils at my desk while my feet are forgotten. That’s why I’ve made it my mission to nail the at-home pedicure this year.
I’ll be honest, I’ve not had many professional pedicures in my life, but when I have, I’ve been blown away by how incredible my feet feel and look afterwards. A pedicure will leave you walking out of the salon with a whole new personality.
I’ll always opt for a salon pedicure ahead of a holiday or special occasion, but with appointments ranging anywhere from £20 upwards, learning how to do your own pedicure at home can save you a lot of money this summer.
Rather than slapping on a last-minute coat of polish five minutes before you head out the door, take out an hour to give yourself a proper pedi and show your feet the love they deserve. Trust me, you’ll thank yourself for it later down the line.
Not sure where to start? I asked session manicurist and nail artist Metta (@nailsbymets) to share her expert tips on how to give yourself a salon-worthy pedicure at home.
Step 1: Soak
“Prior to a pedicure I would recommend giving your feet a wash to cleanse the feet and remove any dirt and odours,” says Metta. “I love Famous Name’s RELEAF Soak-A-Lyptus for giving my feet a thorough cleanse and soak. It has a wonderful eucalyptus scent, which instantly relaxes me and gets me in the mood for pampering.”
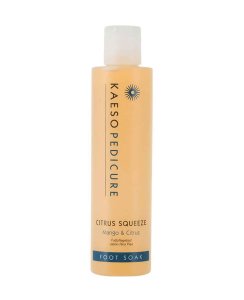
While this product is only available through professional salon websites, there are some great alternatives you can shop on the high street:
Swipe and shop: Foot soaks


*Eliza may earn commission on sales from these product links
Step 2: Exfoliating
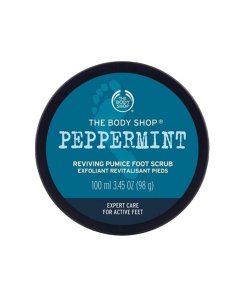
Once you’ve softened the feet, it’s time to use a scrub. This will help to exfoliate any dead skin and prepare your feet for going in with the harder foot file. The Body Shop’s Peppermint Reviving Pumice Foot Scrub, £9, The Body Shop, is one of my favourites as it feels extremely cool and refreshing on tired feet.
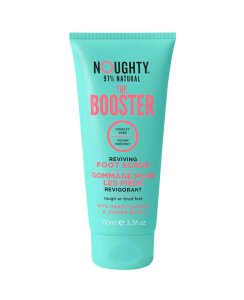
Swipe and shop: Foot exfoliators

*Eliza may earn commission on sales from these product links
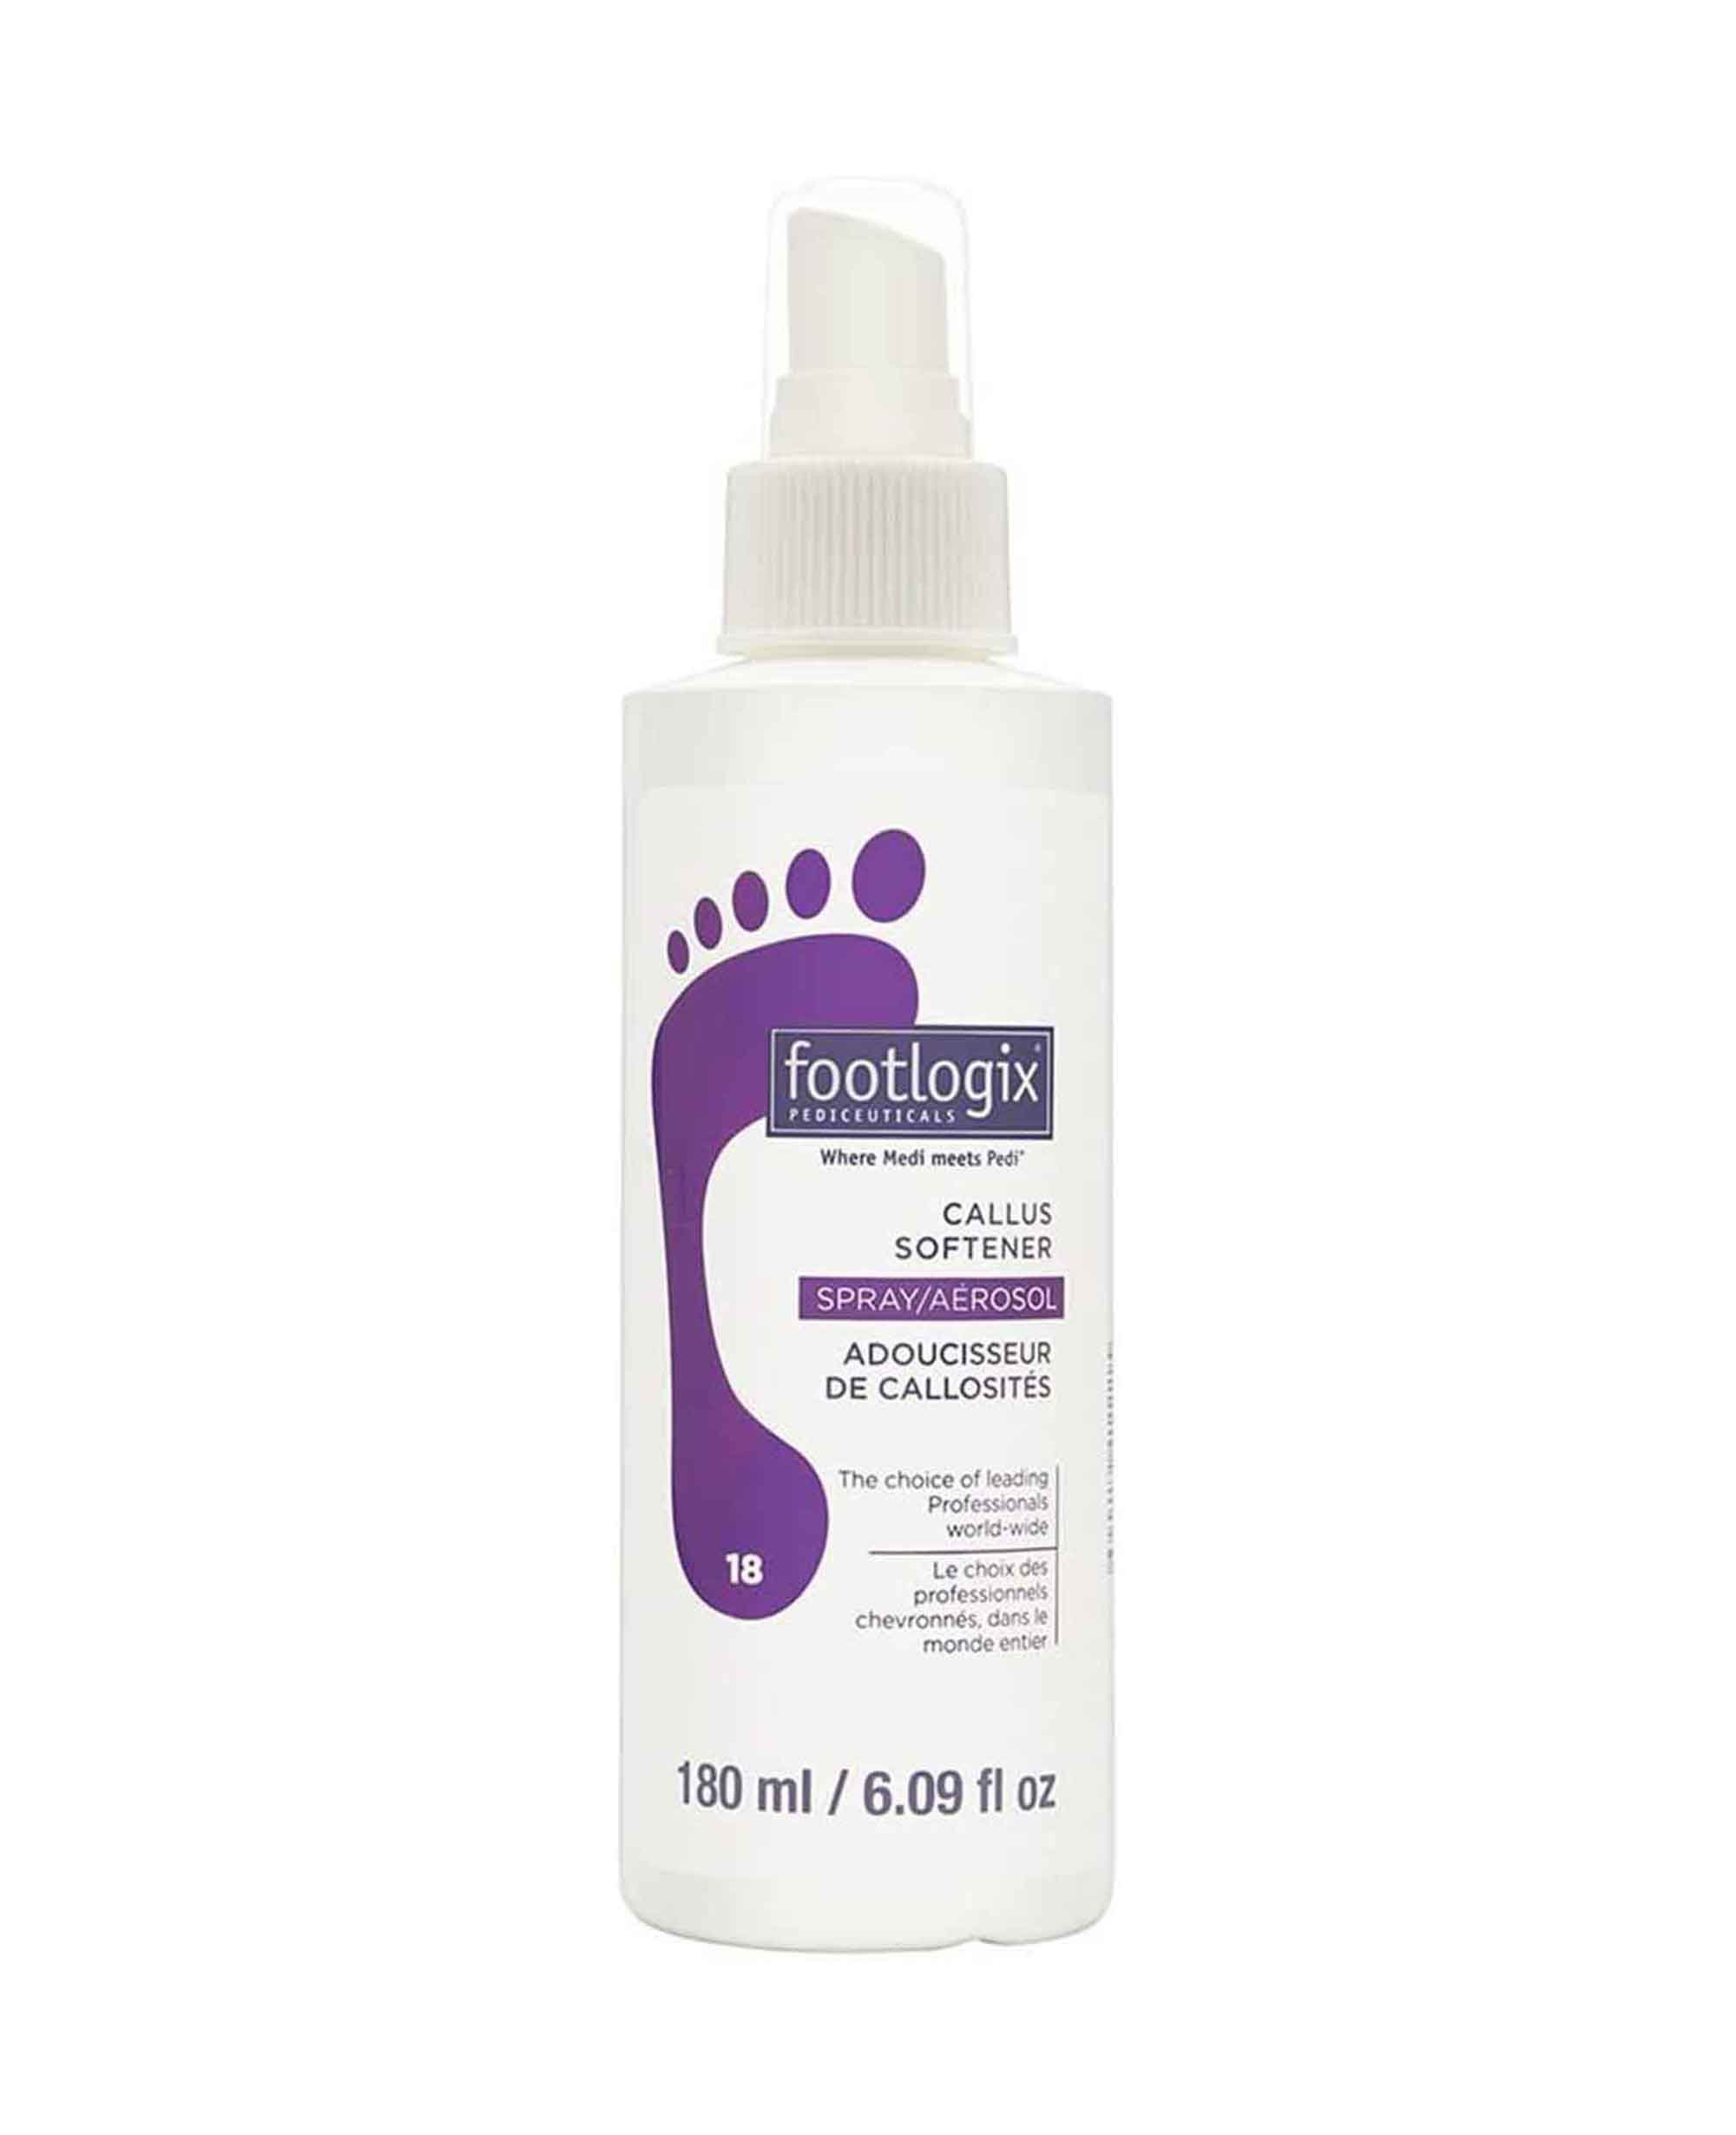
An optional step before going in with a foot file is using a callus treatment, which helps to soften extremely hard skin on the feet. Metta recommends the Footlogix Callus Softener, £38.99, Amazon, which she sprays onto the feet, leaving to penetrate for a few moments while she tidies the cuticles and files and trims the toenails.
Step 3: Shaping the nails
When it comes to shaping and trimming your nails, there are a few things to take into consideration, including your activity levels and the types of shoes you wear.
“Generally keeping toenails as short as possible is best, especially if you’re a runner or do a lot of sport and your feet are often in trainers, boots or high heels,” says Metta. “This is because with these types of shoes, your toes – especially the big toe – will have a lot of pressure applied to them. If left too long, this can lead to ingrown toenails and bruised toenails.”
“In the summer months, when your feet are in sandals and your toenails are unrestricted, you can opt for a slightly longer length – just a few millimetres, which will give you a more even shape across all toenails.”
Swipe and shop: Nail kits


*Eliza may earn commission on sales from these product links
For shaping and filing, you want to make sure you have a sharp pair of nail clippers and a decent nail file as your toenails tend to be much thicker than your fingernails.
“Always cut or file toenails straight across and smooth the sharp edges gently, to avoid ingrown toenails,” advises Metta.
Tidy up your cuticles with a cuticle pusher and cuticle nipper to ensure a neat base for your nail polish, and go over your nail beds with a nail buffer for a smooth surface.
Step 4: Filing and smoothing
Once your toenails are tidied, it’s time to reach for a foot file. Note that you want to make sure the feet are towel tried, as filing on wet feet can make it difficult to know how much dead skin you’re getting rid of.
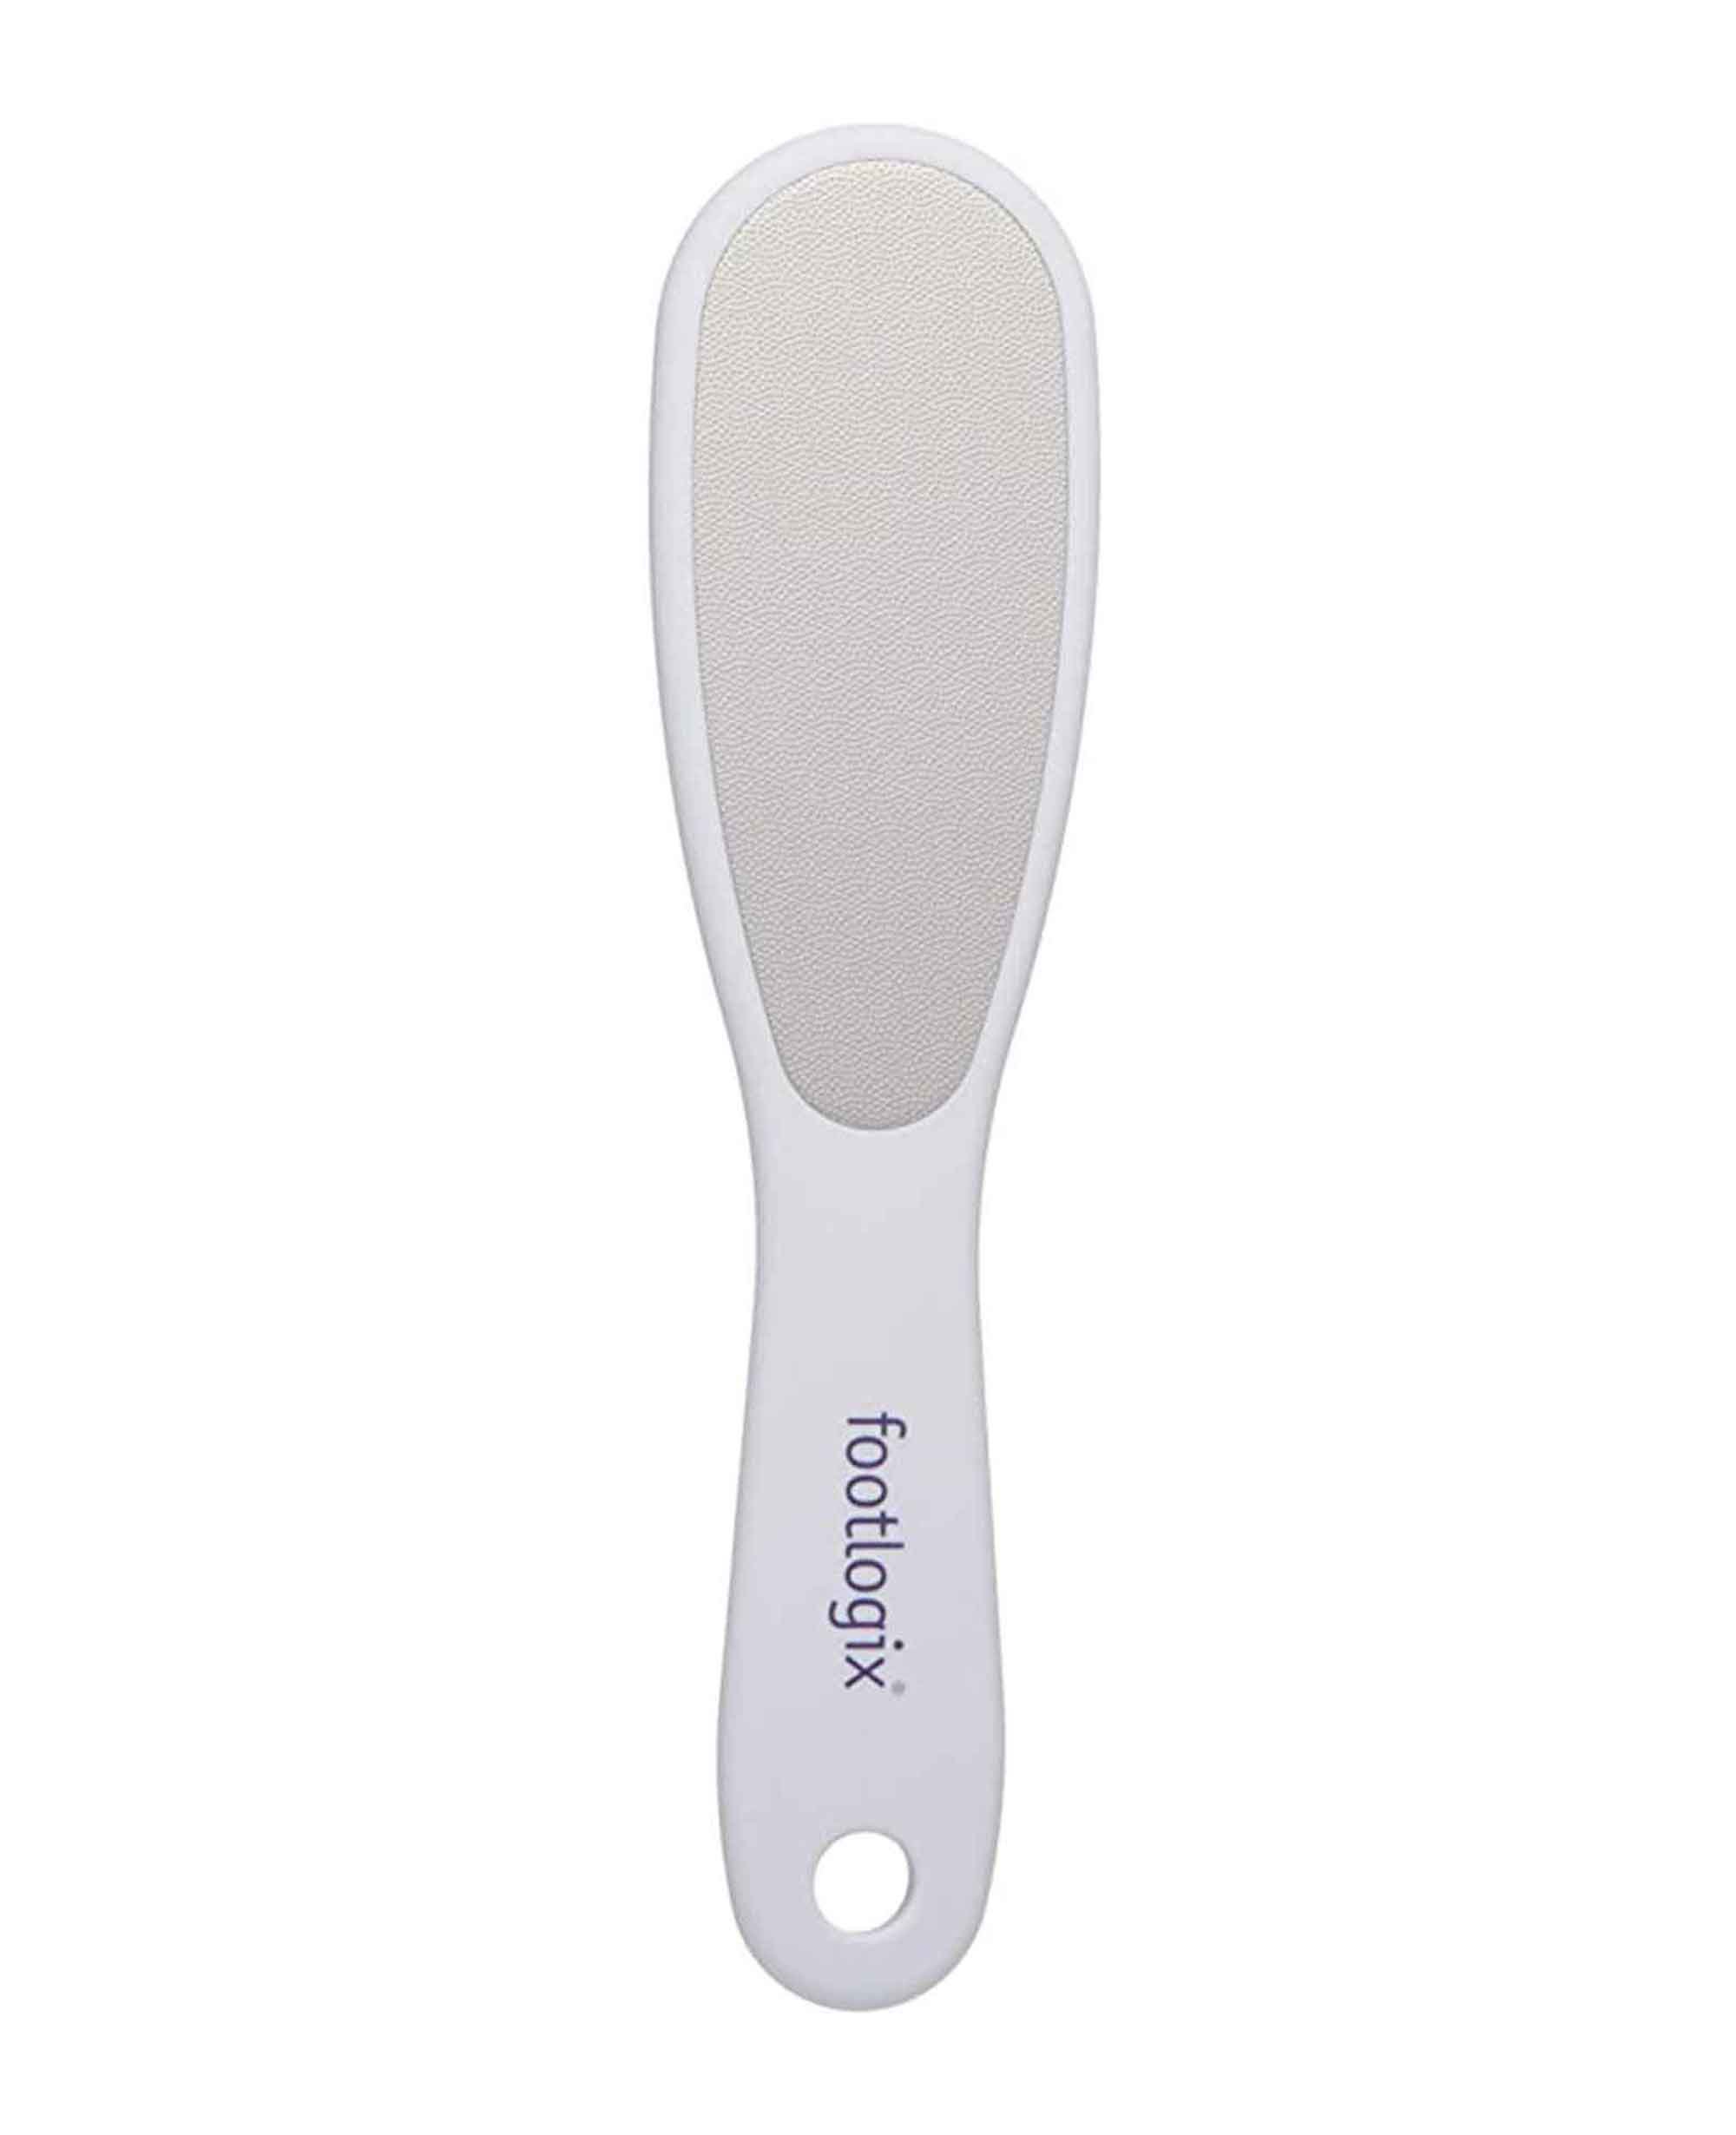
“I use the professional Footlogix Stainless Steel File, £16.95, Amazon, to very gently soften and smooth away any hard skin/calluses. You can see the dead skin rolling off the feet, and super soft feet will be revealed after,” says Metta.
The problem areas to focus on are usually around the heels and sides of the feet where skin tends to harden and if left unattended, crack open. Start filing with a medium amount of pressure towards the middle of the foot and increase depending on how thick the skin is.
Step 5: Painting
Now for my personal favourite part: applying your colour. Anything is game when it comes to the shade, but Metta highlights some things you’ll want to consider when deciding on gel polish vs normal polish.
“Nail polish can easily be painted at home and it’s much easier to remove. It can last around three weeks but will start to look a bit dull, and there is the drying time to consider; nail polish isn’t for you if you need to rush after your pedicure or if you want to go to bed straight away.”
While it’s recommended that gel polish is applied at a salon by a nail technician, the pandemic got a lot of us acquainted with at-home gel polish kits. There have been conversations around people getting allergic reactions to some gel polishes when they haven’t been cured properly or bought from a trusted brand, so if you are planning on giving yourself a gel pedicure, make sure you’re buying from a good brand and curing for the time they advise on the instructions.
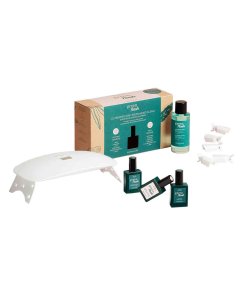
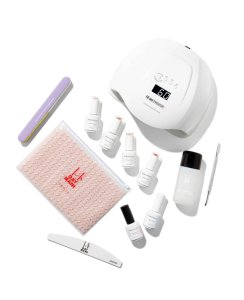
Brands I’ve used and love include Manicurist, Mylee and 14 Day Manicure. You can get a whole kit including lamps and gels starting from around £60, so you’ll be saving money in the long run.
Swipe and shop: Gel nail polish kits

*Eliza may earn commission on sales from these product links
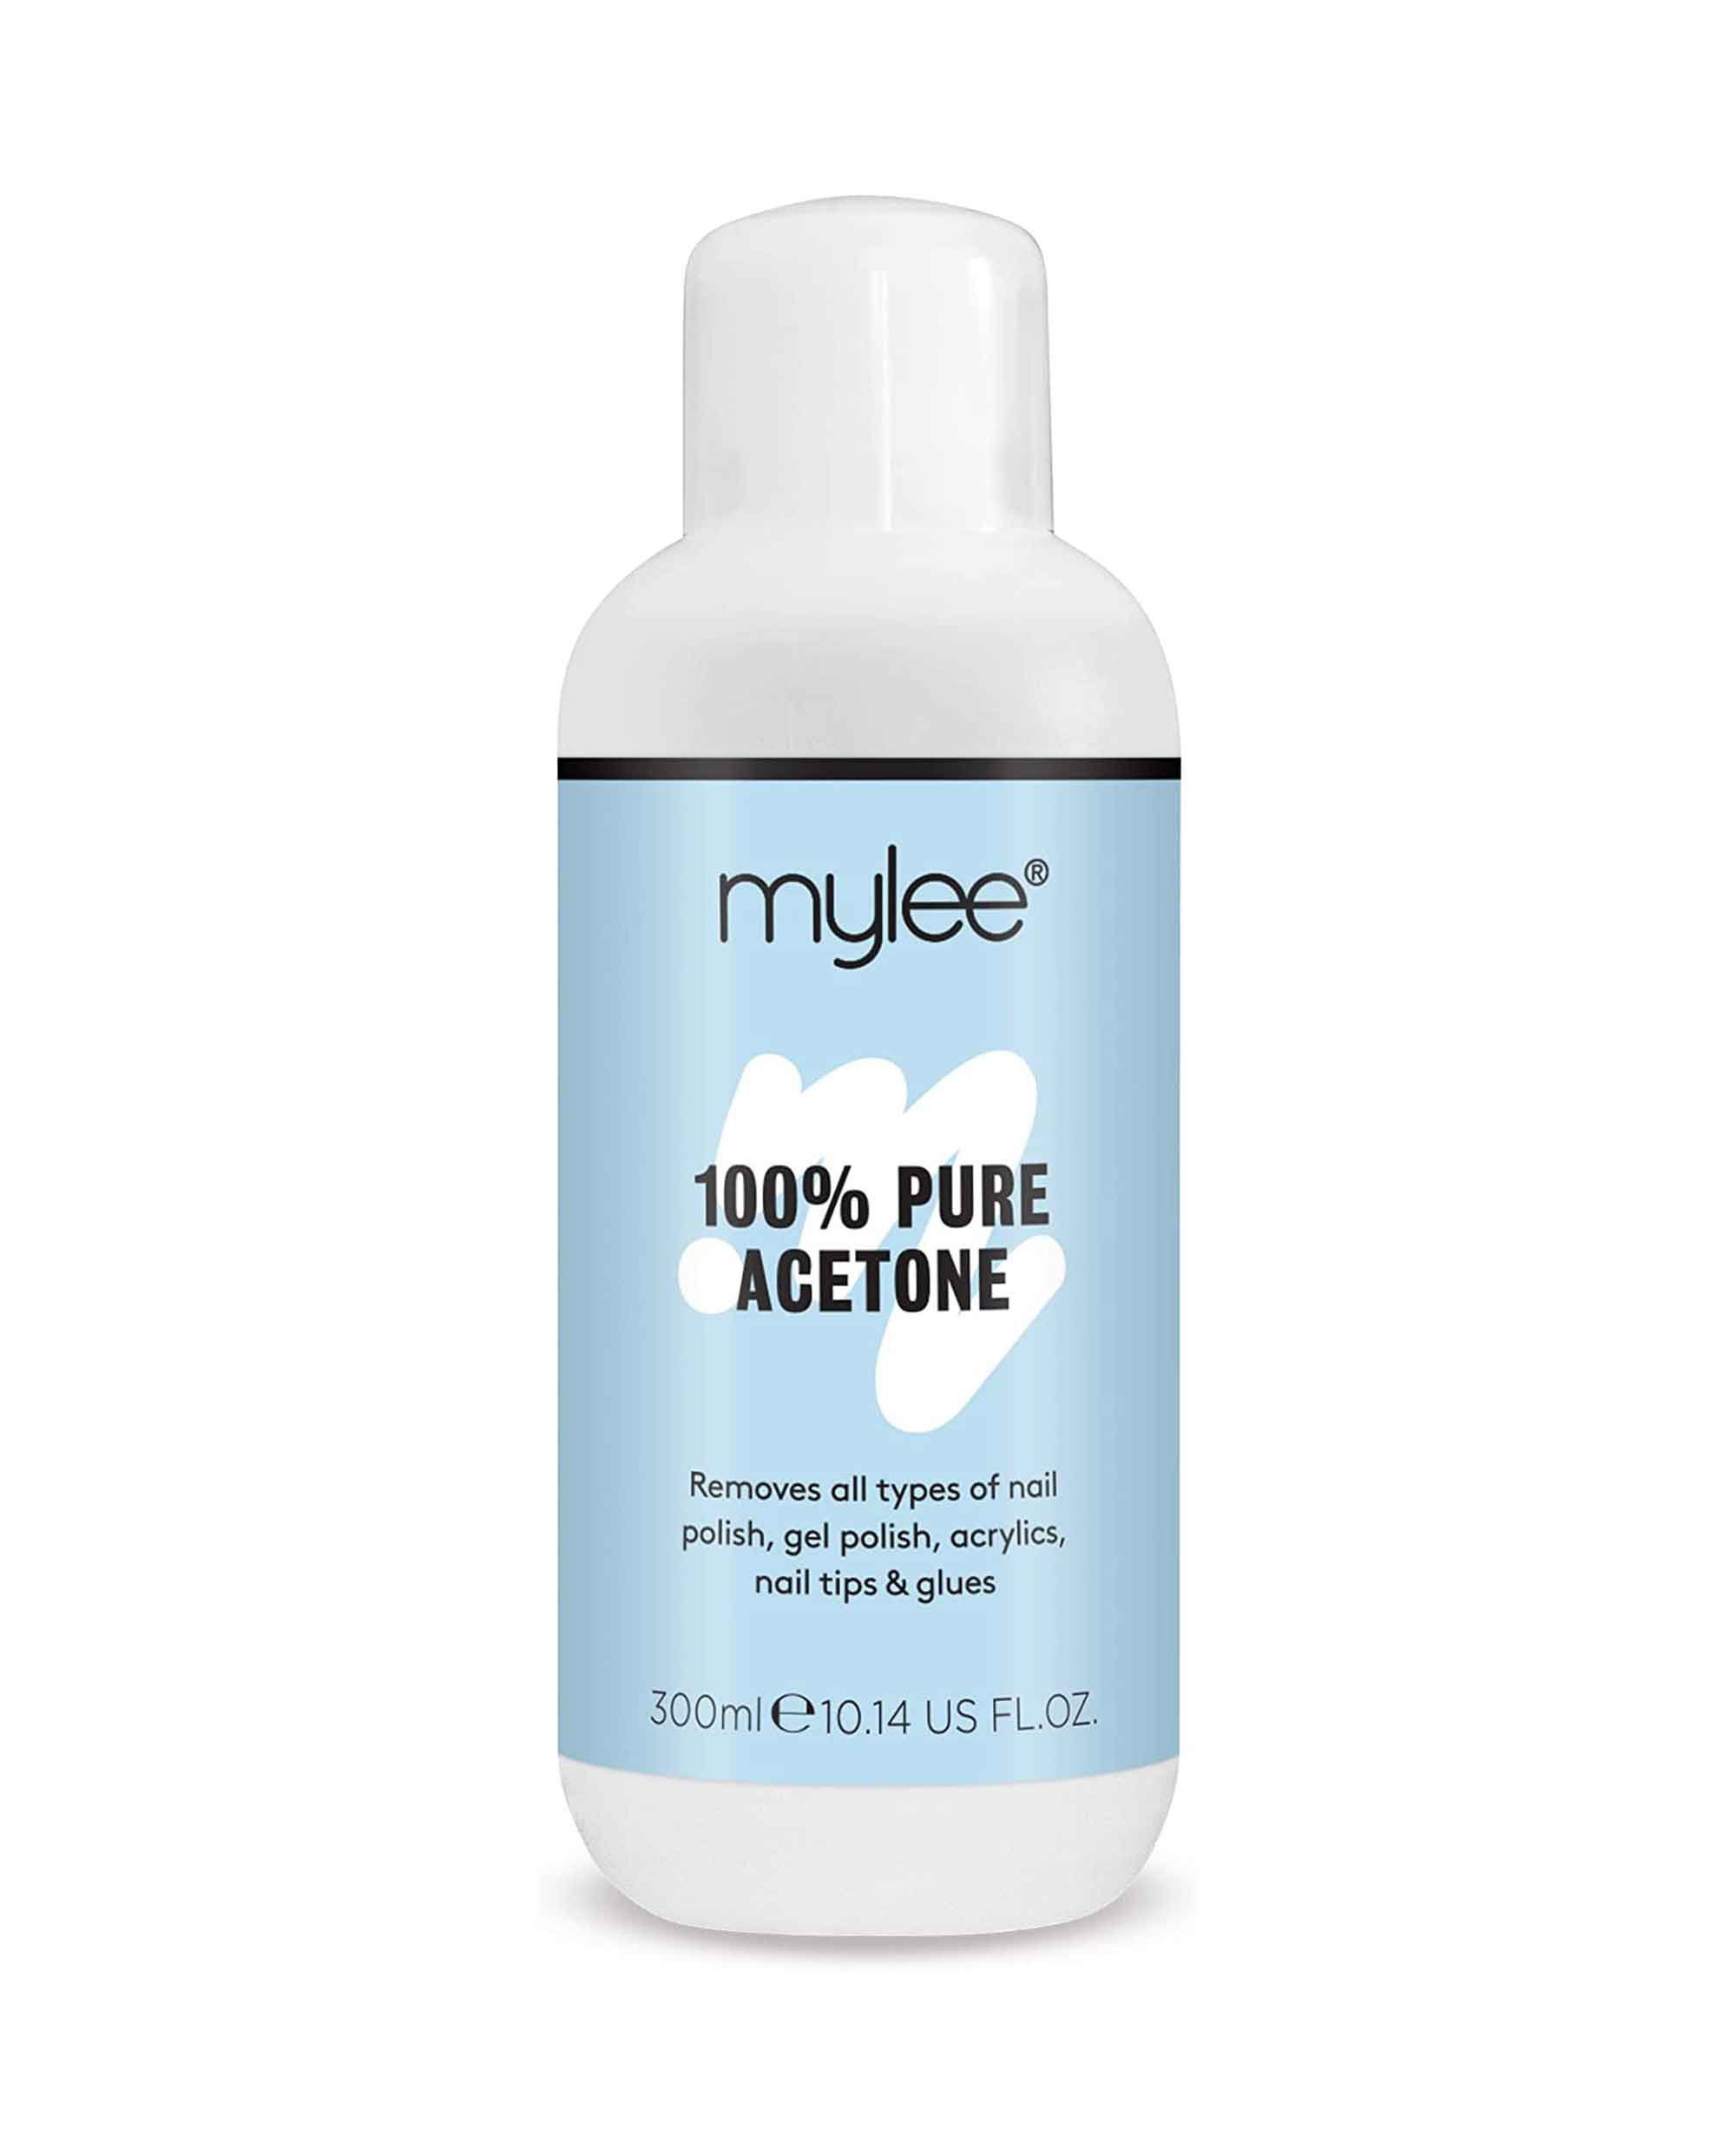
“Gel polish can last many, many weeks – around four to six weeks, although I’d recommend pedicures every four weeks. The benefit of gel polish is that it will stay beautifully glossy and won’t look old, get scratched or chip easily. However, it is a longer process to remove as you’ll need to soak it off with a gel polish remover.”
Step 6: Moisturising
Lastly, you want to ensure you finish with a foot cream to lock in moisture and ensure your feet stay soft for as long as possible.
Foot creams will be better than normal moisturisers as they contain specific ingredients to penetrate the harder skin on your feet.
“Urea is a great ingredient for hydrating the skin, as is spiraleen, which is naturally antimicrobial and will help to relieve any skin irritations or help to fight any bacteria.”
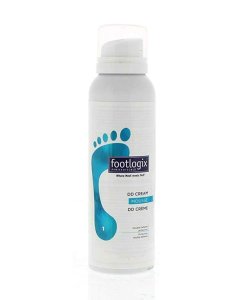
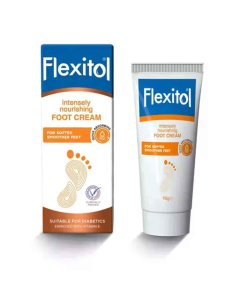
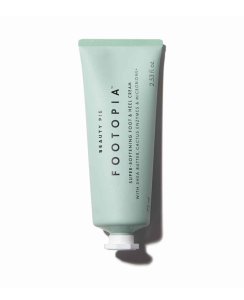
Metta recommends the Footlogix DD Cream Mousse, £27, The Skin Direct, which contains both of these ingredients. Some other moisturising-targeted options include Beautypie’s Footopia Cream, £8 for members, Beauty Pie, and Flexitol’s Intensely Nourishing Foot Cream, £7.69, Boots.
Swipe and shop: Foot creams
*Eliza may earn commission on sales from these product links
How to make your pedicure last as long as possible
So now you’ve put in the time, you’ll want to make your hard work last for as long as possible. Here are a few tips from Metta that you can follow to keep your pedicure looking fresh and your feet feeling their best:
Moisturise your feet daily
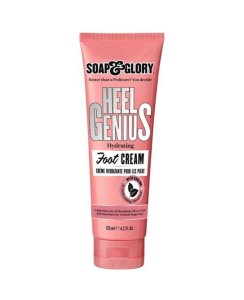
“I would recommend moisturising your feet a least once daily. To maintain smooth feet, I would highly recommend using a specific foot moisturiser as it will have targeted ingredients for the feet. My go-to is Footlogix’s DD Cream Mousse, which is a very lightweight yet rich mousse that penetrates deep into the feet.”
Swipe and shop: Foot moisturisers


*Eliza may earn commission on sales from these product links
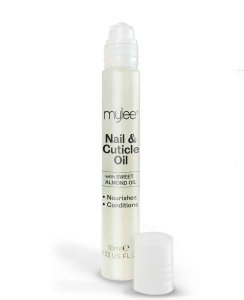
Apply cuticle oil often
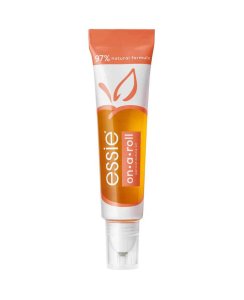
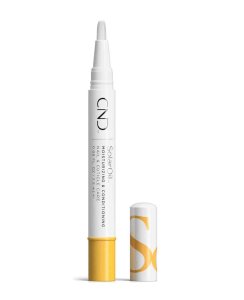
“Something many people don’t think of, using a cuticle oil helps reduce cuticle and dead skin build up on the toenails, which can be quite a lot as pedicures are generally not carried out as regularly as manicures.”
Swipe and shop: Cuticle oils
*Eliza may earn commission on sales from these product links
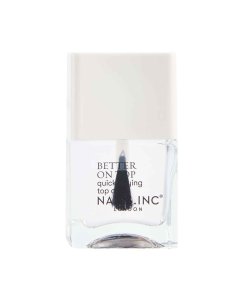
Top up with a top coat
“If wearing normal nail polish, you can paint a thin layer of a top coat onto your toenails every 3rd or 4th day. This will help to keep your toenails looking glossy and smooth.”
Swipe and shop: Top coats


*Eliza may earn commission on sales from these product links
And voila, happy frolicking with your perfectly pedicured feet!


