Whether it’s how to remove fake tan like a pro or apply false lashes with ease, According To A Millennial brings you expert advice, direct from the coolest beauty millennials.
Naturally, I’ve got medium brunette hair. Not that you’d know, because I’ve been dying my hair at home pretty steadily from the age of about 14. There were the early experimentation years where I naively believed that ‘crazy hair colours’ would have any effect on my dark hair tone, the failed bleaching attempts and many other shades of hair dye in between.
Safe to say, I’ve become seasoned when it comes to dying my own hair at home. There have been mistakes, yes, but along with it, a lot of lessons learned.
With the cost of living going up, the reality is that a lot more of us are going to have to turn our hands to DIY beauty. Ironically, the pandemic might have played its part in preparing us for this, with most of us having a crack at everything from brow lamination and lash extensions to at-home waxing.
But there’s no denying that dying your hair at home is a pretty big job, especially if going to the hair salon to get your colour topped up was your once-monthly ritual.
Don’t despair though; I promise you if I can do it, you can. Here’s what you need to know about dying your hair at home.
Tip one: have fun with choosing your colour, but be realistic
I won’t lie, after 10 years of dying my hair myself, going down the at-home hair dye aisle in my local Boots still fills me with excitement. There are more hair shades and formulations available now than ever before, from pastel shades to multi-dimensional hues.
I have however gained more realistic expectations of what I’m going to achieve at home vs. in the salon. For example, anything to do with bleach or lightning my hair is a big no from me, and is something that I’d personally save up for and have done at a salon.
One of my friends regularly touches up her bleach at home with the help of another willing friend, but she’s been doing this for years.
Always pay attention to the shade guides on the box; they’re there for a reason and in my experience will always be pretty accurate in what you can achieve.
Tip two: never ever skip the patch testing
Patch testing can sometimes feel tempting to skip, especially if you’ve used the same hair dye before, but trust me when I say you should never ever skip this part out.
I’d used pretty much every hair dye under the sun but ended up having a terrible reaction to a patch test for a salon hair dye which caught me completely off-guard. An irritated patch of skin is uncomfortable, but trust me, a whole head of it would be a lot, lot worse.
Tip three: always have more hair dye than you need
Another thing I’ve learned along the way is to always overstock on the hair dye. You don’t want to be rationing when applying (trust me, this is only going to end up looking patchy) and there’s nothing worse than getting halfway through your hair and simultaneously realising you’ve run out of dye and that Boots is closed till tomorrow. Deliveroo for hair dye unfortunately is still yet to materialise.
I’ve got relatively thick hair, so when I had shorter hair that fell above my shoulders I’d always have 2 boxes of hair dye to hand (and would usually use 1 and a half). Now my hair is past my shoulders, I normally use two boxes but always make sure to have a third on standby.
Obviously everyone will be different depending on hair thickness, texture and length, but again, always better to have more than less.
The essential at-home hair dying tools
Psyching yourself up to dye your hair is always the worst part, so make sure you have a good playlist or podcast ready to keep you company whilst you’re doing it. True crime while touching up your roots? ABBA while applying your new shade? I’ll stop now, but you get the idea.
There are also a couple of hair accessories and tools that I have stashed away in my hair-dye kit, which make the process so much smoother.
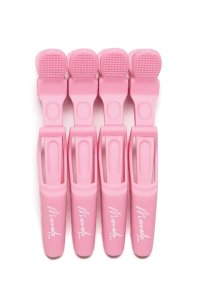
The first and most non-negotiable beauty products you’ll need are hair clips, so you can section off strands of hair once you’ve dyed them, making it a lot easier to keep track of which bits you’ve done. You can get multipacks of these and I keep them specifically for when I dye my hair as they tend to get a little messy.
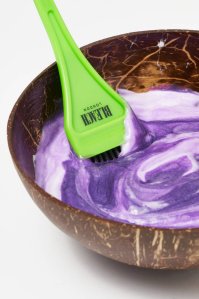
A hair dye brush and bowl is also your new best friend. I applied dye with my gloves for the longest time and let me tell you, using a brush will cut the amount of time it takes you by a considerable amount. It also makes it so much easier to disperse the hair dye evenly along your hair strands and allows you to get right up to the root.
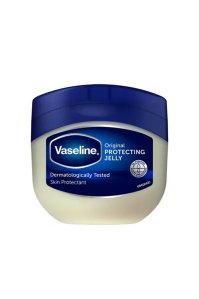
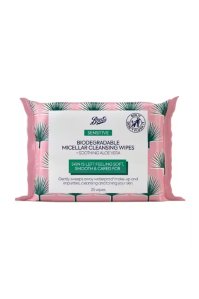
Lastly, damage control. It’s nigh on impossible not to get hair dye everywhere, so make sure to smother your hairline, ears and around your wrists (even with gloves hair dye always ends up here) with vaseline, and have a packet of micellar wipes with you to wipe off any rogue splotches as you go.
Oh, and always wear an old t-shirt. Wearing a towel around your neck is just not practical and ends up falling off every two seconds, so I recommend having a designated hair dye shirt that you can don every time.
*Eliza may earn commission on sales from these product links
How to dye your hair at home
Get everything mentioned above set up in front of you, including of course, the hair dye. Each hair dye will be different so follow the instructions on the leaflet inside the package and decant the final mixed formulation into your mixing bowl.
I always start at the top of my head, taking a piece of hair a few centimetres thick and applying the hair dye from the root downwards. I’ll then clip this section of hair away and carry on, working my way down to the underside of my hair.
Once you’ve applied the dye all over, set a timer. It’s too easy to lose track of time when you’re doing this and leaving your hair dye on too long can leave you with a completely different colour.
Each hair dye is different, but will usually require you to leave it on for 20-30 minutes for a full head.
D.I.Y hair dye aftercare
You’ve successfully dyed your hair at home, but it’s not over yet (sorry). To make sure your hard work doesn’t get undone, you’ll want to invest in some colour aftercare.
I wash my hair everyday (I know, I know), so having a hair wash routine that protects my colour is imperative. You’ll want to try and avoid shampoos with sodium lauryl sulfate (SLS), sodium laureth sulfate (SLES), sulphates and sodium chloride as these will strip your hair of the dye.
This can be trickier with affordable shampoos, but there are a few that are formulated without sulphates and parabens.
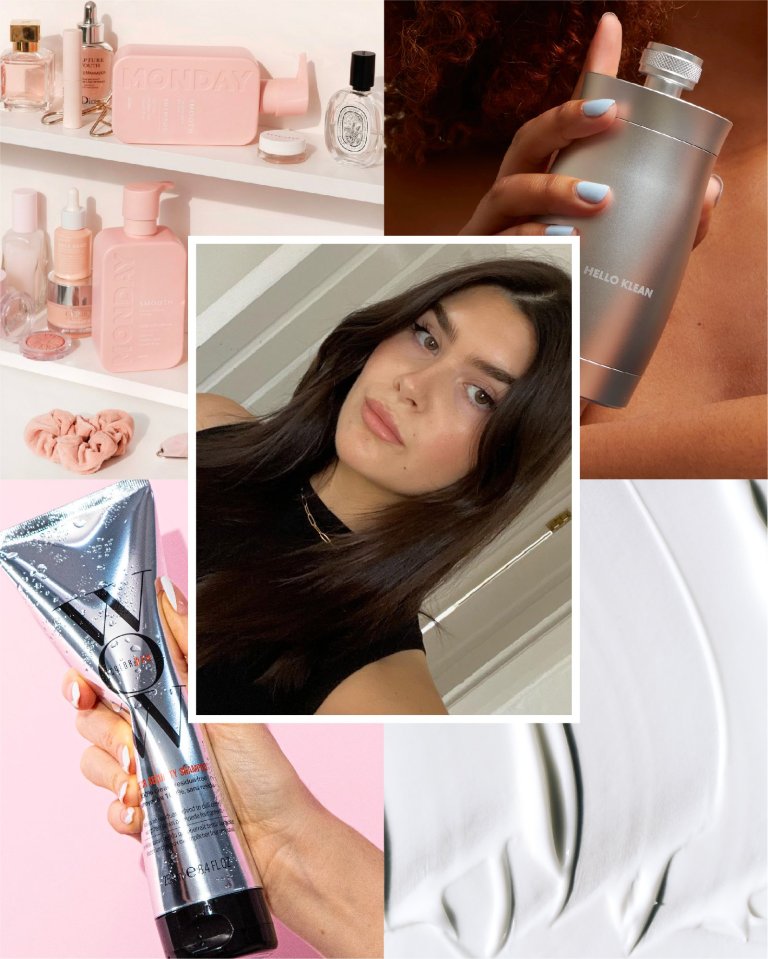
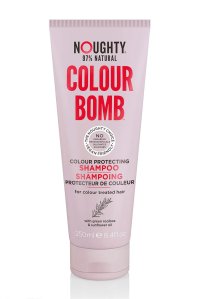
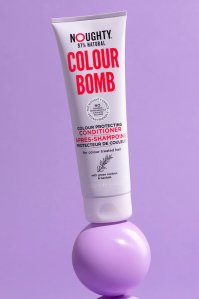
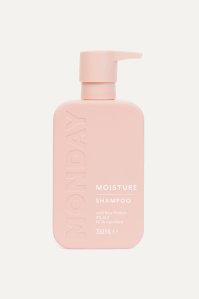
I like Noughty’s Colour Bomb Colour Protecting Shampoo, £6.63, FeelUnique, along with its accompanying Conditioner and Moisture Shampoo and Conditioner, £5.50, Monday Haircare, which is formulated without SLS.
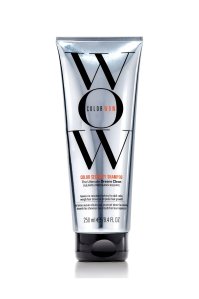
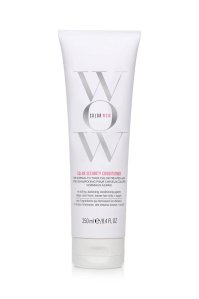
If you’ve got a more of a flexible budget, ColourWow’s Colour Security Shampoo, £19.50, FeelUnique along with its accompanying conditioner has helped to extend the longevity of my hair colour the longest, and the conditioner reminds me of the one you always get in the hair dye packet which is for some reason the best conditioner ever.
*Eliza may earn commission on sales from these product links
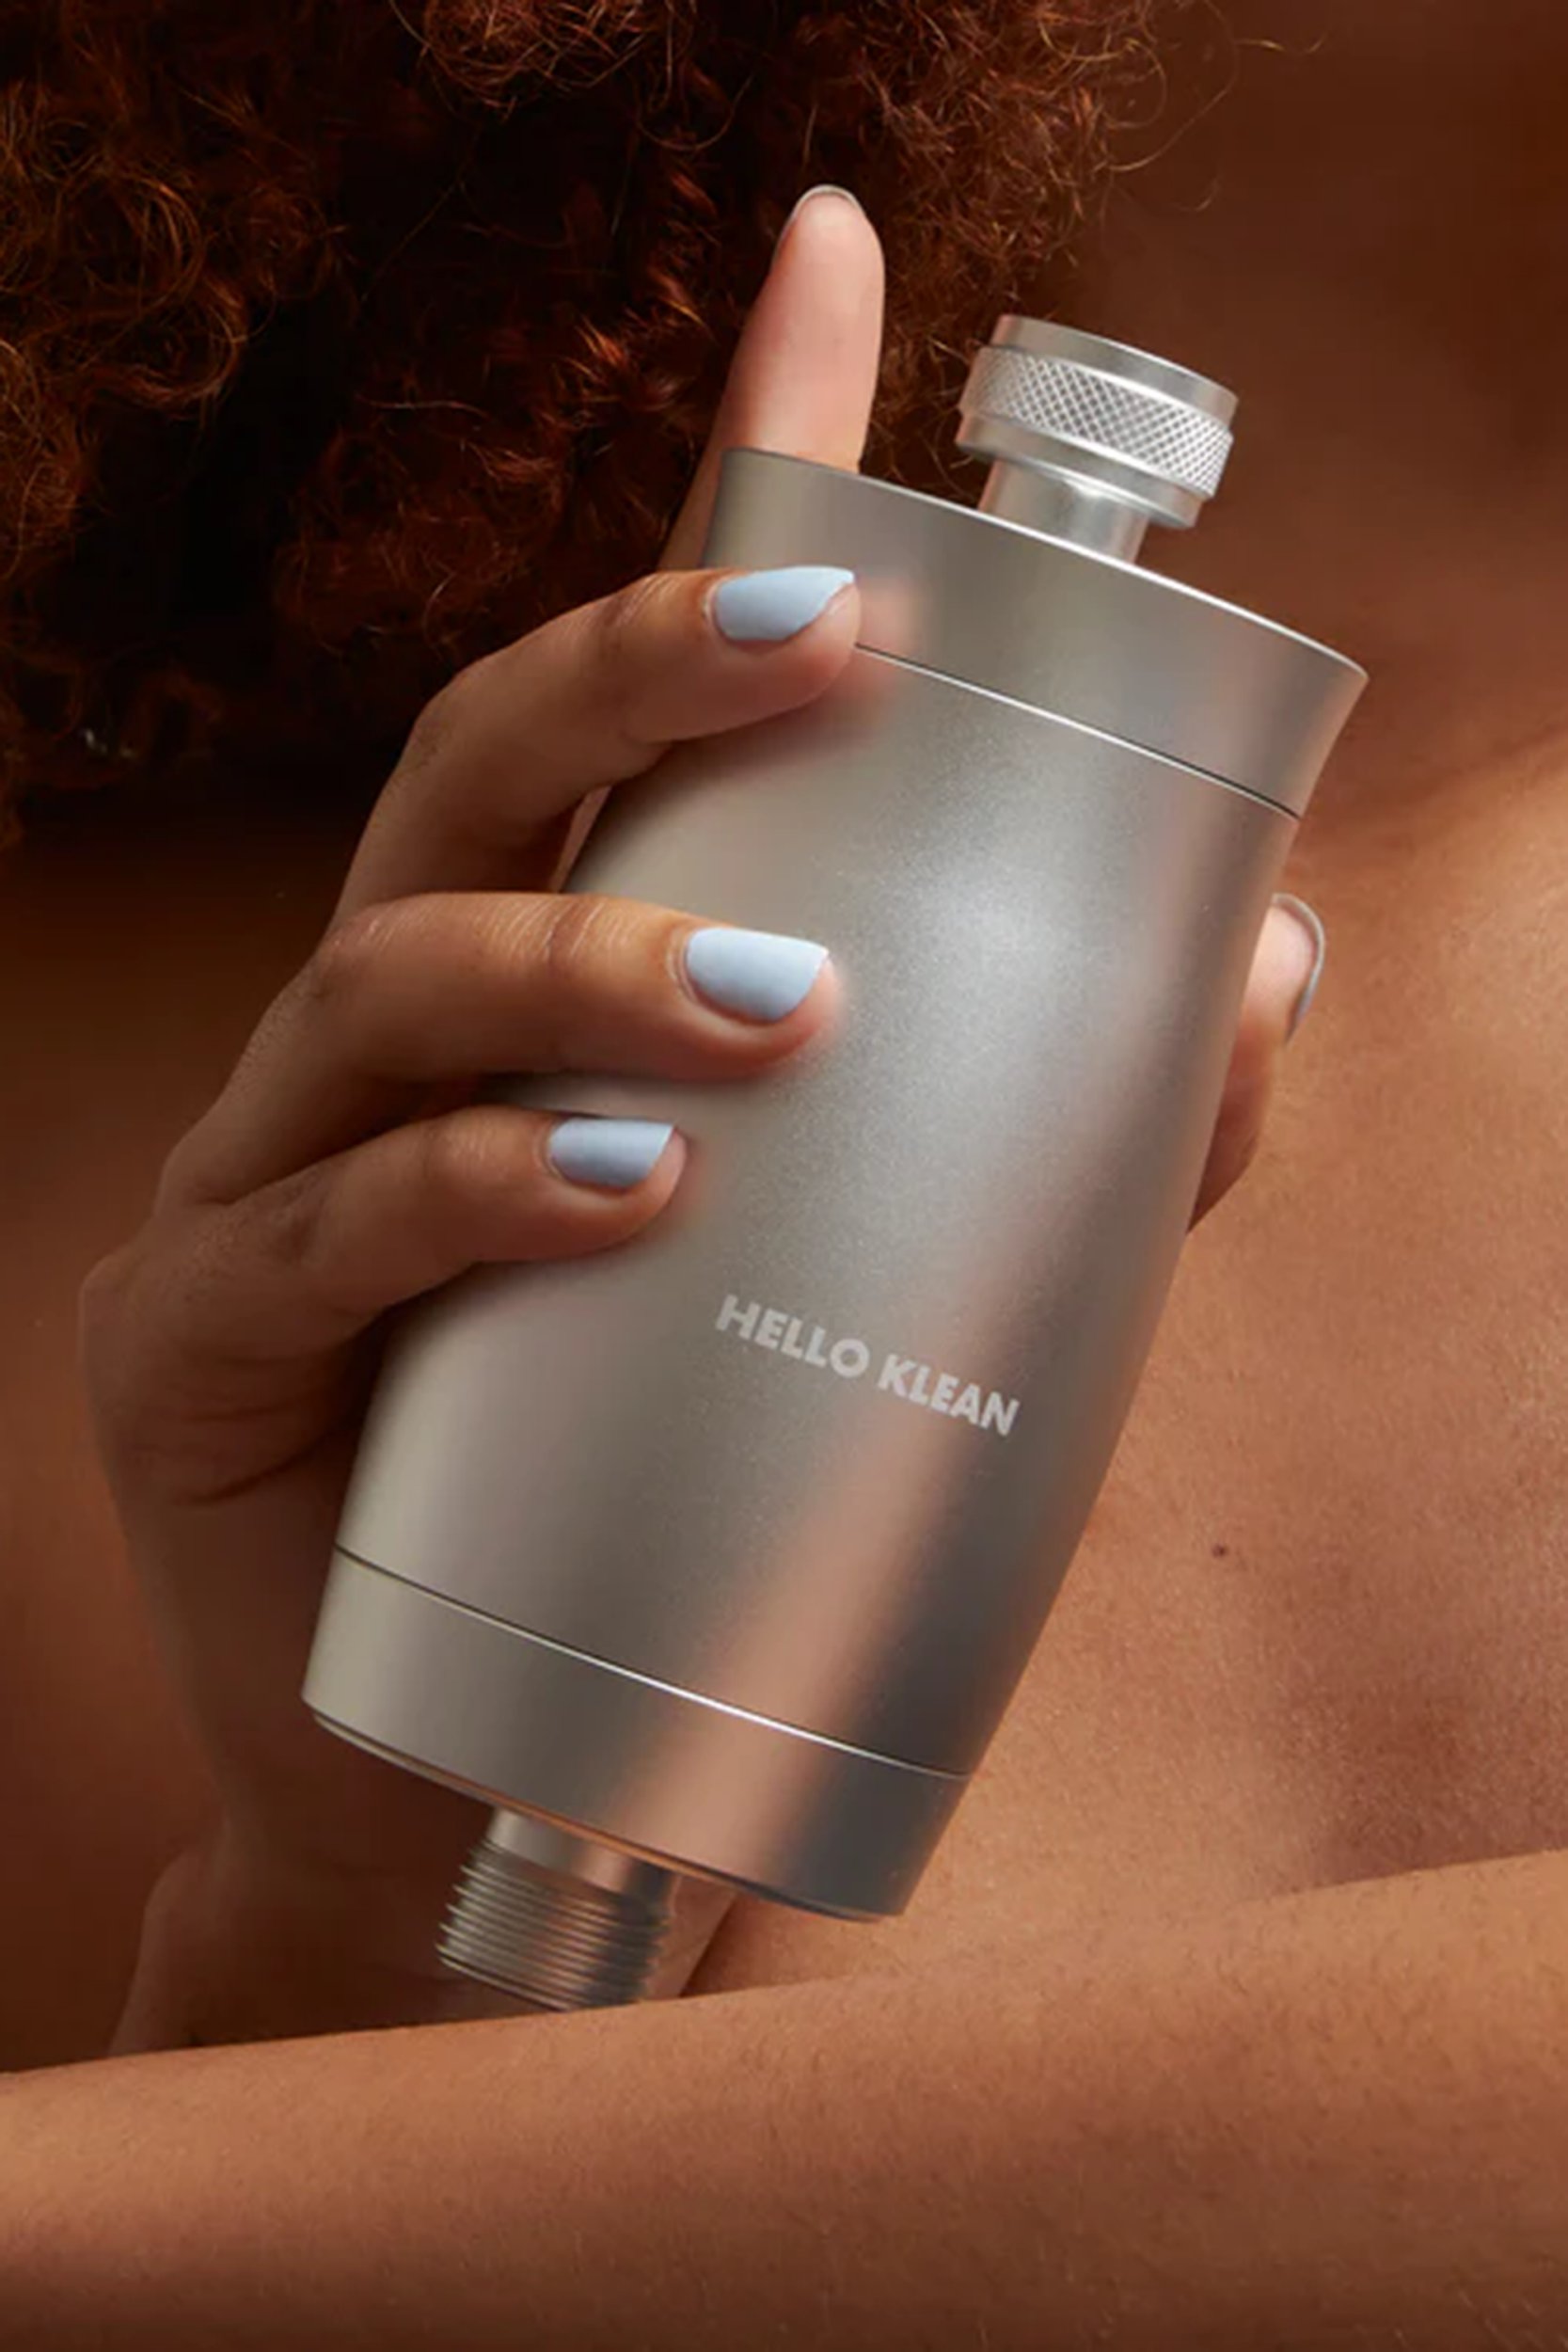
If you’re super committed to keeping your hair dye as fresh as possible, you might want to consider investing in a HelloKlean Shower Filter, £60, HelloKlean.
This smart device fits onto almost all shower and bath configurations to help filter out chlorine, lead, iron, copper and mercury from your water (especially good if you live in a hard water area). Not only does this help to keep your hair and skin soft, but it also prevents your colour from fading as fast.
And there you have it, now you’ve got everything you need to go forth and dye your own hair at home.
