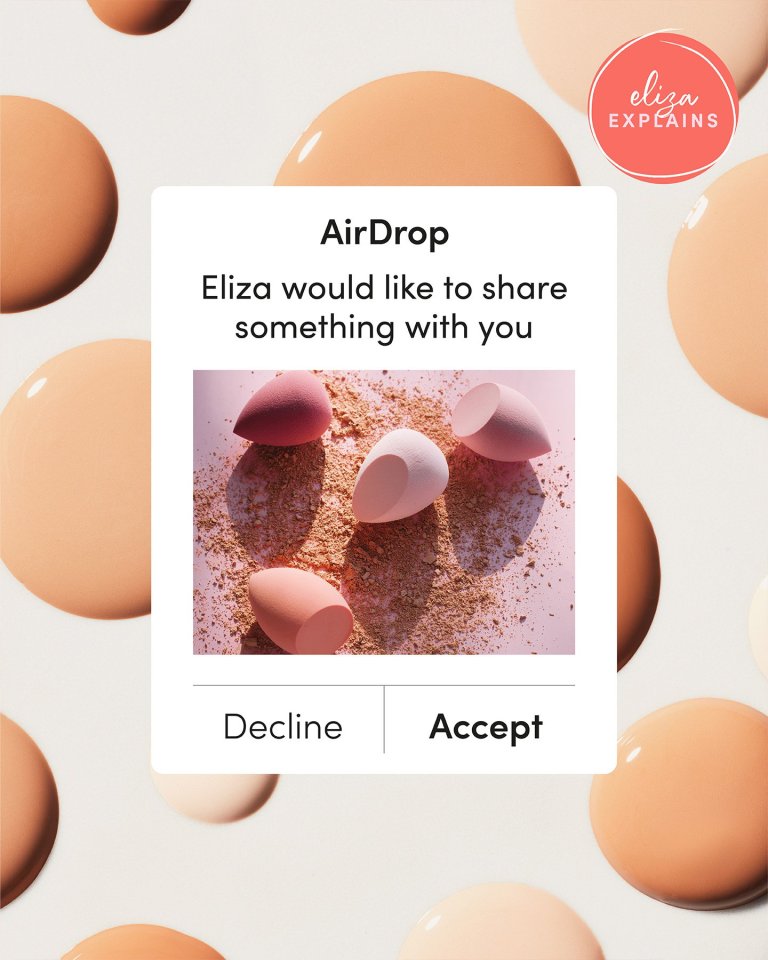
Demystifying ingredients, clarifying how to apply products and revealing everything you’ve always wanted to know about skin types; Eliza Explains will help you become a beauty pro.
The first time I used a makeup sponge I honestly didn’t get the hype. It was circa 2010 and I was a beauty-obsessed student who would spend hours watching girls apply their makeup on YouTube and coveting the products that they’d recommend. Practically all of the money that I earned from my part-time job at Topshop Oxford Circus (RIP big Topshop) went on buying whatever products were on the new-in displays at Boots and Superdrug.
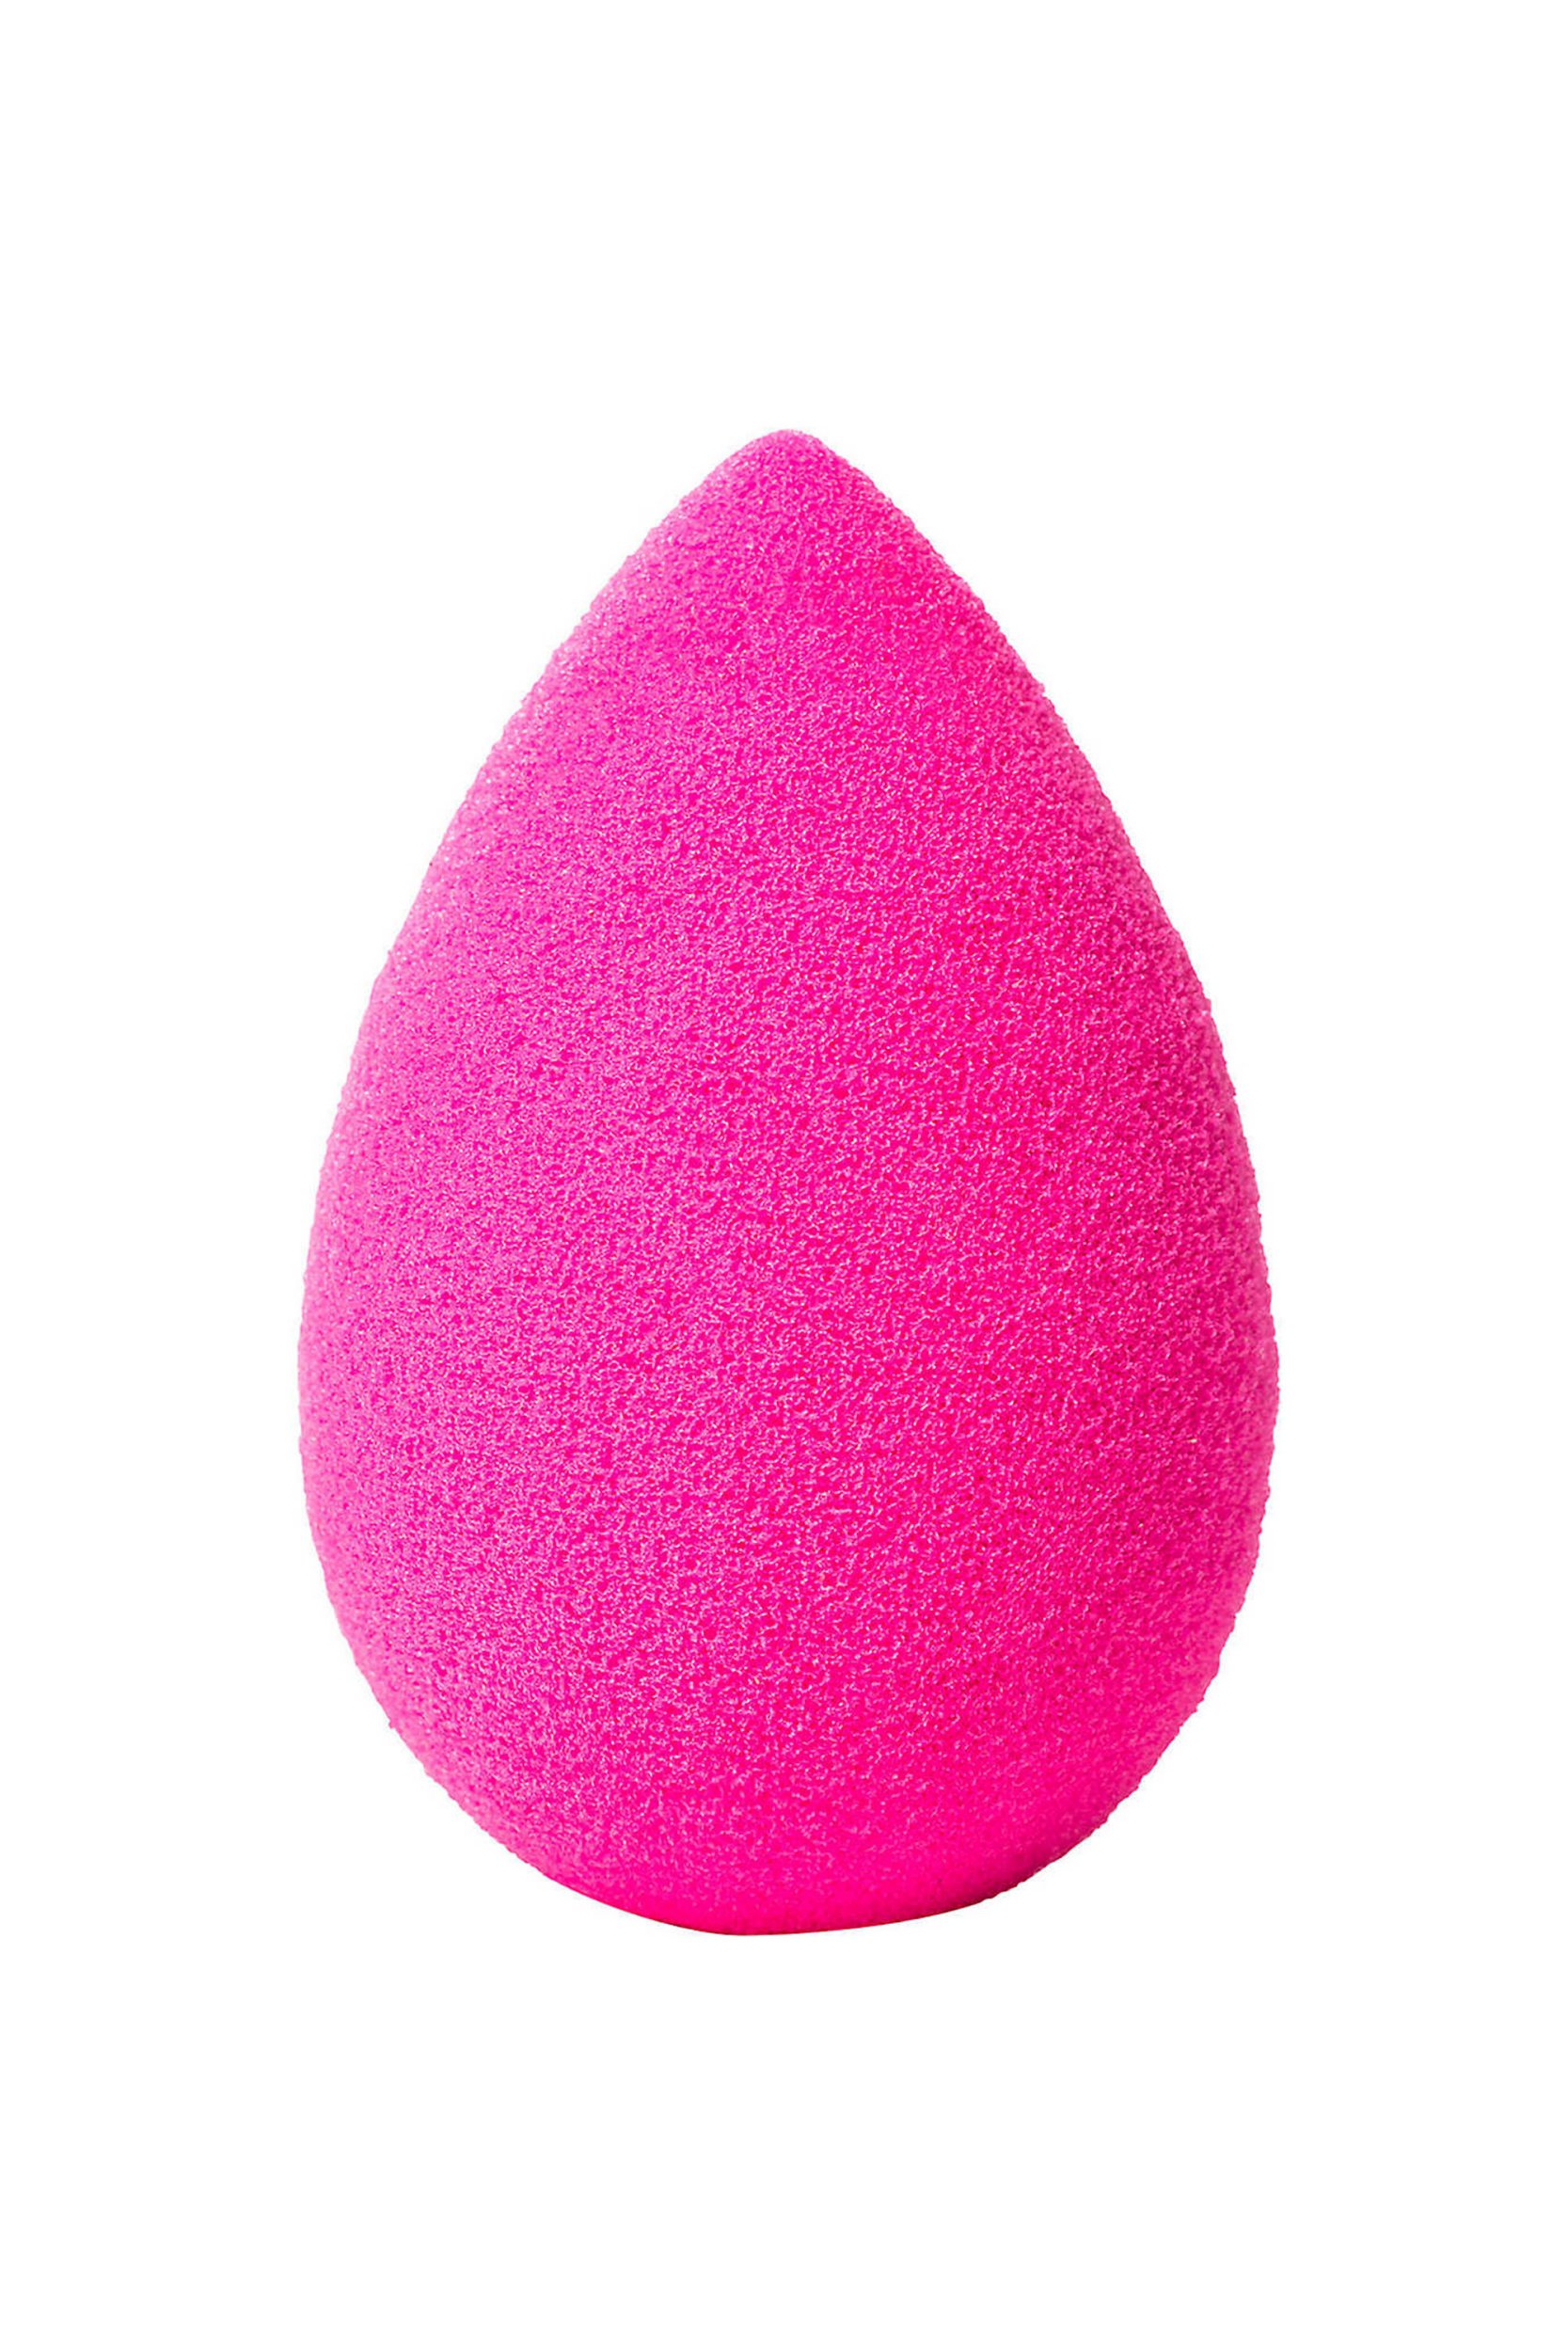
And there was one product in particular that basically all of these YouTubers were raving about for makeup application: the OG Beautyblender, £17, Boots.
At the time, it was way more money than I’d ever spent on a singular beauty product, and I remember weighing up whether to make the purchase or not for months, but there was no denying that these YouTubers’ finished makeup looks all looked much better than mine…ah the power of the early influencer. And with flawless skin undoubtedly the order of the day at the turn of the new decade, I took the plunge and made the purchase.
Once it arrived, I took the bright pink, egg-shaped sponge out of its packaging, pumped my liquid foundation directly onto it (probably the sadly now-discontinued Bourjois Healthy Mix Foundation, which I was obsessed with at the time) and proceeded to smear it all over my face. The result? Patchy, dry-looking, uneven skin – ie, definitely not the kind of smooth base that everyone else online seemed to be rocking. I immediately retired the sponge and went back to using either my fingers to apply my makeup or a hand-me-down Avon paintbrush-style foundation brush on days that I was feeling fancy. And that was that.
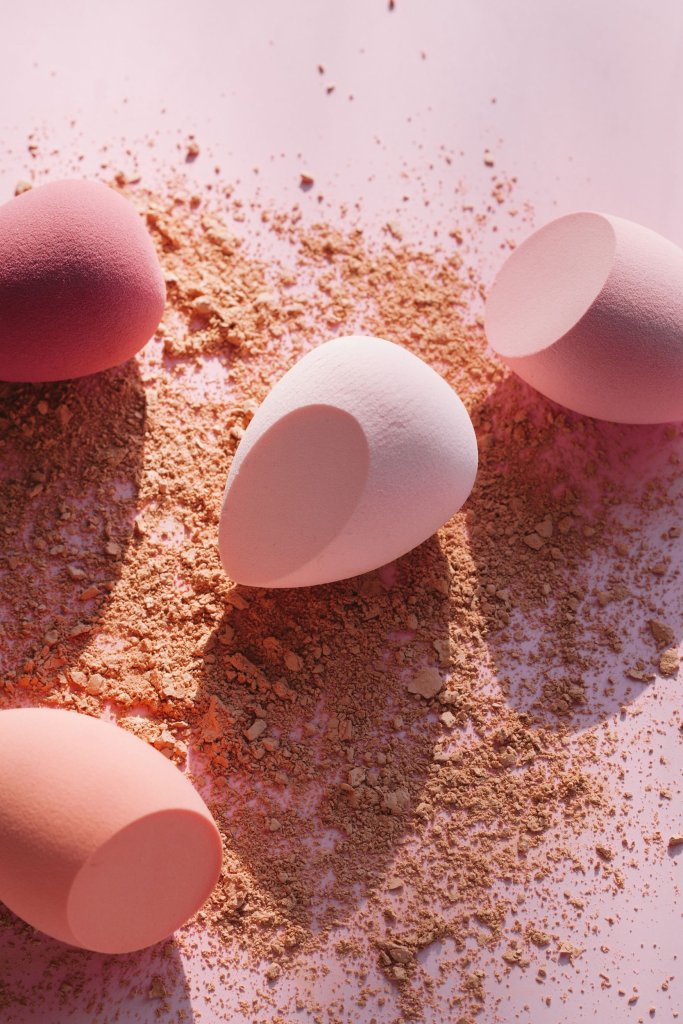
Here’s everything you need to know about the humble makeup sponge:
Which products should I apply with a makeup sponge?
There are actually so many ways that you can use a makeup sponge that I had no clue about ten years ago. Whether it’s to press your serums and moisturisers into skin at the start of your makeup routine or using it to apply a loose powder post-foundation to ‘bake’ your makeup into place, makeup sponges are a truly versatile piece of kit. Heck, I’ve even spotted people using them on TikTok to perfect their at-home manicures.
From cream bronzer to liquid highlighter, I truly think that a makeup sponge is the most versatile makeup tool I own and I love how foolproof it makes blending and applying makeup. “Really think of sponges as an extension of your fingers,” Caldognetto explains. “They’re really good at building up and layering product and pushing it into your skin. Which isn’t to say that the coverage has to be heavy; even if you use a product with decent coverage, using a makeup sponge will actually sheer it out really nicely.”
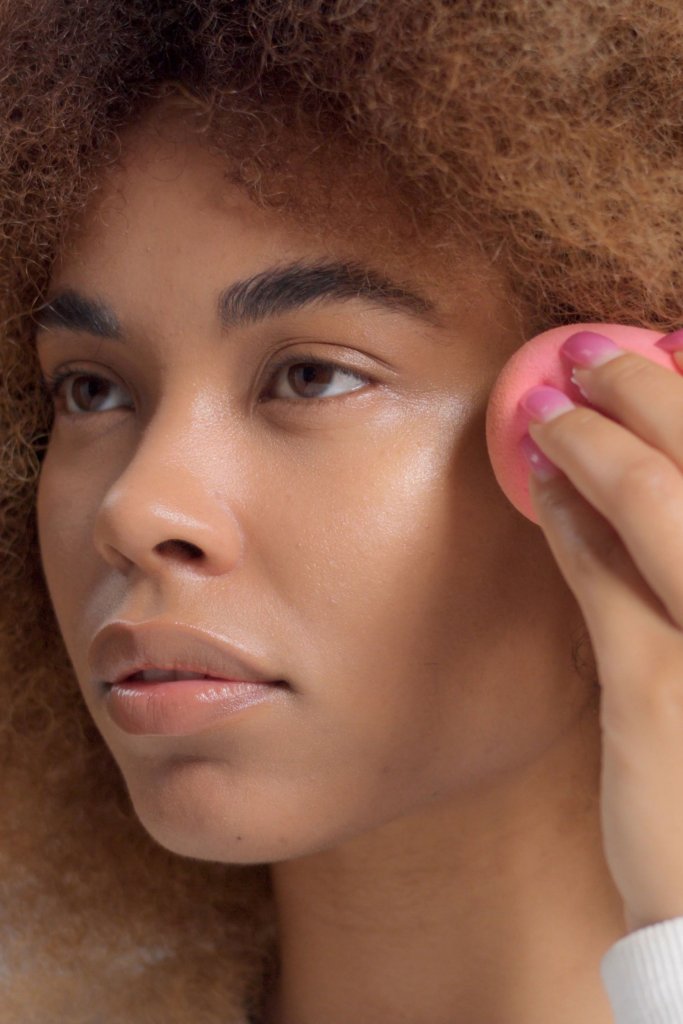
How to apply foundation using a makeup sponge (step by step)
1. Apply foundation to your hand first
I now have my application technique down to a fine art. When using a makeup sponge, I find it best to apply my foundation to the back of my hand then pick up a small amount of product using the sponge before bouncing or stippling it across my skin.
2. Press, don’t drag the sponge
Using this pressing motion, rather than dragging or smearing the sponge across the skin, helps your foundation to really mesh with your complexion for truly even coverage and a softly-diffused finish.
3. Use the tip of the sponge for hard to reach areas
Makeup artist Lisa Caldognetto is also passionate about people making good use of the tip of their makeup sponges. “For any makeup sponges in that traditional teardrop shape like the Beautyblender, really take advantage of that point,” she explains. “You can really get it around the nose crevice and close to the inner corner of the eye to blend product in.”
How to clean a makeup sponge or blender
There is one thing to note: makeup sponges get really dirty, really fast. And they’re known for harbouring bacteria if they’re not cleaned properly, which terrifies me as someone that is prone to breakouts even on a good day. Caldognetto is a big fan of the Stylpro Squeeze Beauty Sponge Cleaner, £39.99, Boots which has been specially created to deep clean your makeup sponges.
She stresses that if you haven’t got the budget for a fancy cleaning tool, using boiling water and soap (she suggests Fairy liquid) will work just as well. “Just really ensure that you’re pressing and mushing your makeup sponge to get all the gunk out because you’d be quite grossed out if you cut a makeup sponge open and saw what lies in there when it hasn’t been properly cleaned,” warns Caldognetto.
How long do makeup sponges last?
Typically speaking, makeup sponges have a shelf life of around three to six months – depending on how frequently you use and clean yours – which undeniably makes the Beautyblender one of the more spendy sponges on the market at £17 a pop. But there are plenty of brilliant alternatives out there if you know where to look.
Browse our selection of the very best affordable makeup sponges and blenders to shop now.
