As a beauty editor and trained nail tech, I’m frequently bombarded with questions from friends about their manicure concerns and burning nail art queries. And don’t get me wrong, I absolutely love talking about all things nails.
In fact, it’s my favourite beauty topic, and I’m often the bearer of bad news when it comes to what people are doing wrong with their nails — and the one to (kindly) help them fix the problem.
Nail mistakes you’re making — and how to fix them
If you’re fed up with gel manicures lasting only a few days, amateur-looking finishes, or not being able to master chrome pigments, I’m sharing the nail love — and the most common nail mistakes you could be making.
And the good news? Most of the time, the fixes are pretty simple.
Mistake one: Using gels at home without proper knowledge
The first mistake is one that’s been a hotly contested topic recently, due to safety concerns: doing your own gel nails at home. I’m all for DIY at home — especially in a cost of living crisis where we’re all watching our pennies — but, there are definitely a few things you need to know to avoid allergies and give you the best mani possible.
To start, you should use an entire gel nail system if you’re DIY’ing. Choose a brand and stick to it; this means not using a bonder from one brand, a base from another, and a top coat from somewhere else. Brands test their products together as one system, so if you’re doing a pick’n’mix, no tests as to how these products interact with one another have been done.
Now, I’m going to be brutally honest: if you can’t paint your nails with regular polish without getting a significant amount of it on your skin, you should not do a gel manicure on yourself at home. Getting uncured polish on your skin is what’s causing an increase in allergies for people. Get your technique down with regular polish first, before stepping up to gels.
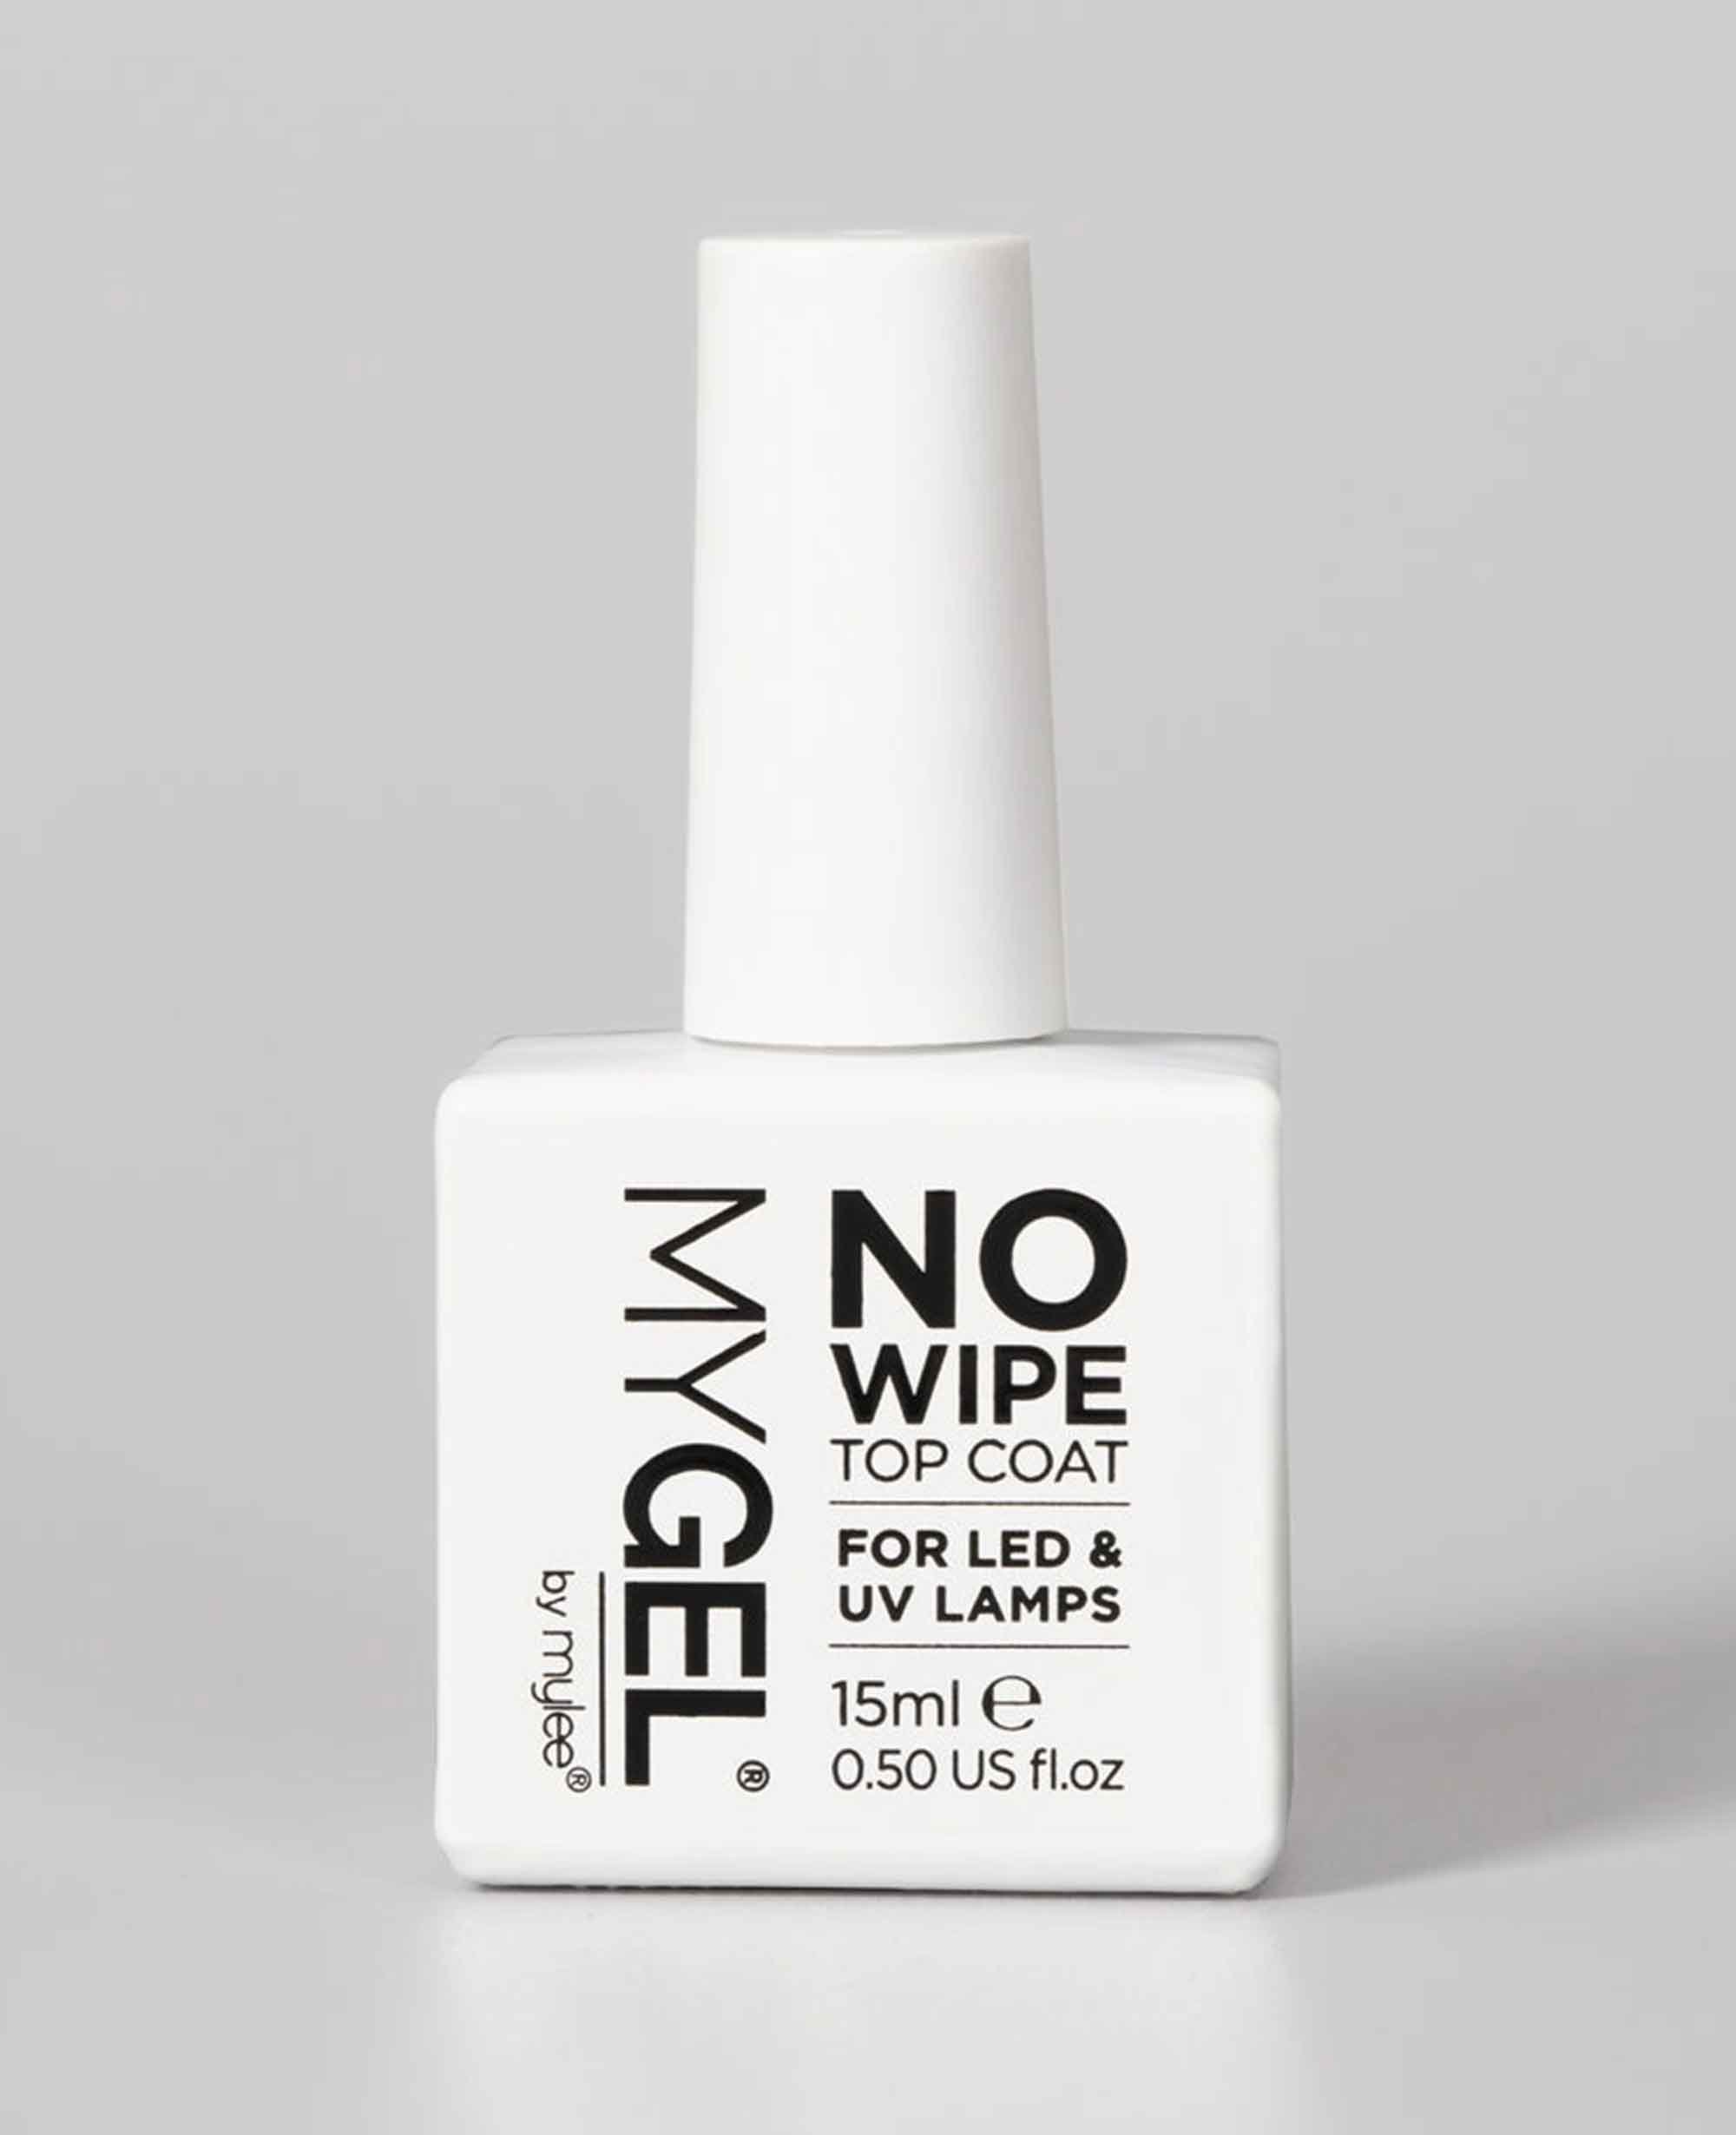
I know it’s a lot of effort, but it’s well worth doing a short course (you can do them online) so you at least know the correct steps. I once had someone who didn’t know you had to take the sticky layer (inhibition layer) off the top of the manicure (unless it’s a no-wipe top coat) so was walking around with a sticky mani — eeeek!
Mistake two: picking off your gels
We’ve said it 100 times and we’ll say it 100 more: stop peeling off your gels (and your acrylics for that matter, I’ve seen it happen).
Often when people say that gels are ruining their nails, it’s actually the fact they’re peeling off the gel and with it, a layer of their nail. While this seems harmless, over time you’ll peel back so much that you’ll be left with weak, sensitive and unhealthy nails.
If you’re a chronic nail picker, stick to regular polish, or talk to a nail tech who can help find the right products for you to curb the habit.
Mistake three: buying cheap products from Amazon
Look, I get it. It’s so tempting to score a bargain of 10 polishes for the price of one online, but there’s no guarantee these products are up to standards — and this screams allergy risk.
Opt for products made in the UK and USA as they aren’t using unnecessarily strong or unregulated chemicals in their products.
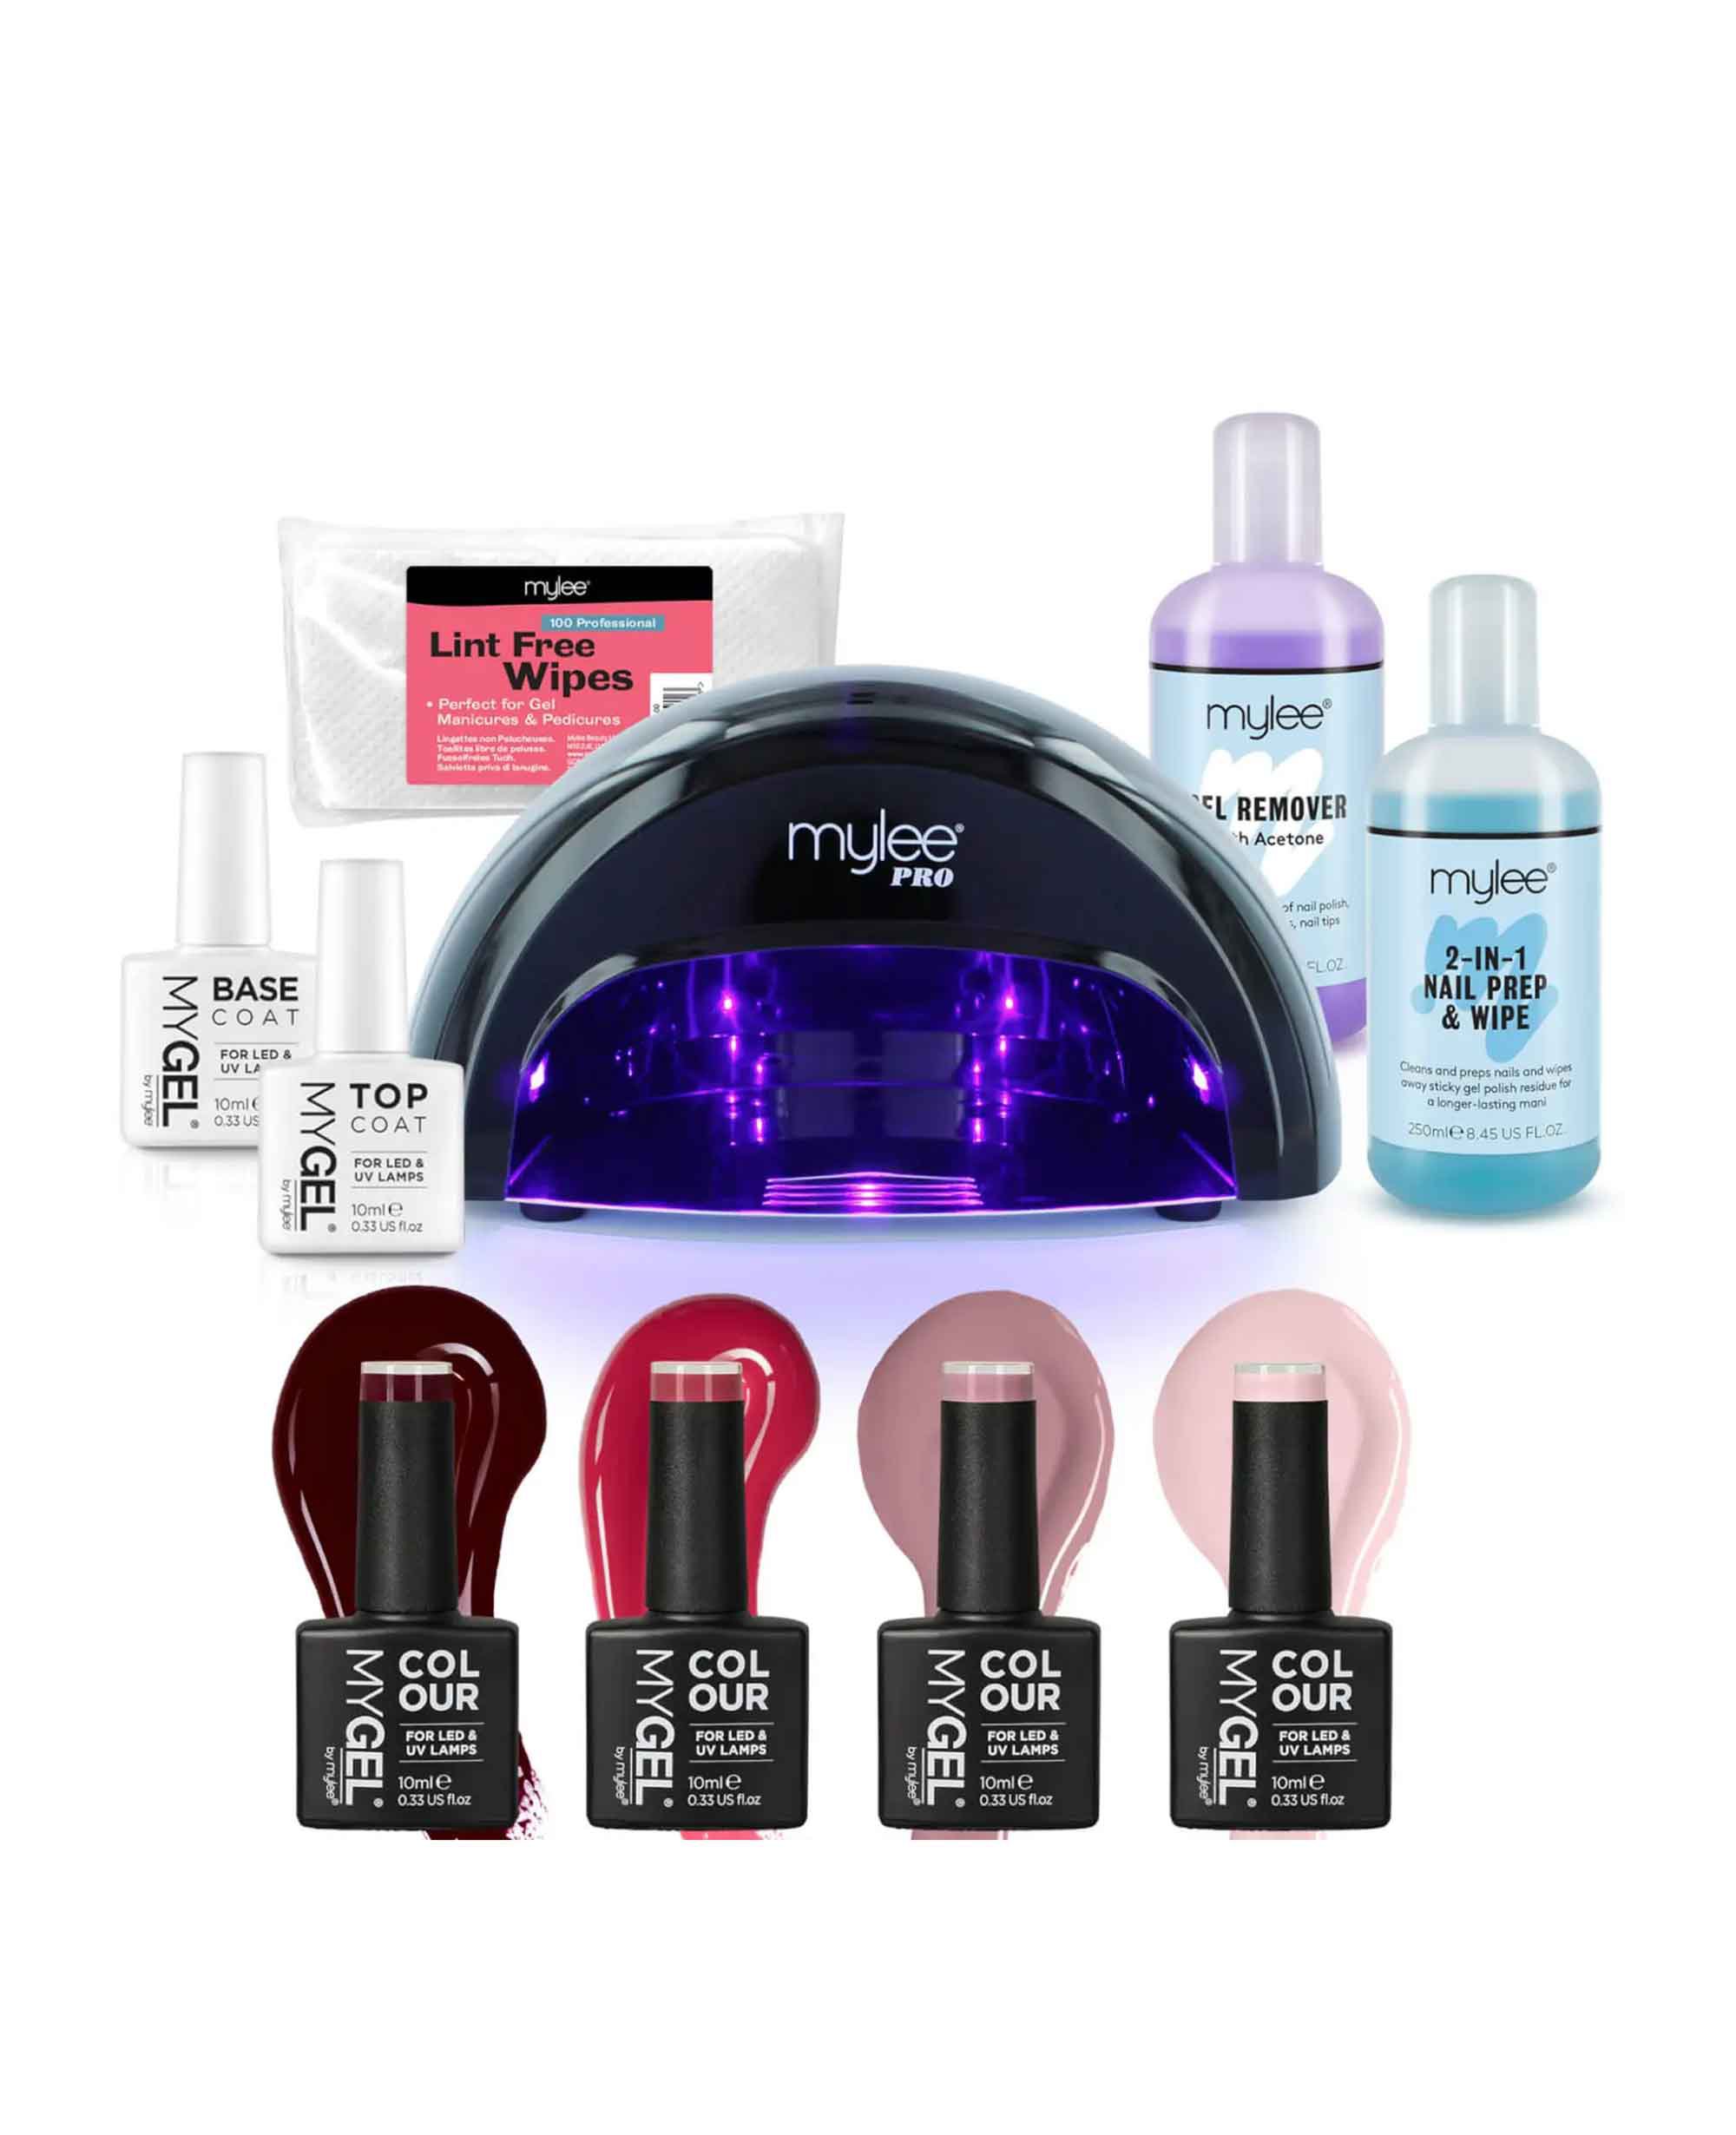
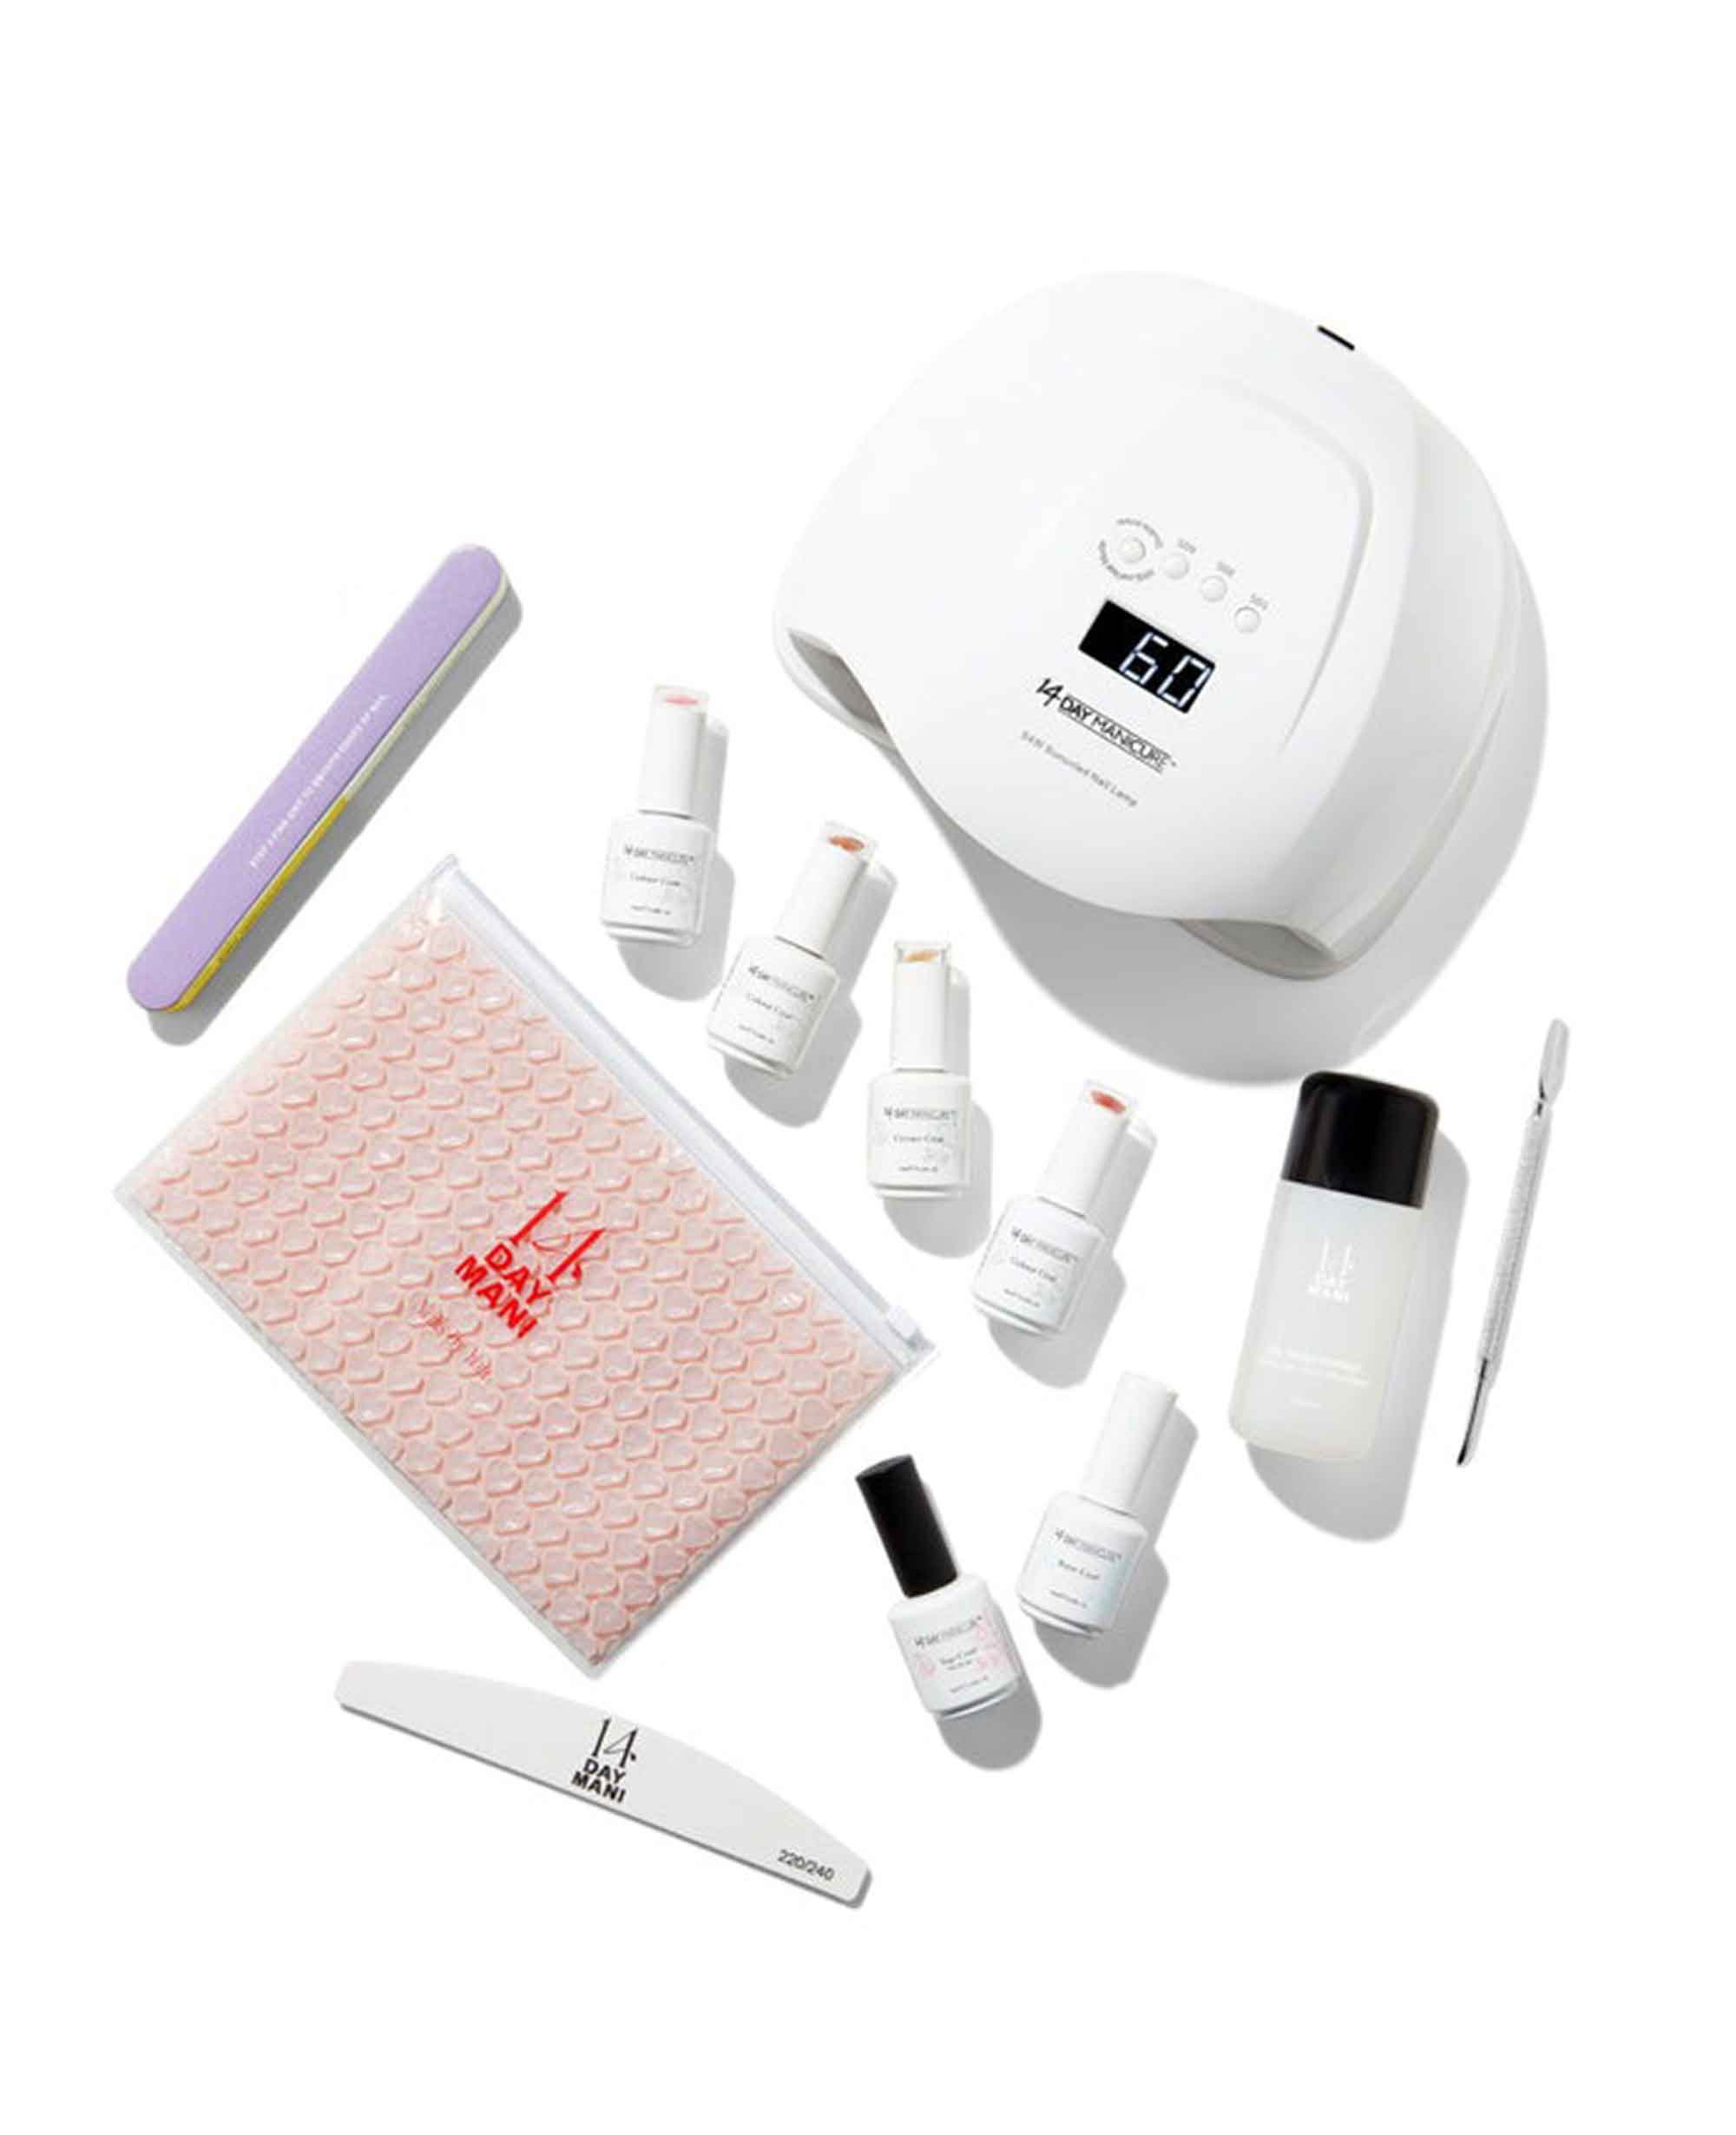
There are plenty of great at home products you can use from brands like 14 Day Mani and Mylee.
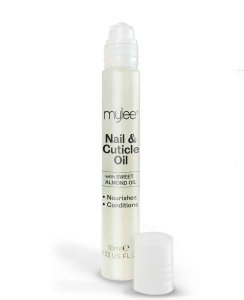
Mistake four: Not using cuticle oil
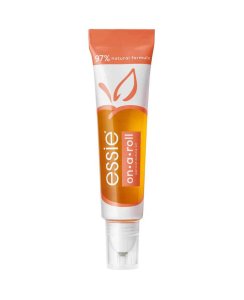
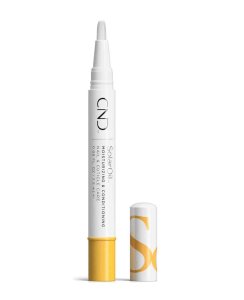
There’s a reason every nail pro bangs on about using cuticle oil, and that’s because it truly makes a huge difference to the health of your nails — and the longevity of your professional manicure. Don’t forget to put cuticle oil into the free edge of their nail, behind the tip. This is an often forgotten about place and really helps to make sure the entire nail is hydrated.
Swipe and shop: Cuticle oils
*Eliza may earn commission on sales from these product links
Mistake five: Not prepping properly
Another common mistake I see is people not prepping their base properly when doing a mani from home.
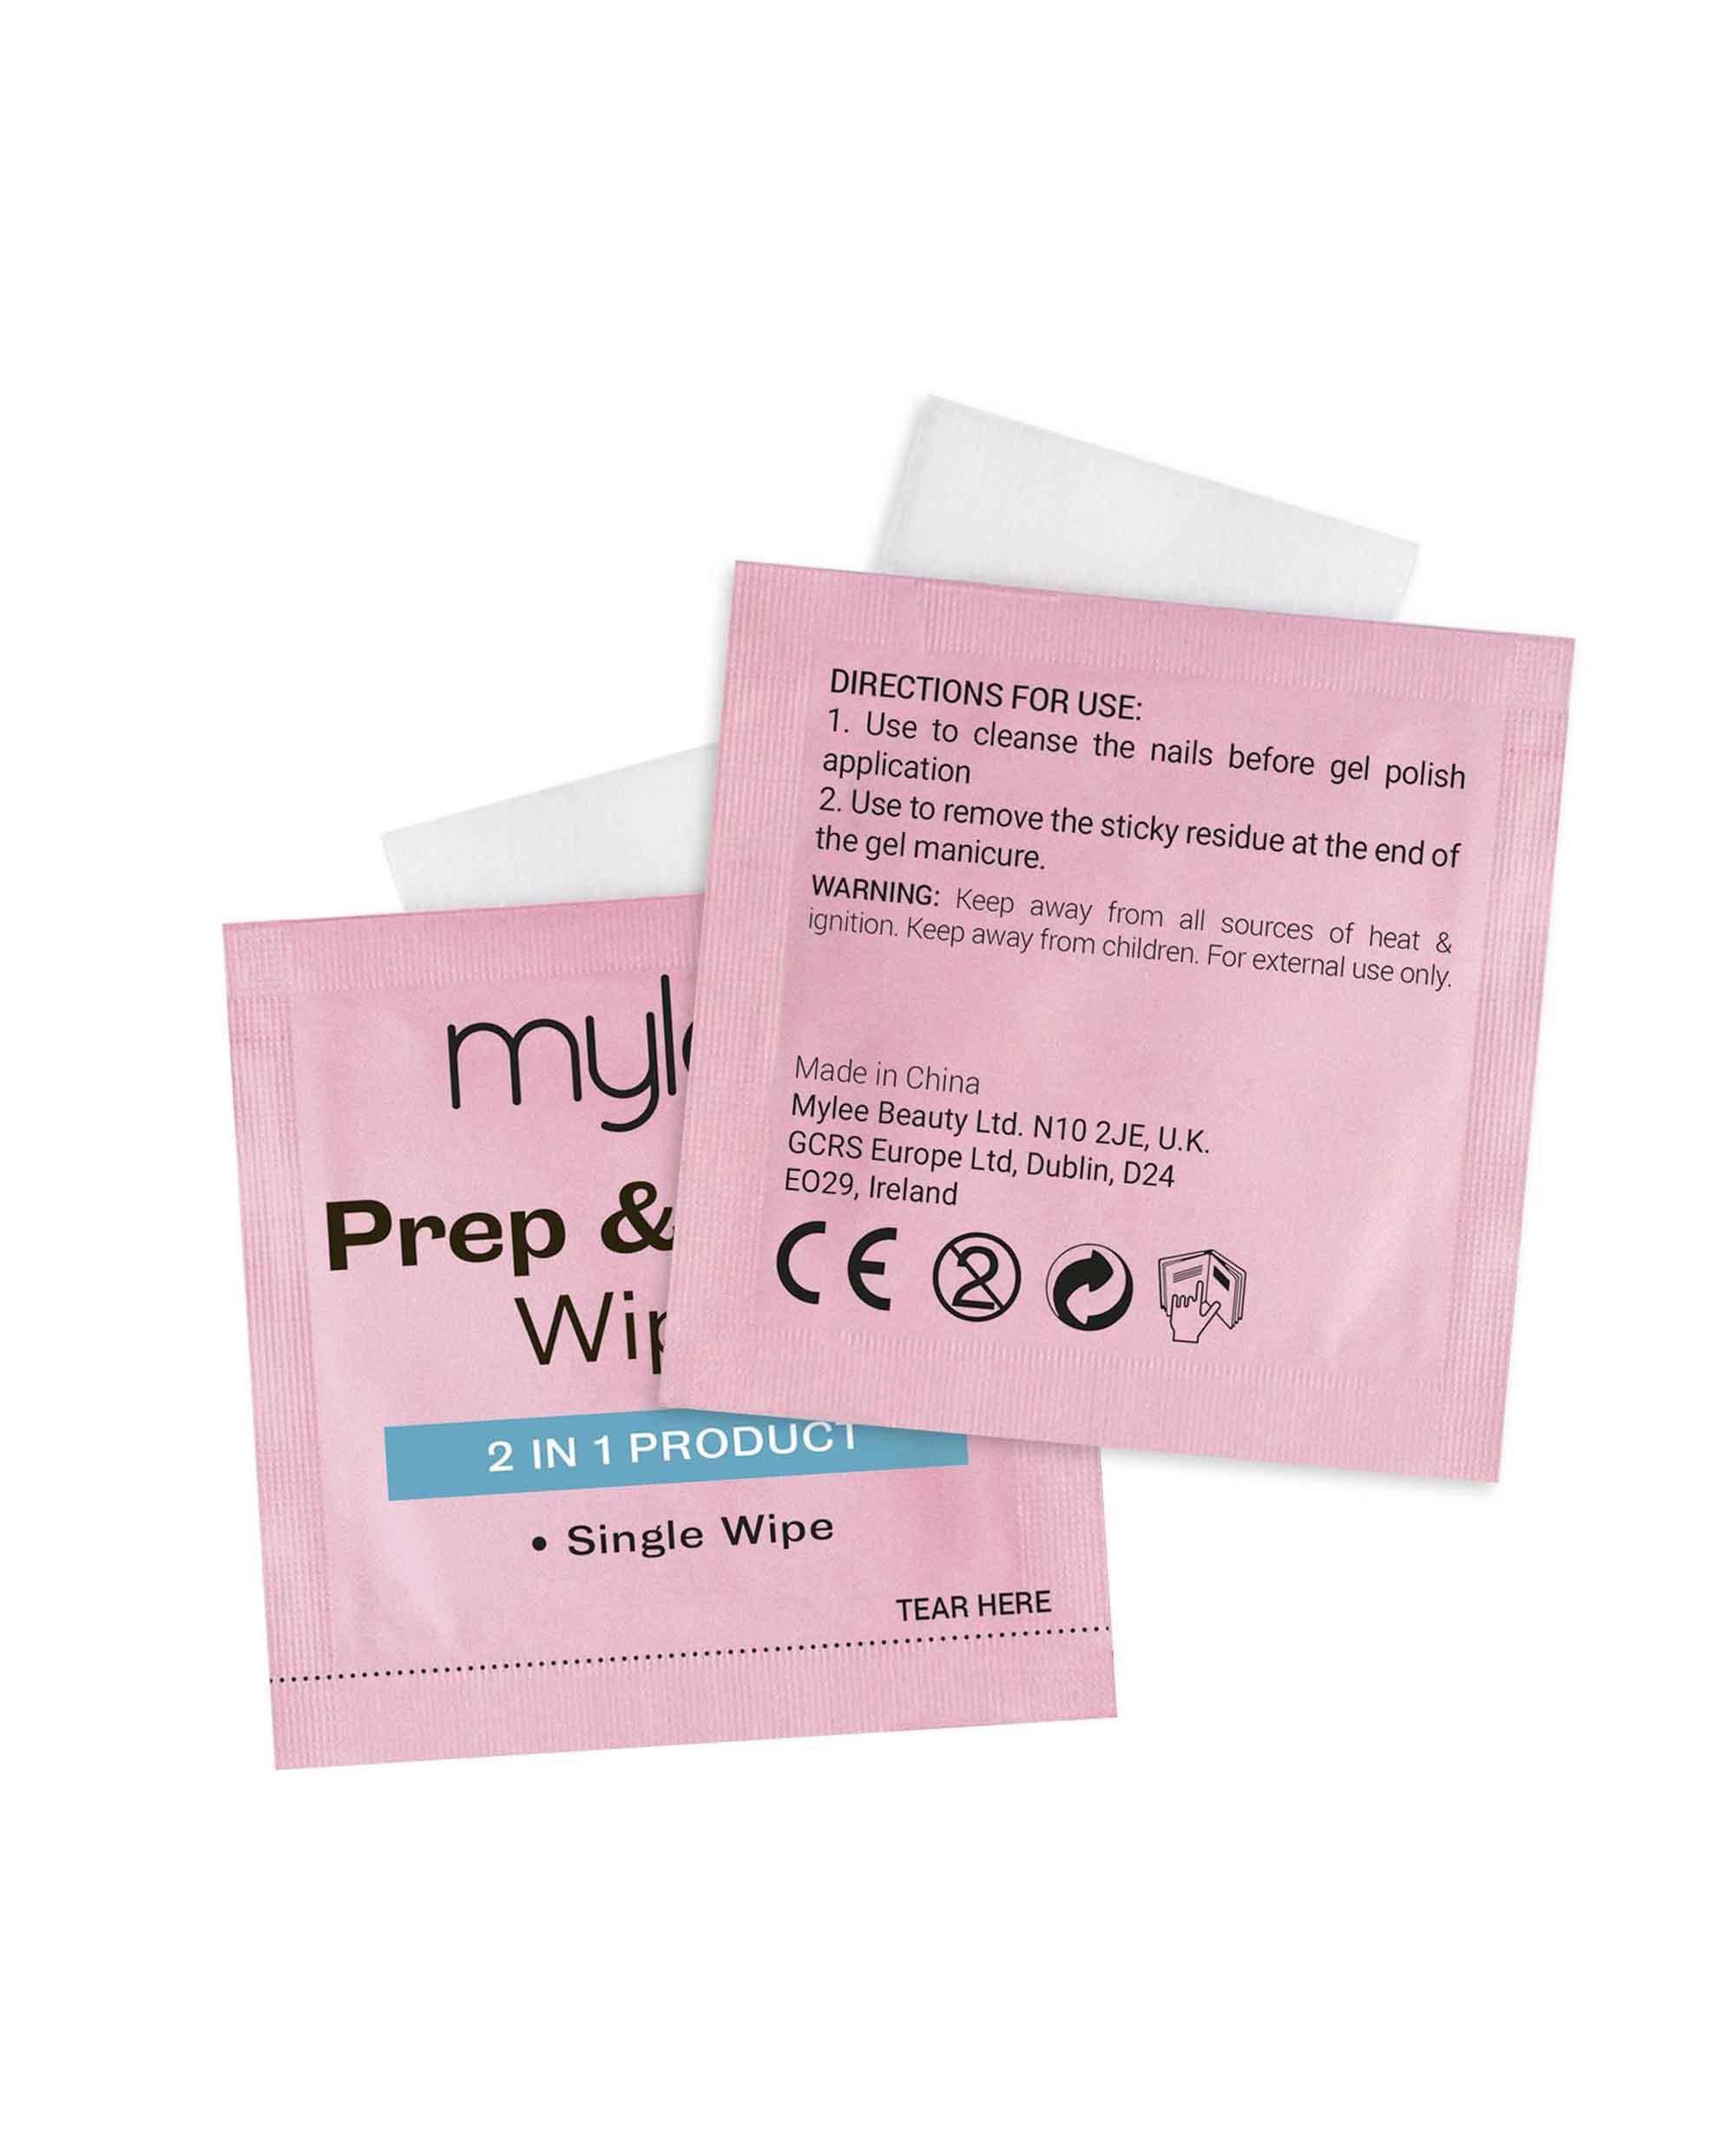
Particularly if you’re using gels, the nail surface needs to be wiped of all oils and debris to make sure the product adheres. Use an alcohol wipe to get rid of any dust and debris and a dehydrator, primer or bonder — depending on the system you’re using and nail enhancements — to remove oils and create an adhesive base.
Improper prep also includes soaking your hands prior to a gel manicure. If you soak and exfoliate before you do your gels, they’ll only last a couple of days, max. Keep the pampering for after you’ve finished your painting.
Mistake six: Clean up
The key to a professional-looking manicure is all in the clean-up. If you’re using regular polish, you can take a small brush dipped in acetone at the end, and wipe away messy edges and flooded cuticles.
For gels, you’ll want to use an orange wood stick before curing each layer to ensure no gel product is on the skin. You should also cap the free edge (the tip of your nail) with each layer to make sure your nails don’t chip or lift off. And of course, good clean-up is always finished off with cuticle oil.
Mistake seven: Not using a non-wipe top coat with chrome pigments
The Hailey Bieber manicure is very much still alive and kicking, and people are still jumping on the chrome trend at home. One question I’m often asked is how to do them properly, as many can’t get the chrome to stick to their gels.
The simple solution: a no-wipe polish, which is a gel polish that doesn’t have a tacky finish after curing. Do your prep, base and colour coat (if you want one), then cure your non-wipe top coat and buff a small amount of chrome powder. Then, seal in with a top coat and you’ll be left with beautifully shimmering chrome nails.
