Ever since I got my first set of acrylic nails at 16 before my secondary school prom, I was hooked. At that age, acrylics were reserved for special occasions and holidays, but even now when I can afford to get them done more regularly, a new set of acrylics still fills me with that same ‘I’ve got my life together’ energy.
The pre-nail appointment built-up is what I look forward to the most; scrolling through seasonal nail inspiration or going fully out with the nail art when Halloween and New Years Eve roll around.
I am also however very lazy, and so when it comes to the actual upkeep, I can sometimes let my acrylics go to rack and ruin, taking them well beyond the point where infills will save them. So, through part-laziness and part-convenience, I’ve had to become pretty handy at taking off my own acrylics at home.
What’s the difference between removing acrylics at home vs. in the salon?
Now, some nail technicians would be screaming as they read this, but I’ve not found that much difference in taking off my acrylics in a salon vs at home when it comes to damage. Acrylics aren’t great in terms of damage full stop, but if you’re an acrylic addict like me you probably already know that and are willing to accept it.
Obviously the process is a little speedier in-salon due to the specialized equipment (read: terrifying nail drills), but when weighed up with taking your acrylics off from the comfort of your sofa while watching your favourite Netflix show, it seems like a fair trade. Taking care of your nails while practising self care? Nailed it.
The noticeable difference I’ve found is that taking them off in a salon normally leaves the nails with a nicer finish, mainly because they take the time to shape and trim them at the end. However if you aren’t a lazy gal like me and don’t mind spending an extra five minutes with a cuticle kit, you can leave your nails in an acceptable condition.
In my opinion, you’re never going to the salon because acrylic nail removal is a nice experience; so if you can’t be bothered to haul yourself to the local salon and would rather do it at home, don’t beat yourself up about it. You’ll be saving yourself some ££ by doing it at home every time, which means all the more money to invest in your next manicure – dreamy nail art here we come.
To that end, here’s how to remove acrylic nails at home.
What you’ll need to get started
There’s nothing worse than getting halfway through a process and realising you haven’t got the tools you need to finish, so prepare in advance by making sure you have the below:
- Two bowls, both of which can handle hot temperatures
- 100% pure acetone or acetone nail polish remover (the latter is easier to get hold of in your normal high street but won’t be as strong)
- A strong nail file
- Nail clippers
- A metal cuticle pusher
Step One
Before you do anything else, put on some good music or something to watch, because you’re not going to be able to use your hands for a while. You might think I’m joking but you’ll thank me later.
Step Two
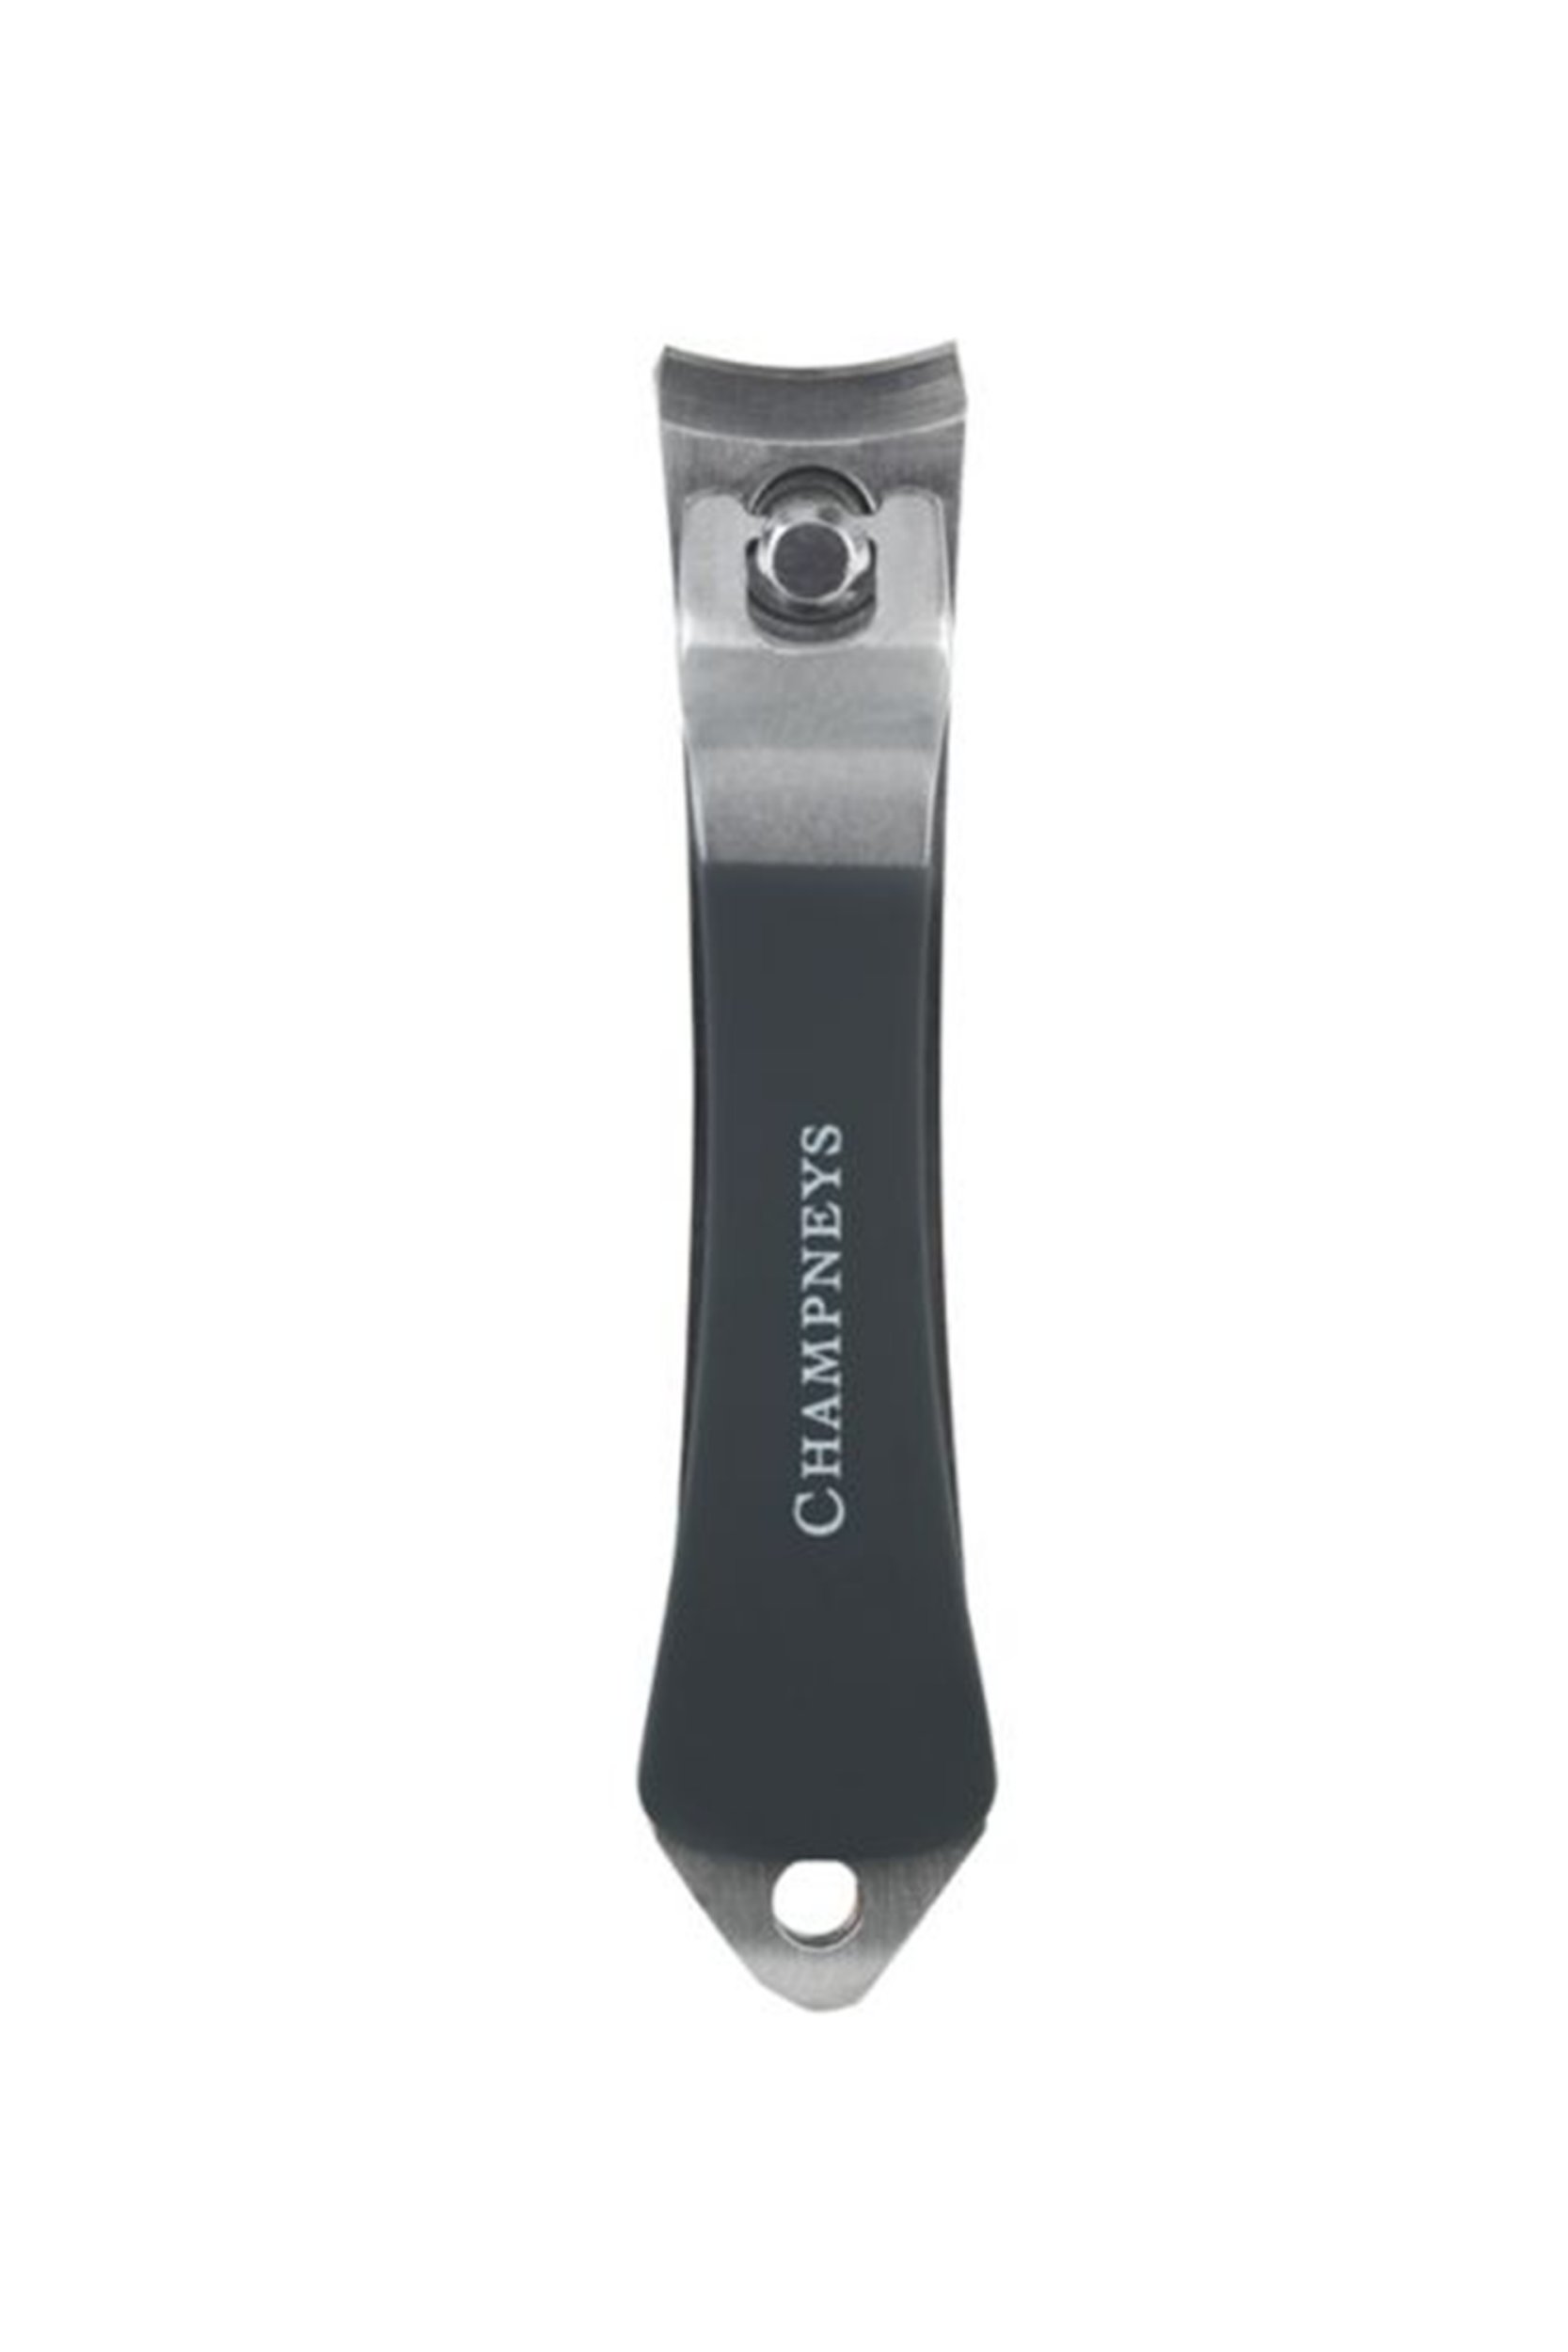
Use some decent nail clippers (and no, that does not mean the flimsy ones out of last year’s Christmas cracker) to trim off the excess acrylics, such as Champneys Fingernail Clippers, £6, Boots, getting them as short as possible. Your natural nail will have been growing underneath the acrylics so make sure to be careful not to cut into that if you want to keep the length.
Step Three
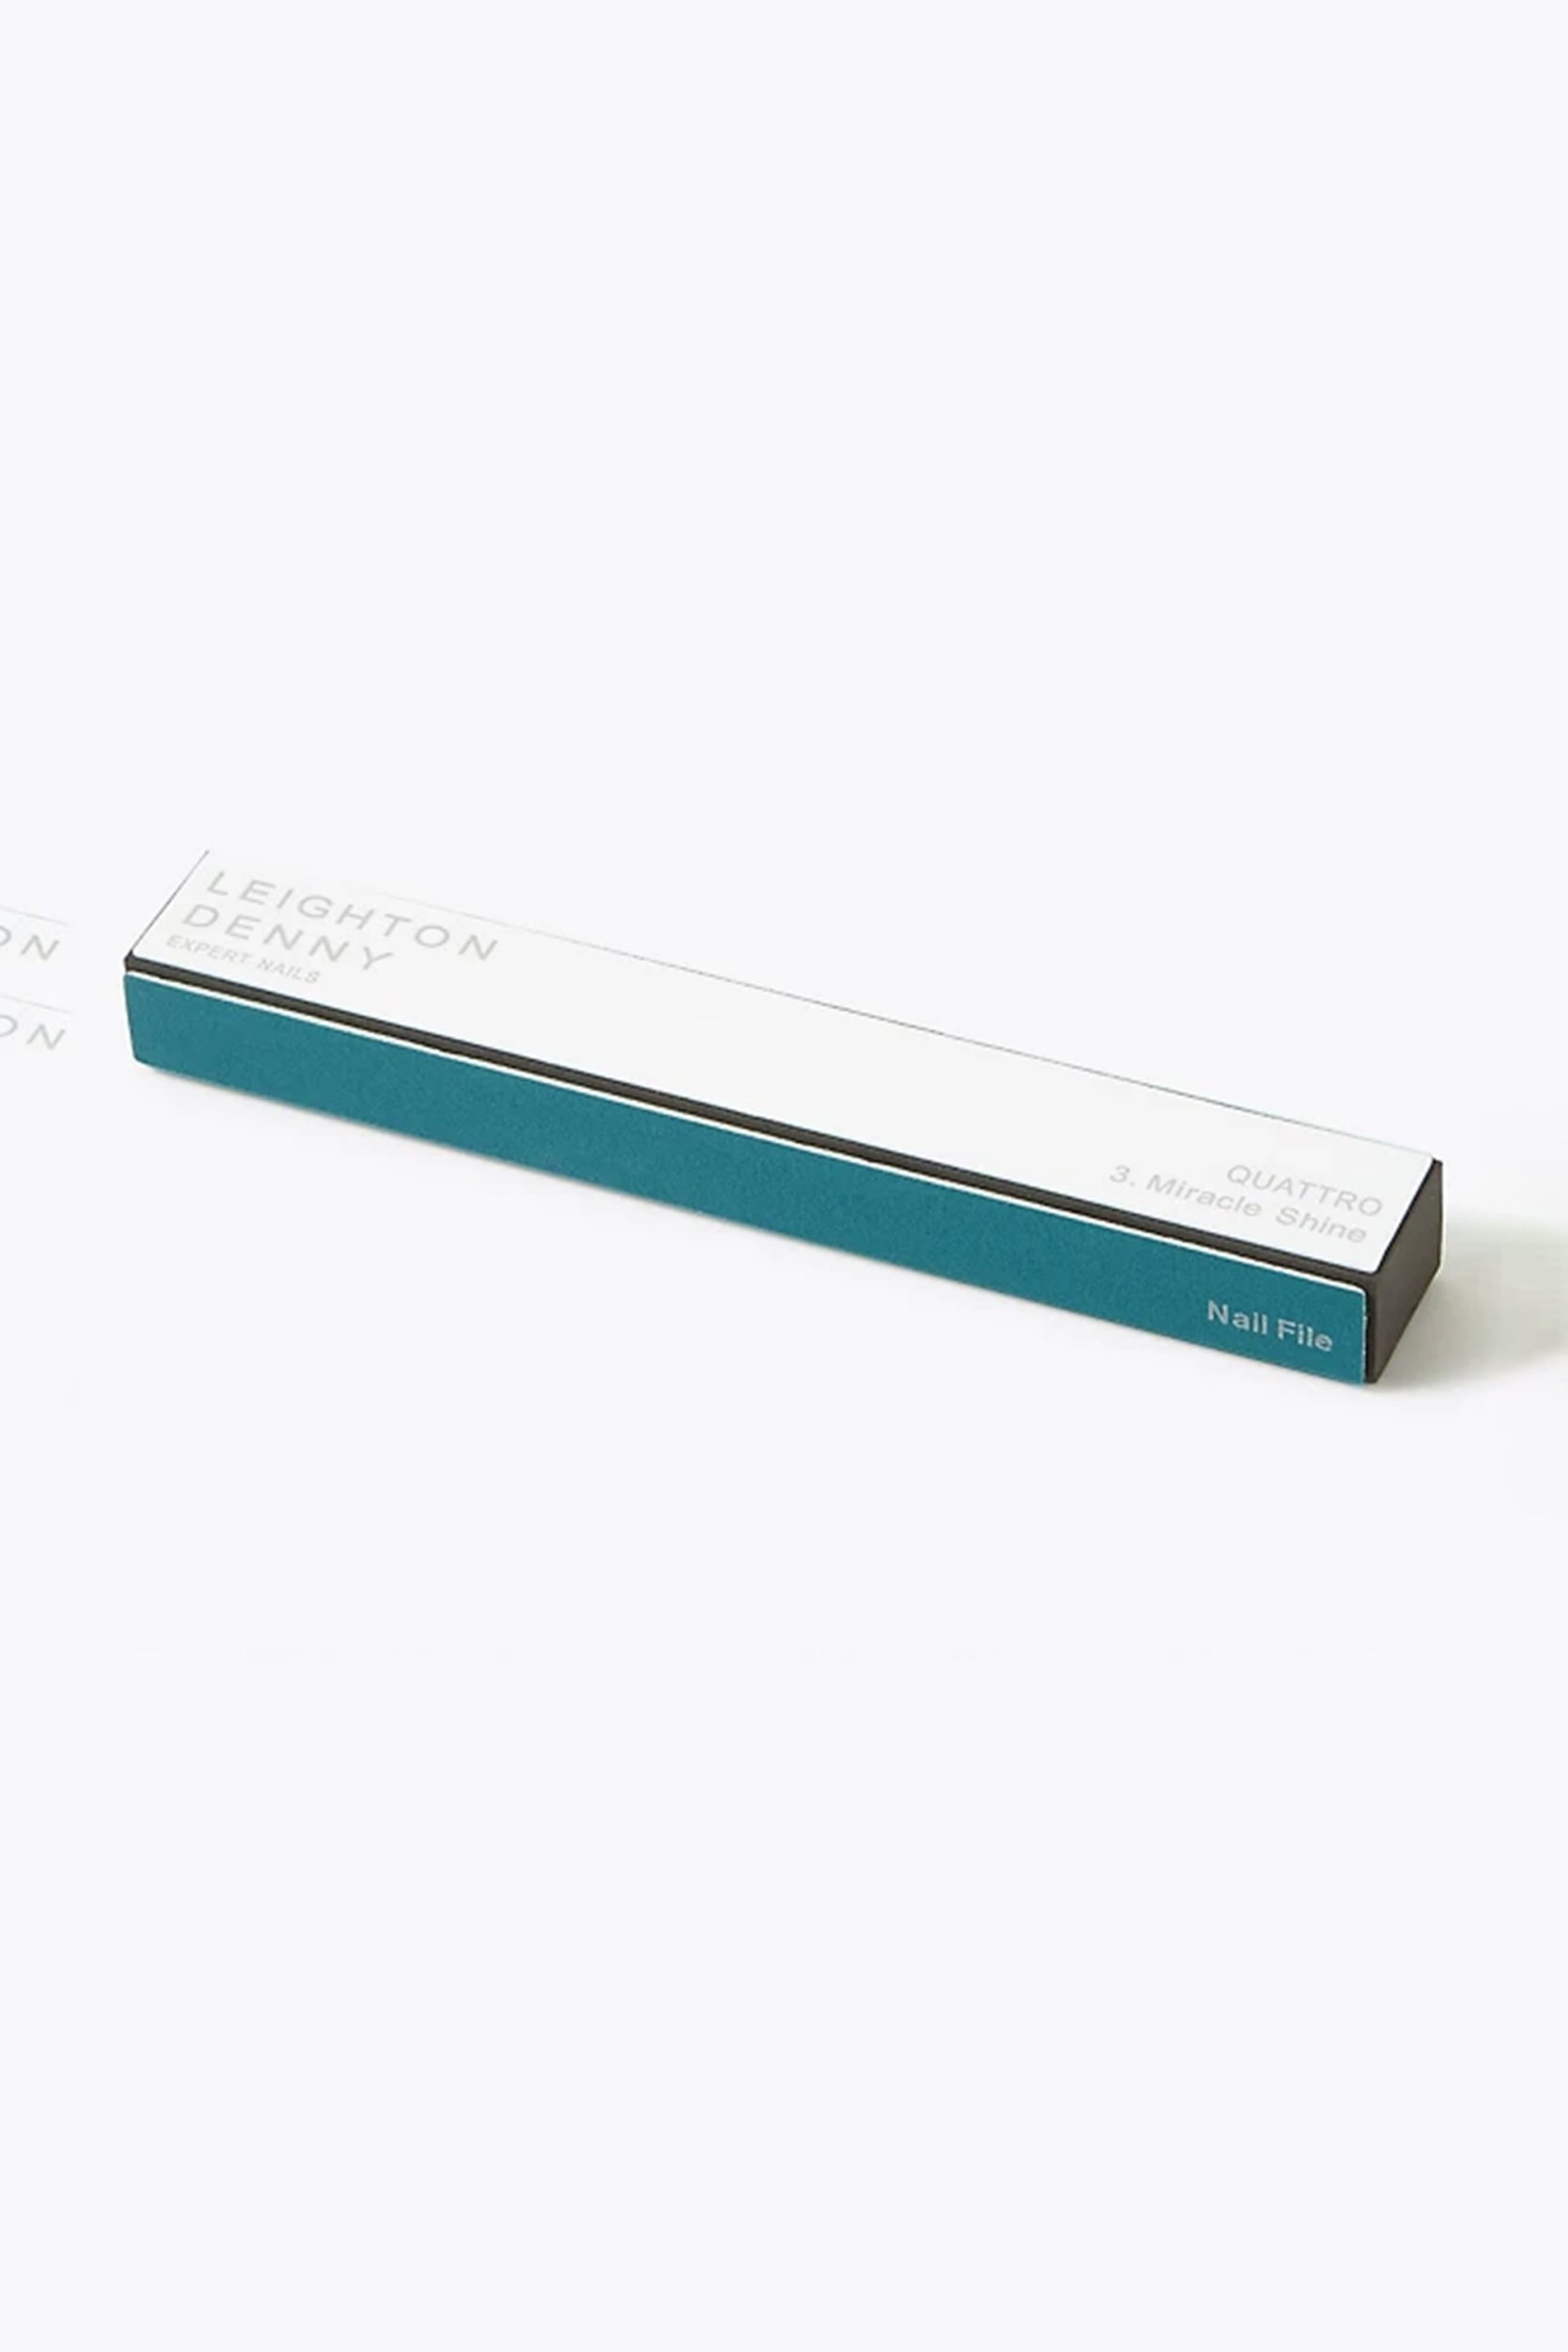
Get your nail file and buff the surface of your acrylic nail, getting as much off as you can. The more you’re able to get off this way, the less time you’ll have to spend with your nails in the acetone. Leighton Denny’s Quattro 4 in 1 Nail File and Buffer, £7, FeelUnique, has four different textures to shape, buff, smooth and polish.
Note that acetone can be really drying, so make sure to moisturise your skin afterwards.
Step Four
Acrylics break down faster when the acetone is warm, so place a bowl of boiled water in a heat-proof bowl, and then pour the acetone into a smaller, separate bowl which can sit on top of the hot water. Once the acetone is warm, take away the bowl of hot water and let your nails sit in the acetone for 10 minutes, or until you feel them soften.
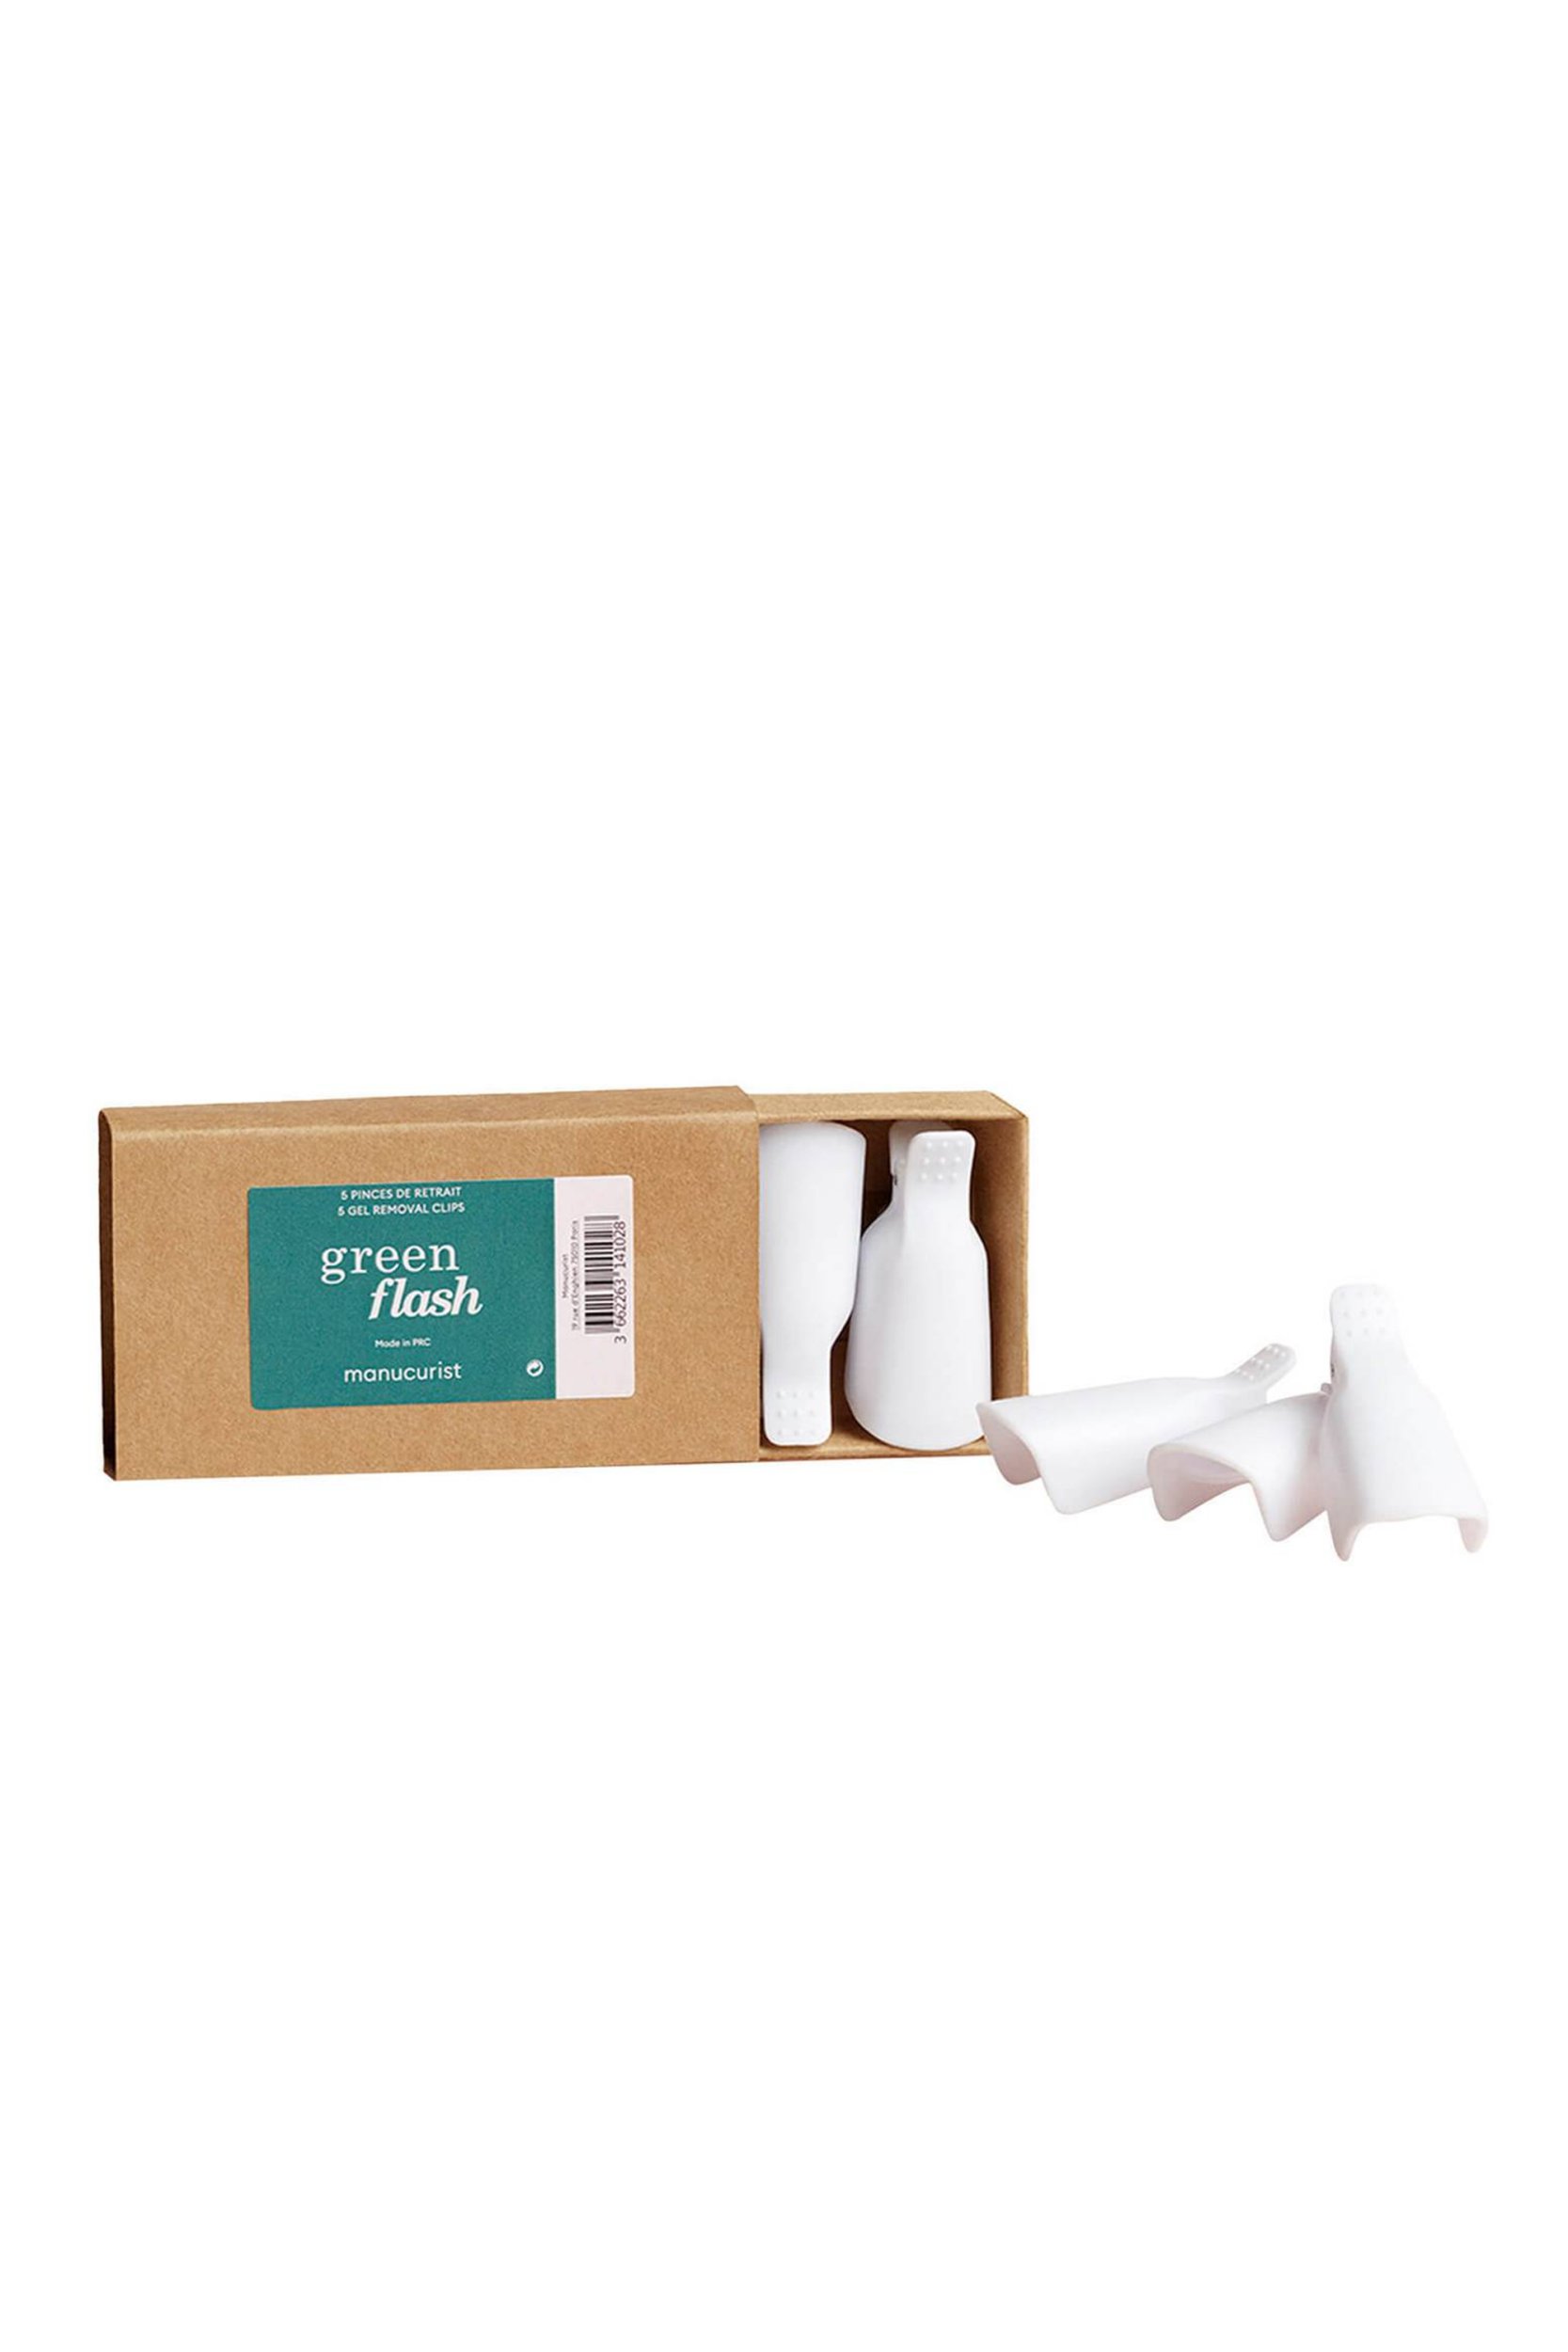
If you don’t want to subject your skin to acetone, nail clips, such as the Manicurist Green Flash Removal Clips, £6, Cult Beauty, are another alternative. Grab some cotton wool, soak it in acetone and wrap around the nail. Then cover the cotton wool with tin foil and secure with a nail clip for 10 minutes.
Step five
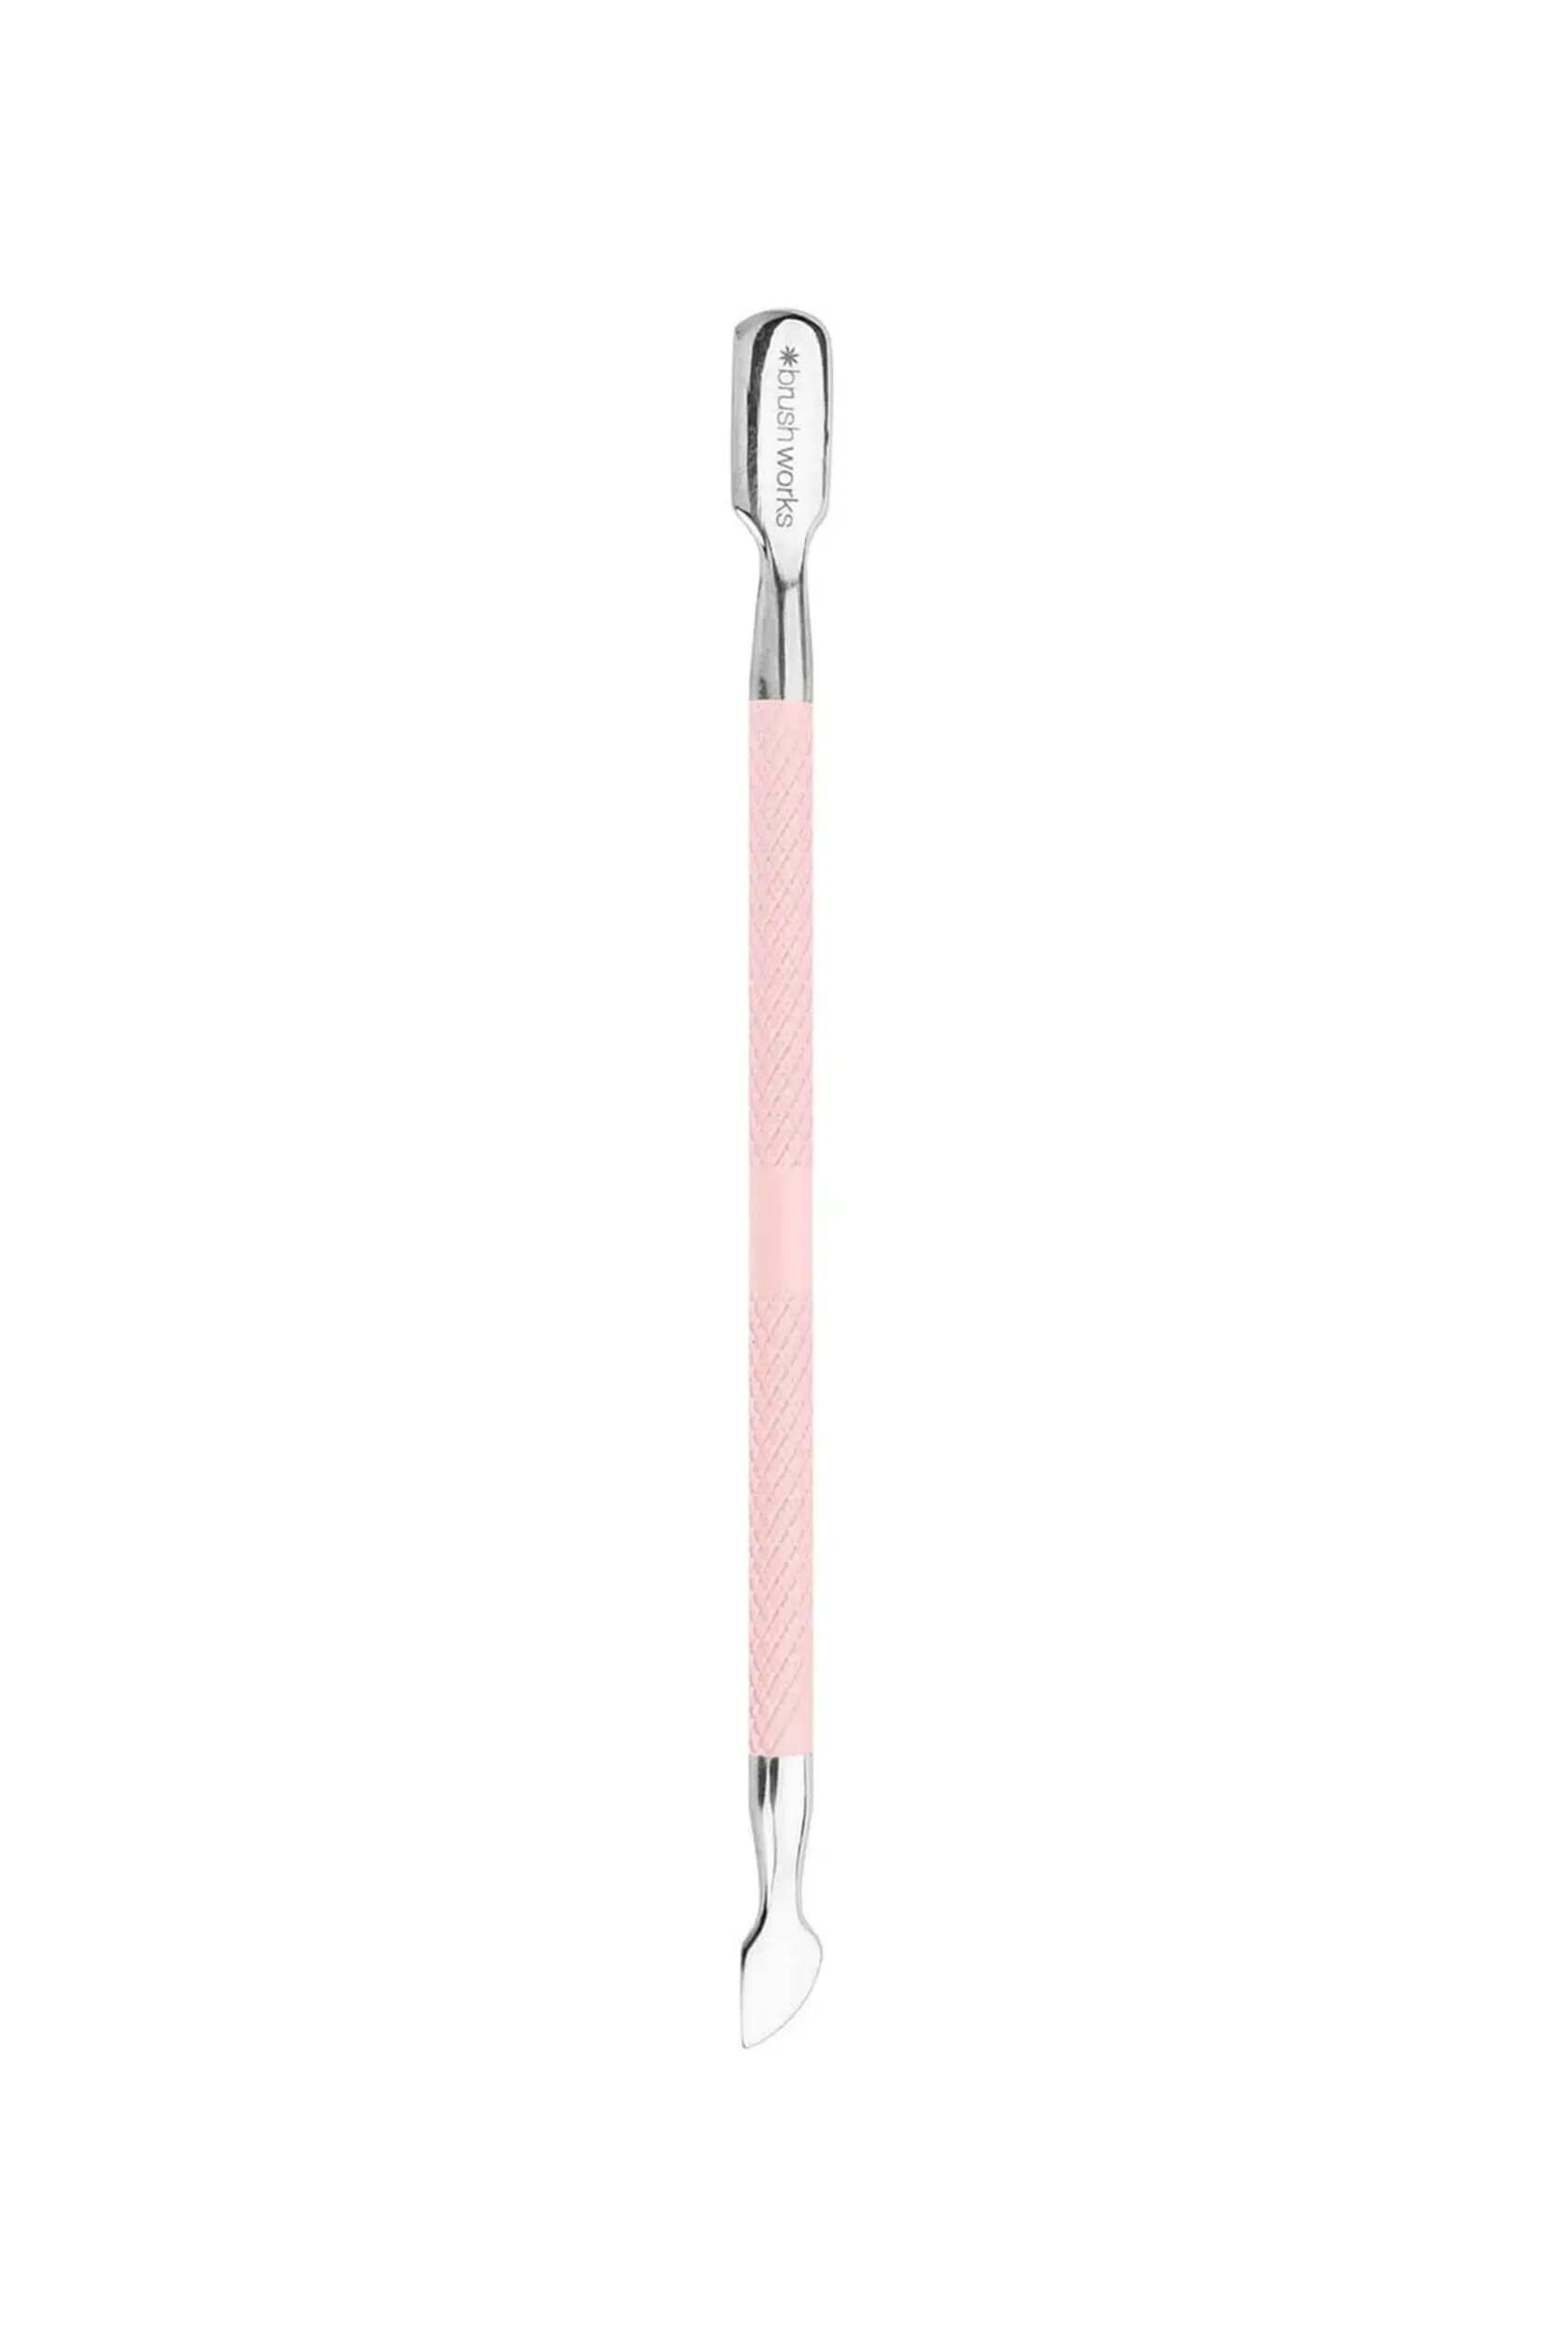
Take your cuticle tool (a metal one like Brushworks Cuticle Pusher, £5.99, LookFantastic, is ideal) and start gently scraping off the top of the acrylic. Remember to push away from the cuticle in case you slip – we don’t want any injuries here.
Step six
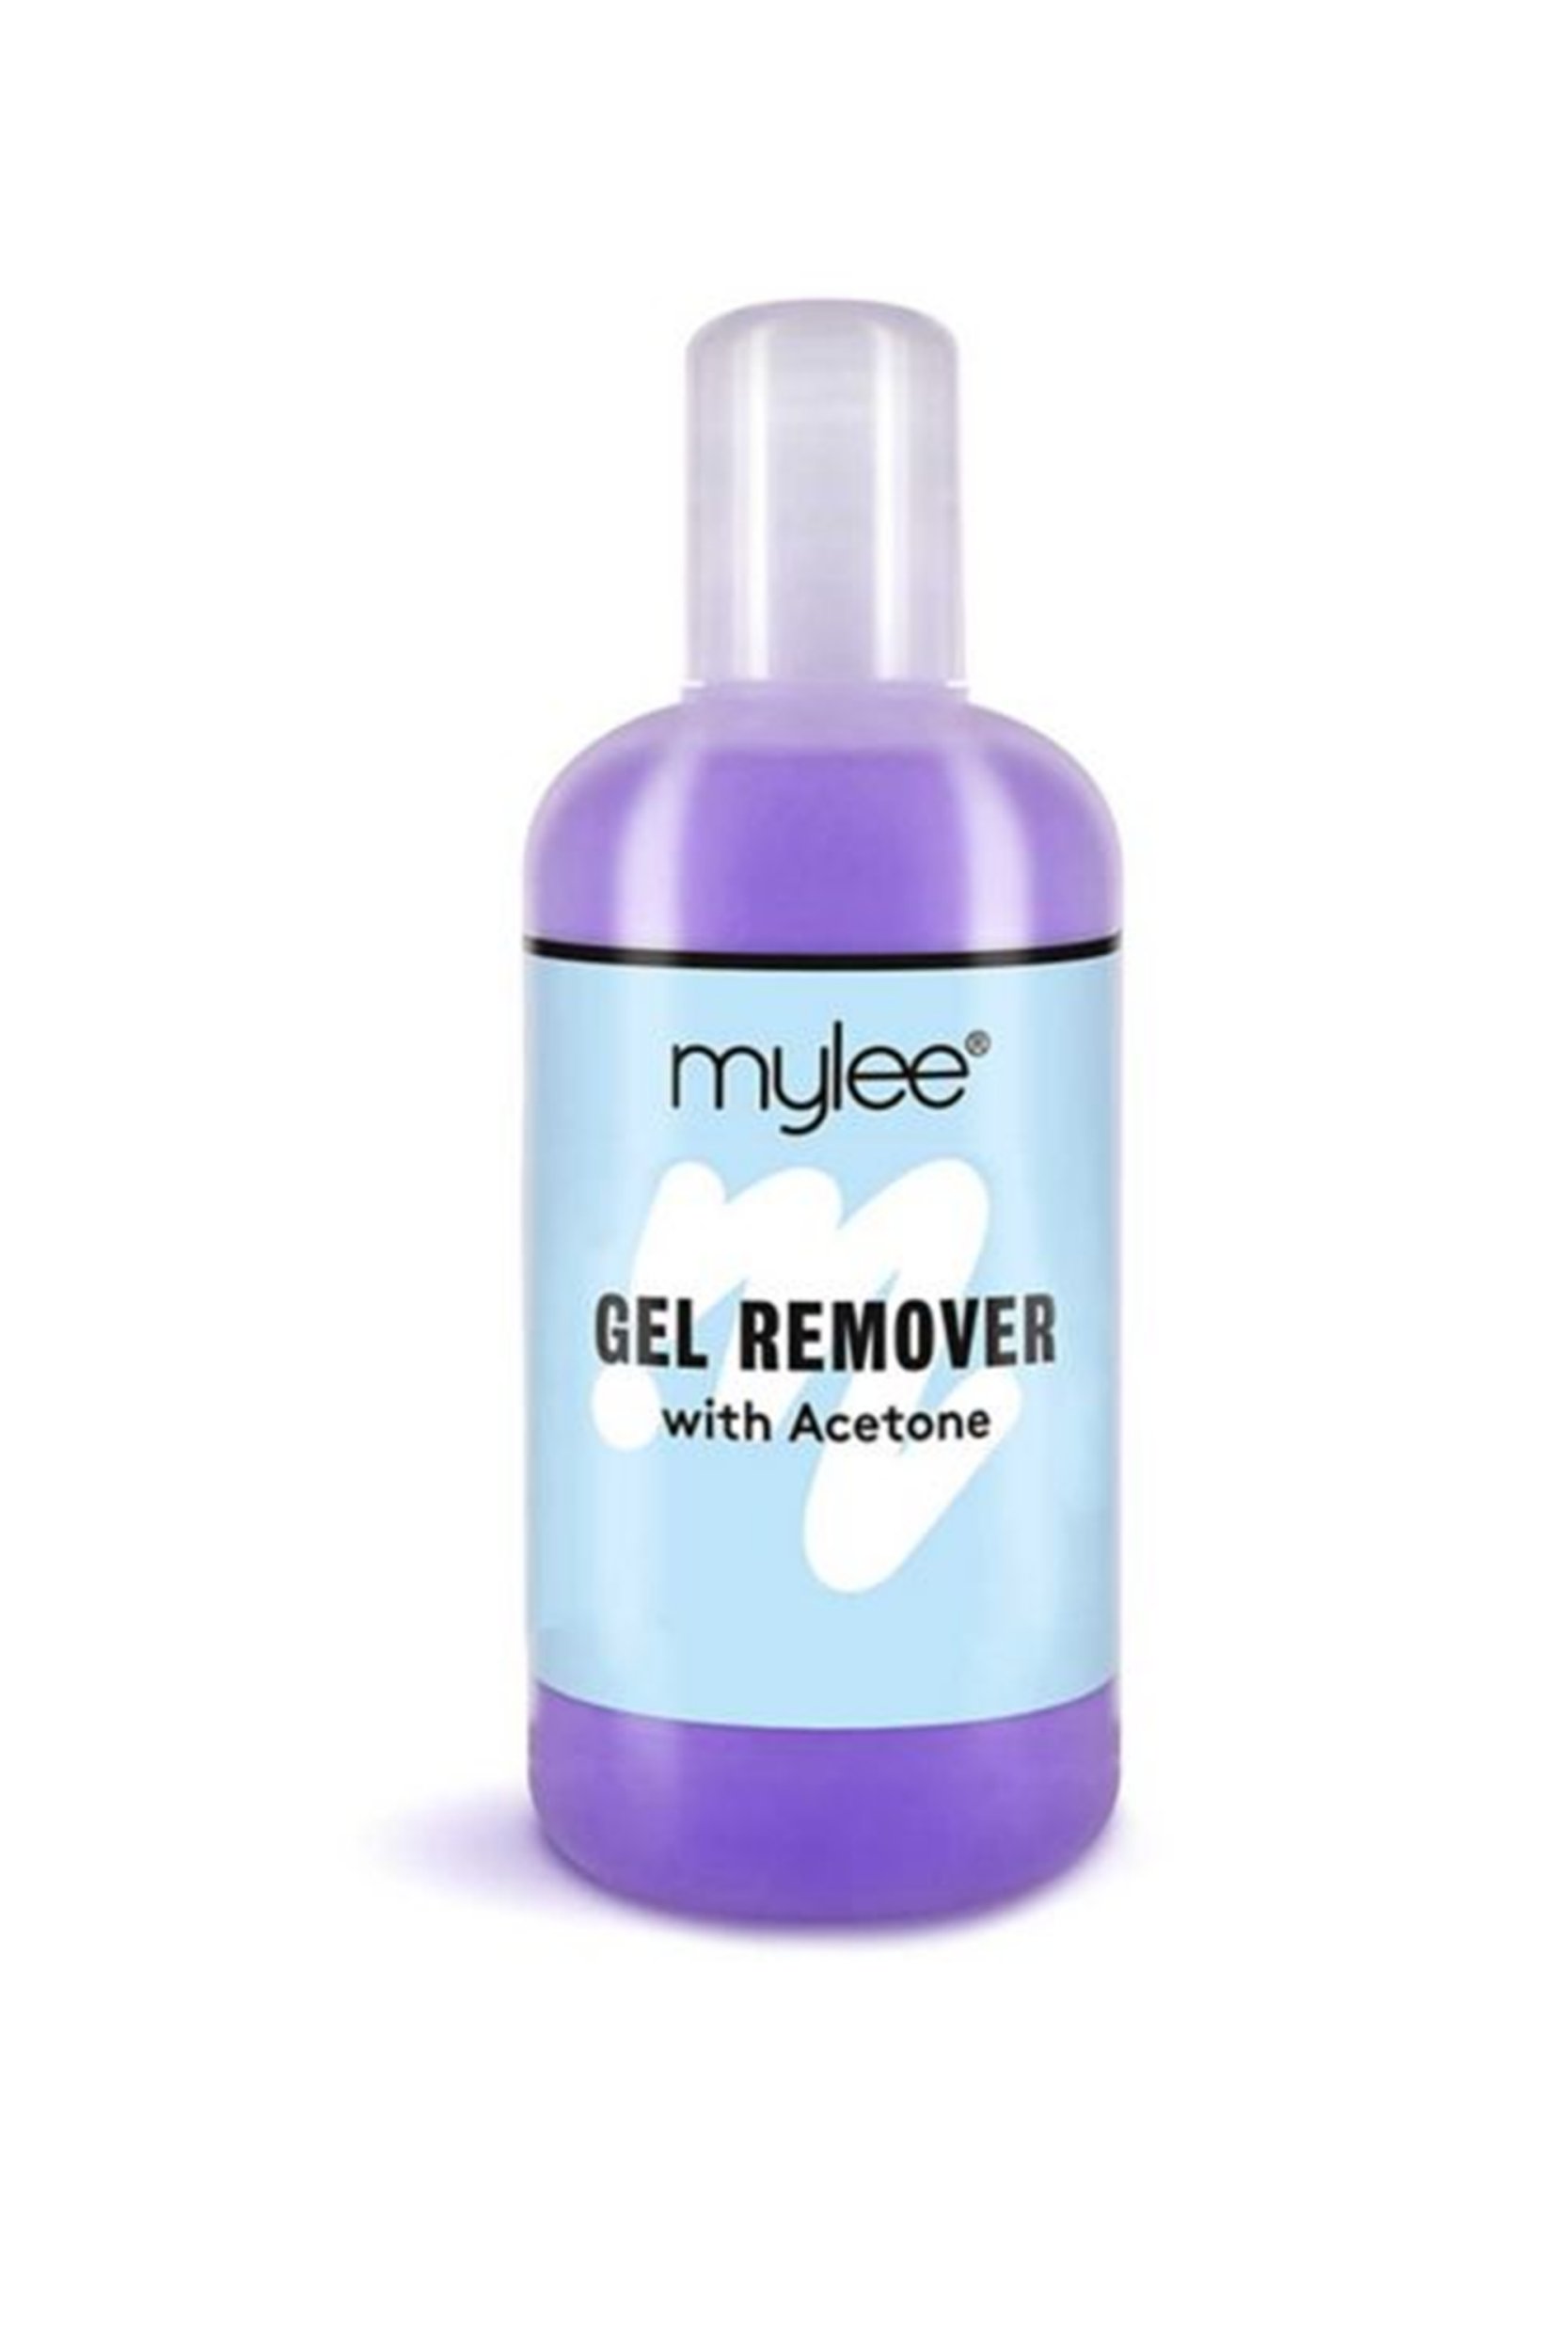
You’ll usually need to repeat the last two steps a couple of times until your nails are mostly free of acrylic. Opting for a strong acetone remover such as the Mylee Gel Remover, £7.50, Boots, will make the process quicker. Once you’ve got as much off as possible, go in with the nail file again and get rid of any stubborn leftovers.
If I’m not getting acrylics or gels put on top immediately after, I’ll usually leave a tiny bit of clear acrylic on top so my natural nails are fortified. I’ve had nail techs do this before as my nails aren’t that strong, but the choice is yours!
Step seven
The good news is, that’s the worst bit out of the way. Now you can take your manicure kit, tidy up your cuticles and file your natural nails into shape.
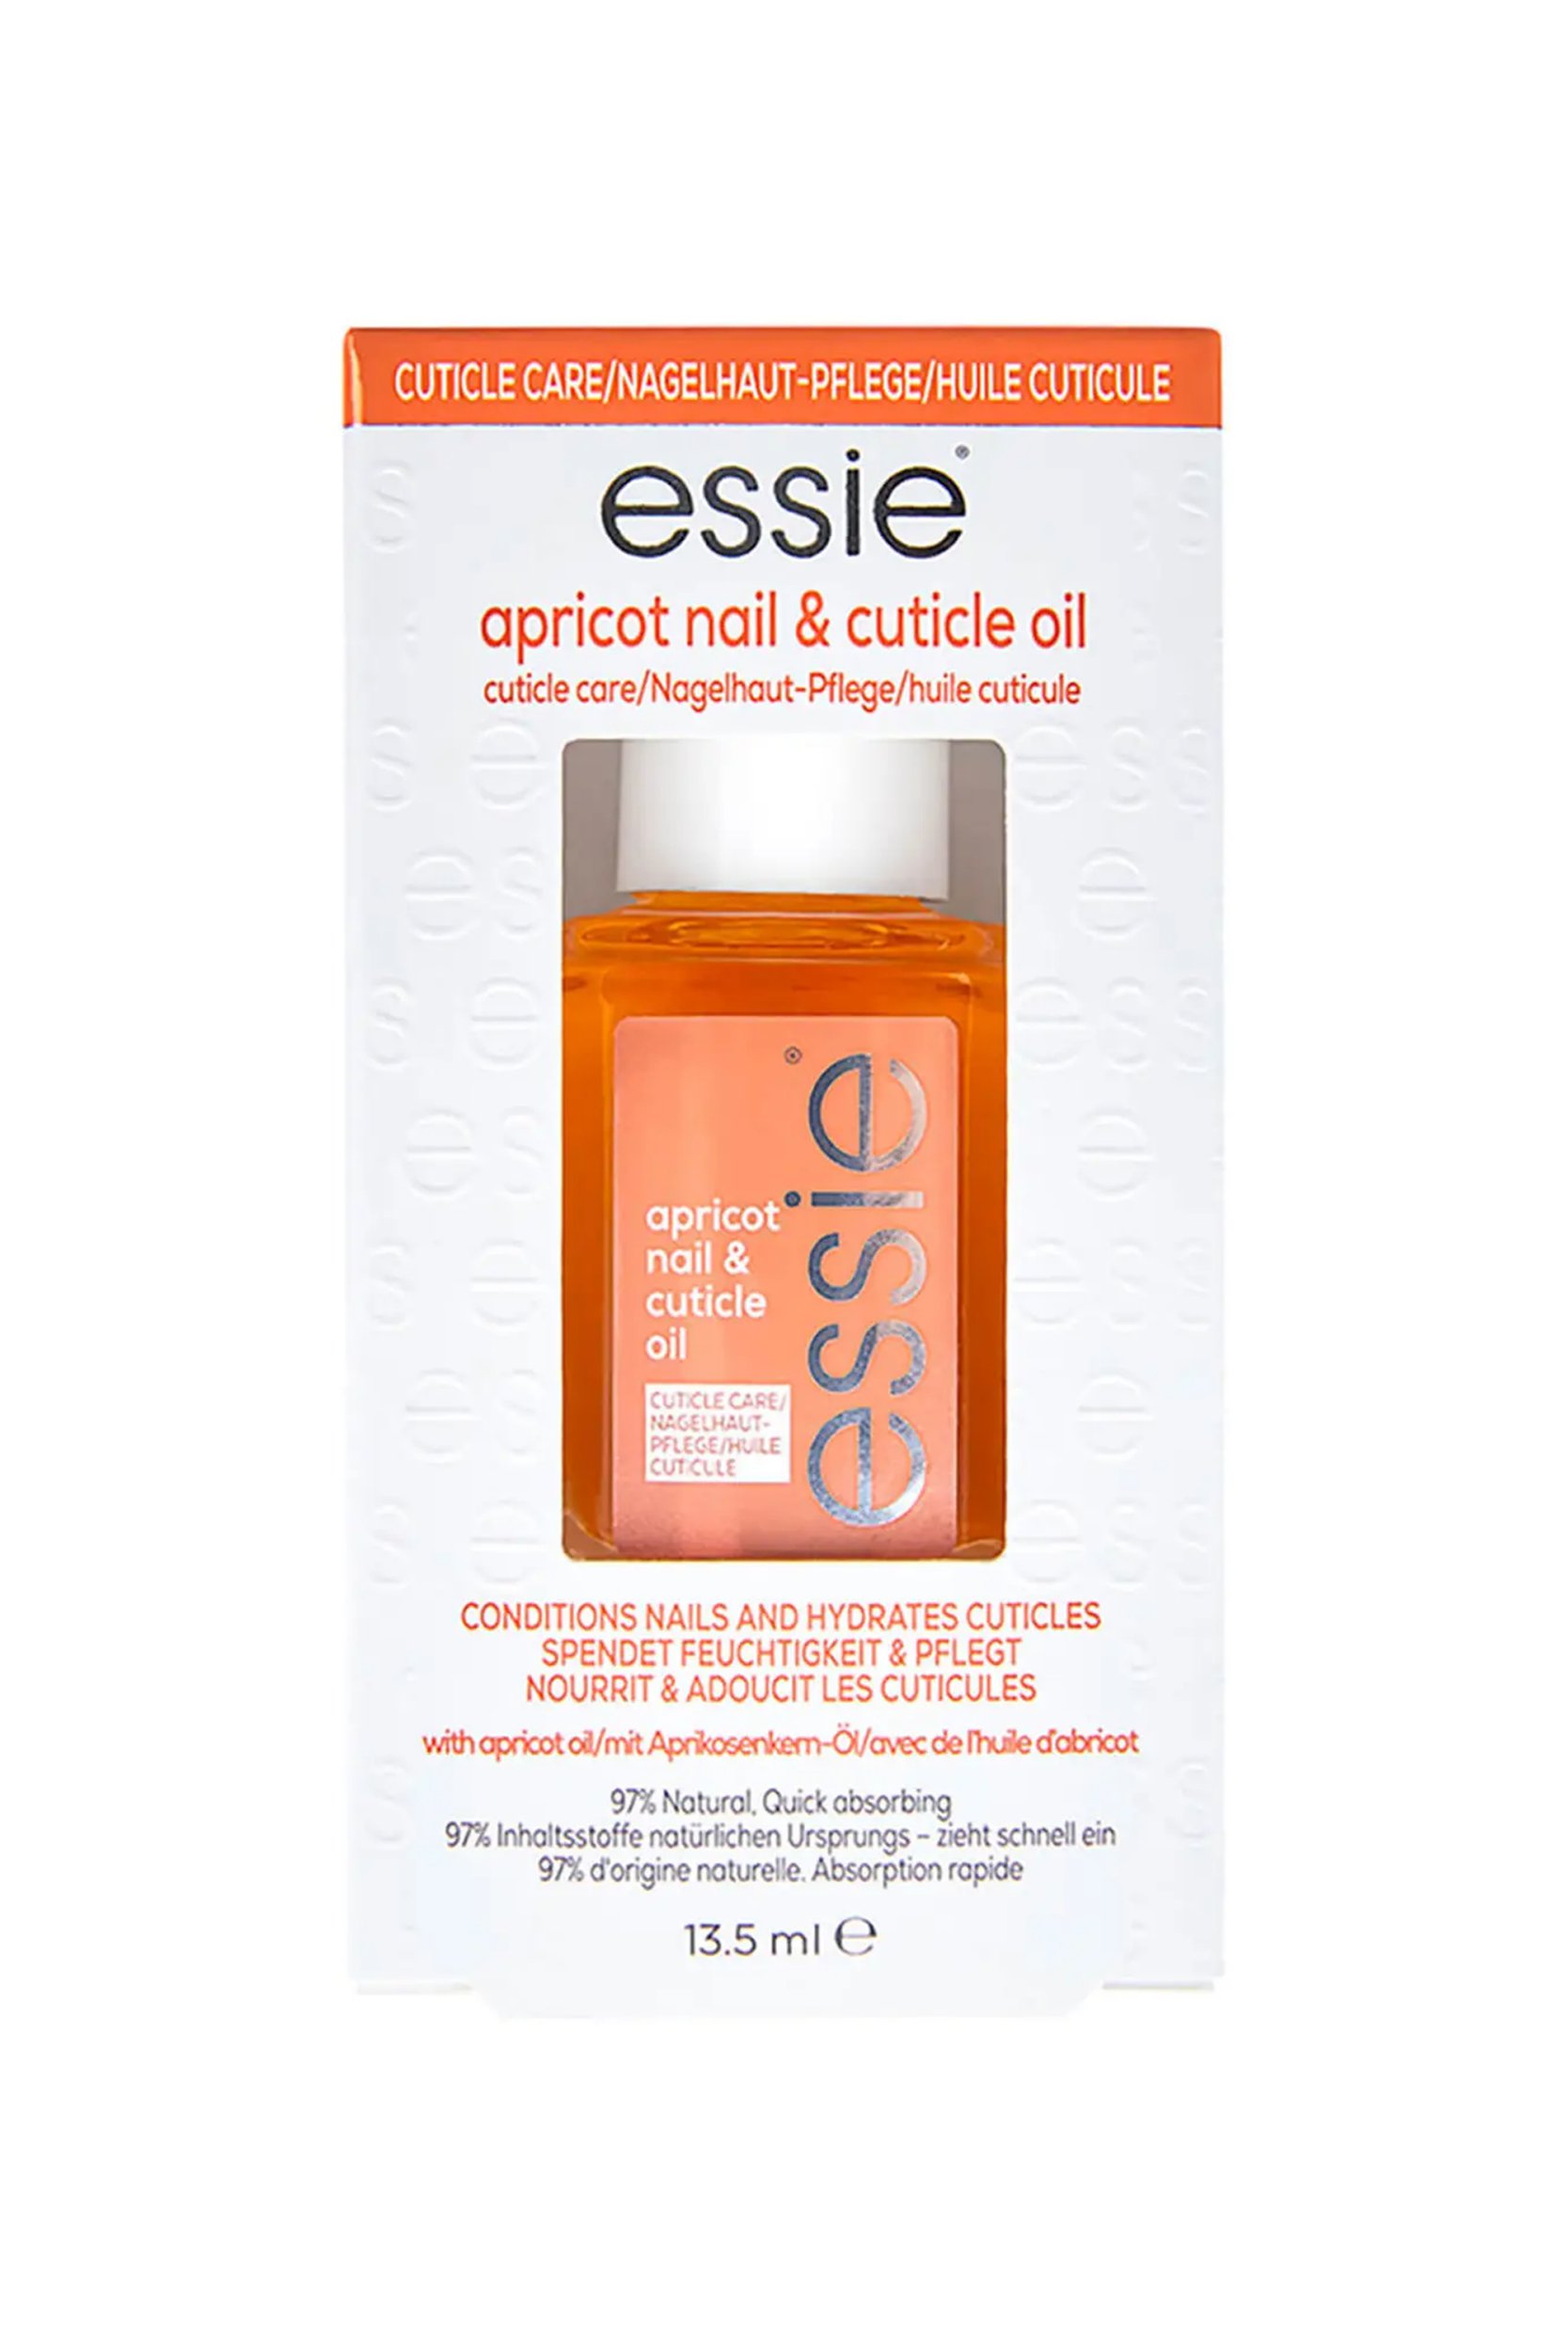
When that’s done, you’ll want to take a cuticle oil – AKA your new best friend – and put a drop or two onto each cuticle and massage in. Essie’s Apricot Nail & Cuticle Oil, £8.99, FeelUnique, contains a cocktail of nourishing oils to help rehydrate your nail beds; Applying this nightly will make a huge difference and help you back on the path to stronger, healthier nails.

