Whether it’s how to remove fake tan like a pro or apply false lashes with ease, According To A Millennial brings you expert advice, direct from the coolest beauty millennials.
After more than ten years in journalism – much of which has been spent editing beauty columns, trialing treatments and reviewing products – one of my guilty beauty secrets is how much I hate visiting the nail salon.
I know, I know, who doesn’t love the satisfaction of leaving your appointment with neatly manicured cuticles and a shiny new polish? But for me, it’s just not worth the hour-long appointment, sat fidgeting in the chair unable to even mindlessly scroll through Instagram as my hands are preoccupied.
More on nails:
- 10 Valentine’s nails to sport if you’re feeling all loved up (and even if you’re not)
- The best celebrity nail inspiration, from Hailey Bieber’s viral mani to JLo’s wedding nails
- Forget glazed doughnut manicures, cat eye nails are the next big thing
It’s why last year, I ditched the salon all together. Spurred on by a year without manicures during the pandemic, I dusted off my years-old UV lamp and painted my own gel polish on. From the comfort of my sofa with Netflix for company, I was amazed at the mirror-like shine I’d achieved and most importantly, how long my DIY mani lasted.
With just a few insider tips I’ve learnt along the way, it really is possible to get a professional looking manicure for a fraction of the price at home, you just have to follow my golden rules…
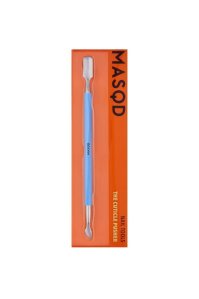
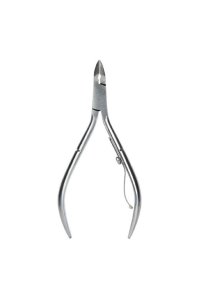
What do you need for gel nails at home?
Shop the products:
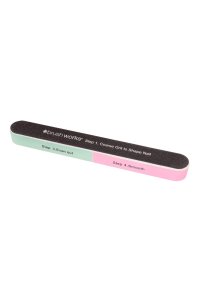
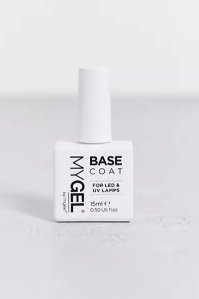
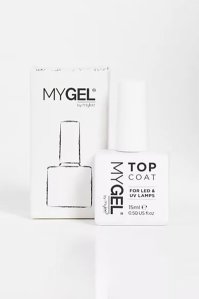
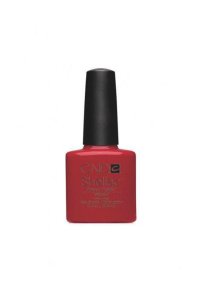
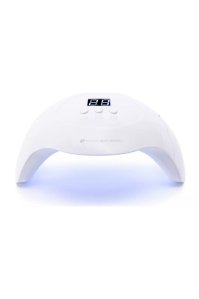
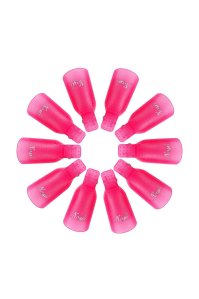
*Eliza may earn commission on sales from these product links
How to prep your nails for gel polish
The most important step – before you even start applying polish – is preparing the nail. If you start with a good foundation your manicure will not only last longer, but with a nicely shaped nail, it will look sleeker too.
Start by enhancing the shape of your natural nail. Nail artist Marissa Marsh’s top tip is to “make sure the cuticles are pushed back to reveal the full size of your nail” especially for those with shorter nail beds as it will elongate the nail.
Trim excess skin (gently!) using a cuticle trimmer, then file and clean the nail. See our step-by-step of how to do it in the video below.
How to do gel nails at hope, step by step
How to choose the perfect shade for DIY gel nails
It may sound boring but one of the key things I’ve learnt from many questionable DIY manicures is to limit your shade choice. I stick to just three – nude, red or a purple shade that’s so dark it’s almost black.
These classic colours tend to look the most chic, they are forgiving with mishaps if you pick the right formula (no streaky finishes or transparent colours here) and it also limits the amount of bottles you have in your stash.
I also never buy glittery or metallic polishes, I like the clean, high-shine finish of an opaque colour. And I’d never attempt nail art at home – that’s definitely best left to the professionals.
It’s not to say that I don’t experiment with different shades in these three colour families. I own multiple variations of nude and Shellac colours which work beautifully when layered together to find the perfect your-nails-but-better colour.
The best gel nail polishes to use at home
My favourite combos are:
- Shellac Cake Pop and Shellac Grapefruit Sparkle: This is the only glitter I own. It’s a great holiday pedicure colour when layered over the baby pink of Cake Pop. Together they compliment tan well and bring a subtle sparkle to the beach!
- Shellac Bouquet and Shellac Cashmere Wrap: the perfect natural-pink nude. Apply one coat of Bouquet, followed by two Cashmere Wrap which neutralises the white tones in Bouquet.
The best all-year-round gel nail colours:
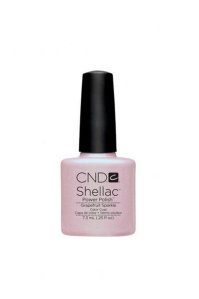

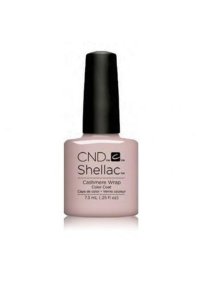
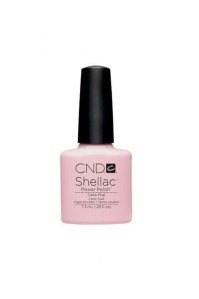
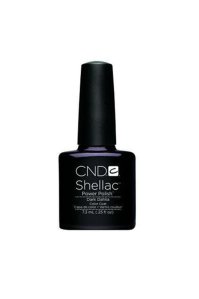
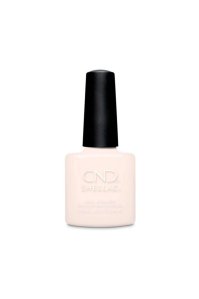
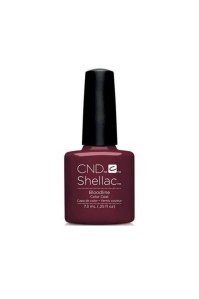
*Eliza may earn commission on sales from these product links
The secret to applying nail polish perfectly
My first tip may make you roll your eyes – but patience is key. There’s no cheating or shortcuts with a DIY mani, but with practice I’ve got it down to 15 minutes per hand.
Always do each hand separately and complete one – top coat and all – before going on to the other. This will prevent any dust attaching or accidental scratches in between coats.
If you are concerned about skin damage or premature ageing from the UV lamp, nail artist Marissa Marsh recommends applying a layer of SPF all over the hands, she uses SPF 50. “Afterwards, use cleanser or acetone to remove any oils from the nail which can prevent the gel polish from adhering.”
How to paint your nails like a professional
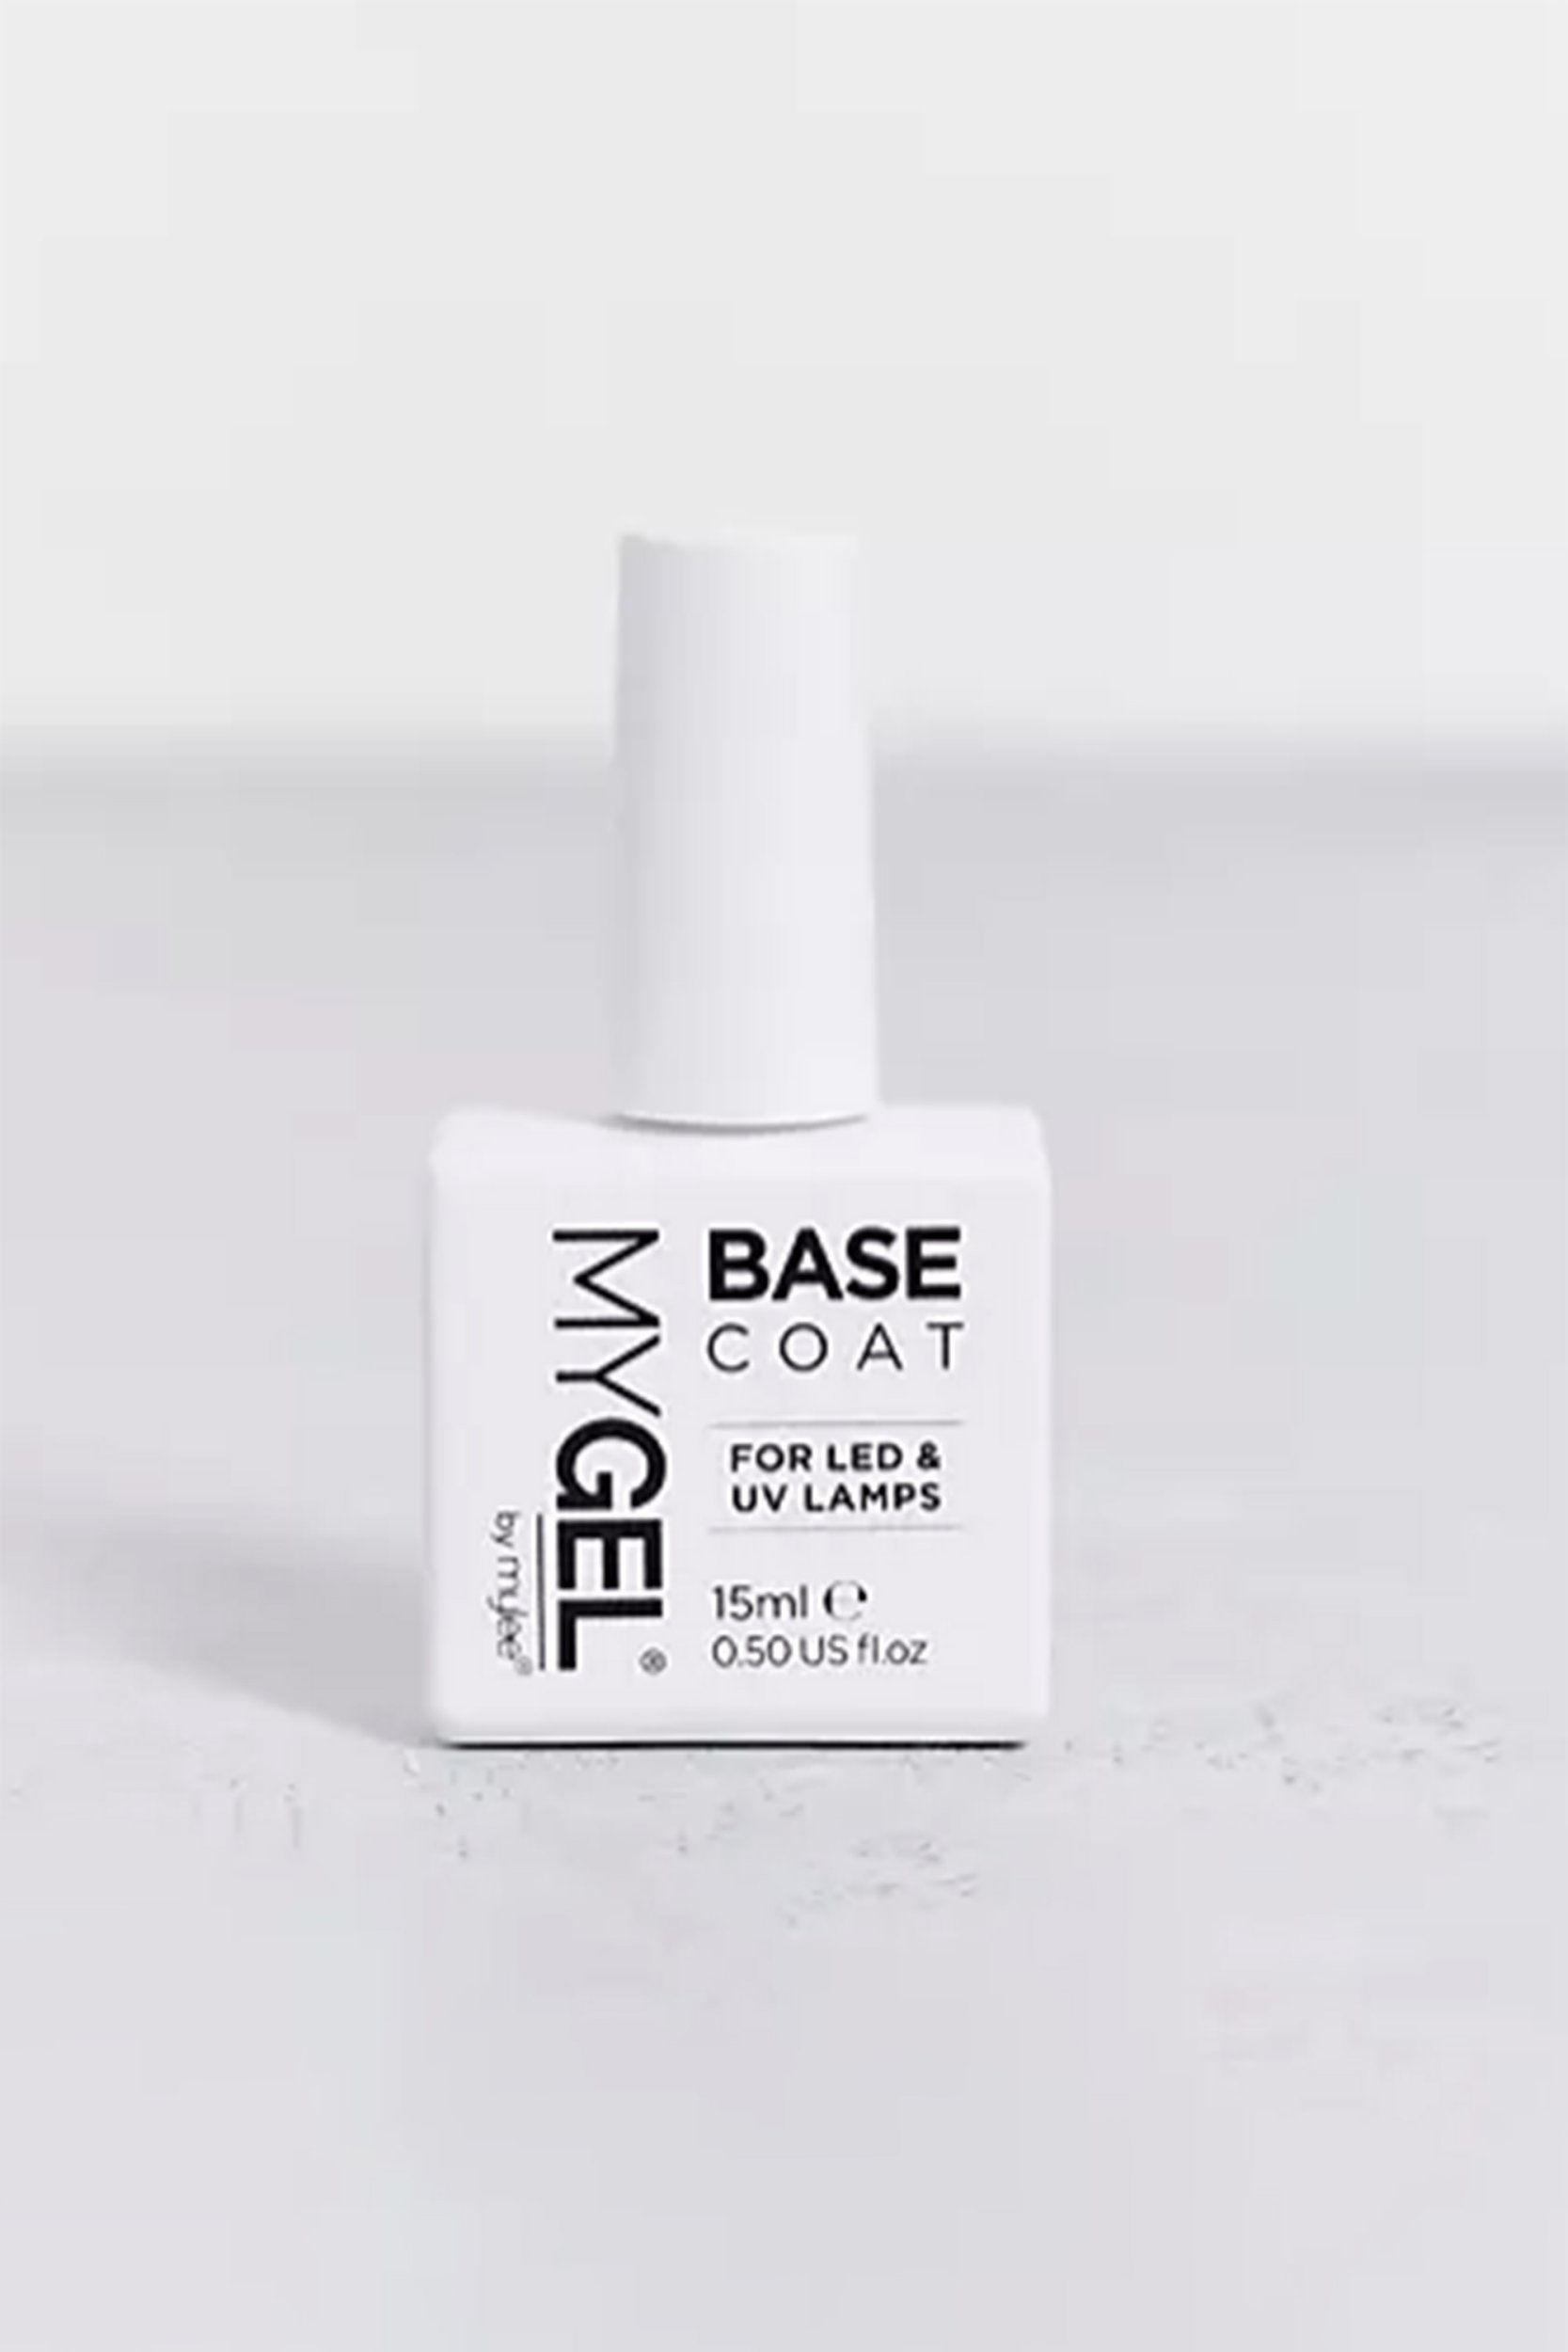
Start with a gel base coat like MYGEL by Mylee Base Coat Gel Polish, £8.50, ASOS and apply to each nail in a maximum of three strokes. I’ve found this base and top coat duo works perfectly with my trusty Shellac colours (even though it’s not recommended that you mix brands, I’ve always found these two compatible). The MYGEL top coat doesn’t have that final sticky layer that usually gets wiped off in the salon, which is one less faff.
Unless layering colours to create a new shade, I do four coats on each nail; base, two coats of colour and finish with a top coat. Swipe your top coat vertically across the tip of the nail to seal the colour and prevent chipping.
And finally – as tempting as it is to apply in thick coats to cover the nail quickly, go easy and wipe off the excess polish on the brush using the edge of the bottle first, to ensure you are working in thin layers. Trust me, it’ll dry faster and won’t look lumpy.
How long does it take for gel polish to dry?
Remember each brand is different and will require different curing times. Check the instructions for the one you’re using, but I cure each layer in my UV lamp for a minimum of two minutes to ensure it has properly set.
How to remove gel polish at home
There’s no hiding with gel manicures, and so when nails are broken, weak, bending or cracking, there’s only so much the polish can cover. And one of the best ways to ensure your nails are in good condition is to remove old colour correctly.
Yes, that means no more picking or peeling your polish off.
Invest in some nail remover clips, £3.29, Amazon, which will help soak the gel polish off. These peg-like devices may make you feel like a pink Edward Scissor Hands, but soaking a cotton pad in acetone (which can be bought cheaply from your local chemist) and then clipping it in place over the nail, is the most effective way I’ve found at removing gels.
After ten minutes you’ll be able to gently scrape of the softened polish – and you’re good to go with a fresh manicure, all from the comfort of your sofa!

