Demystifying ingredients, clarifying how to apply products and revealing everything you’ve always wanted to know about skin types; Eliza Explains will help you become a beauty pro.
Picture this: it’s the last day of your holiday, you’ve made it through the flight home and have been in line at passport control for the past 30 minutes. You eventually get to the front of the queue, hand over your passport and, for a split second, you notice the officer furrow their brow slightly as they double-check whether it’s really you.
Just what you want after an eight-hour journey – someone smirking at a passport photo you took in a rush in one of those unflattering booths when you were a teenager. Does it look like you? Just enough to get you through the gates. Does it look good? Absolutely not. Are you embarrassed every time you have to get your passport out for someone? Always.
So, it’s maybe time to do something about it. I’m not saying you should renew your passport just because you don’t like your picture (who has the time or funds for that?!). But, when that renewal date does come around, it’s a great opportunity to prepare for a photo that you won’t want to hide for the next 10 years.
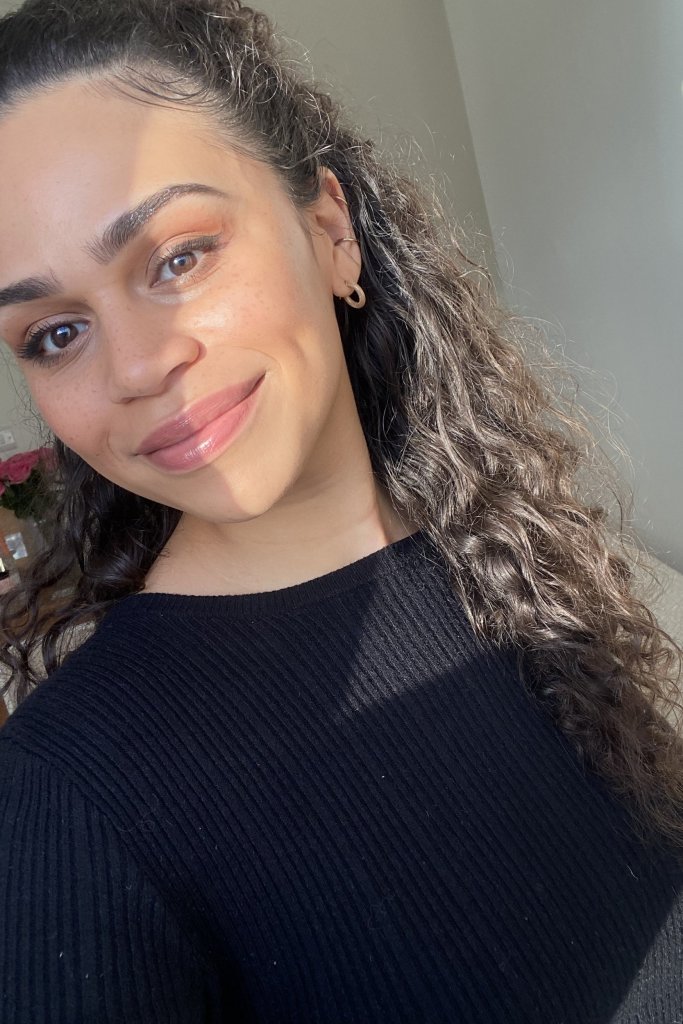
Obviously looking your best is the main aim here, but you also want to be able to actually use your passport, so it’s important to tick all of the official boxes.
The good news is that you no longer have to submit physical photos taken in one of those photobooths in your local train station. Now, you can apply for a passport online and submit a digital image – either taken by someone else or even a selfie (though, more on that later). For an official rundown on all the rules and regulations, make sure to check out the Gov.uk website before submitting.
Now, I’m not promising to work miracles here – after all, I’m currently in possession of a photo that looks like a late-night mugshot – but I have done some digging and these simple steps should put you on the right path…
Step 1: Prep your skin
With a plain background required and no fun accessories allowed, there’s nowhere to hide when it comes to your passport photo. So, before you even think about trying any fancy makeup tricks, it’s best to prep your canvas (AKA, your skin) first.
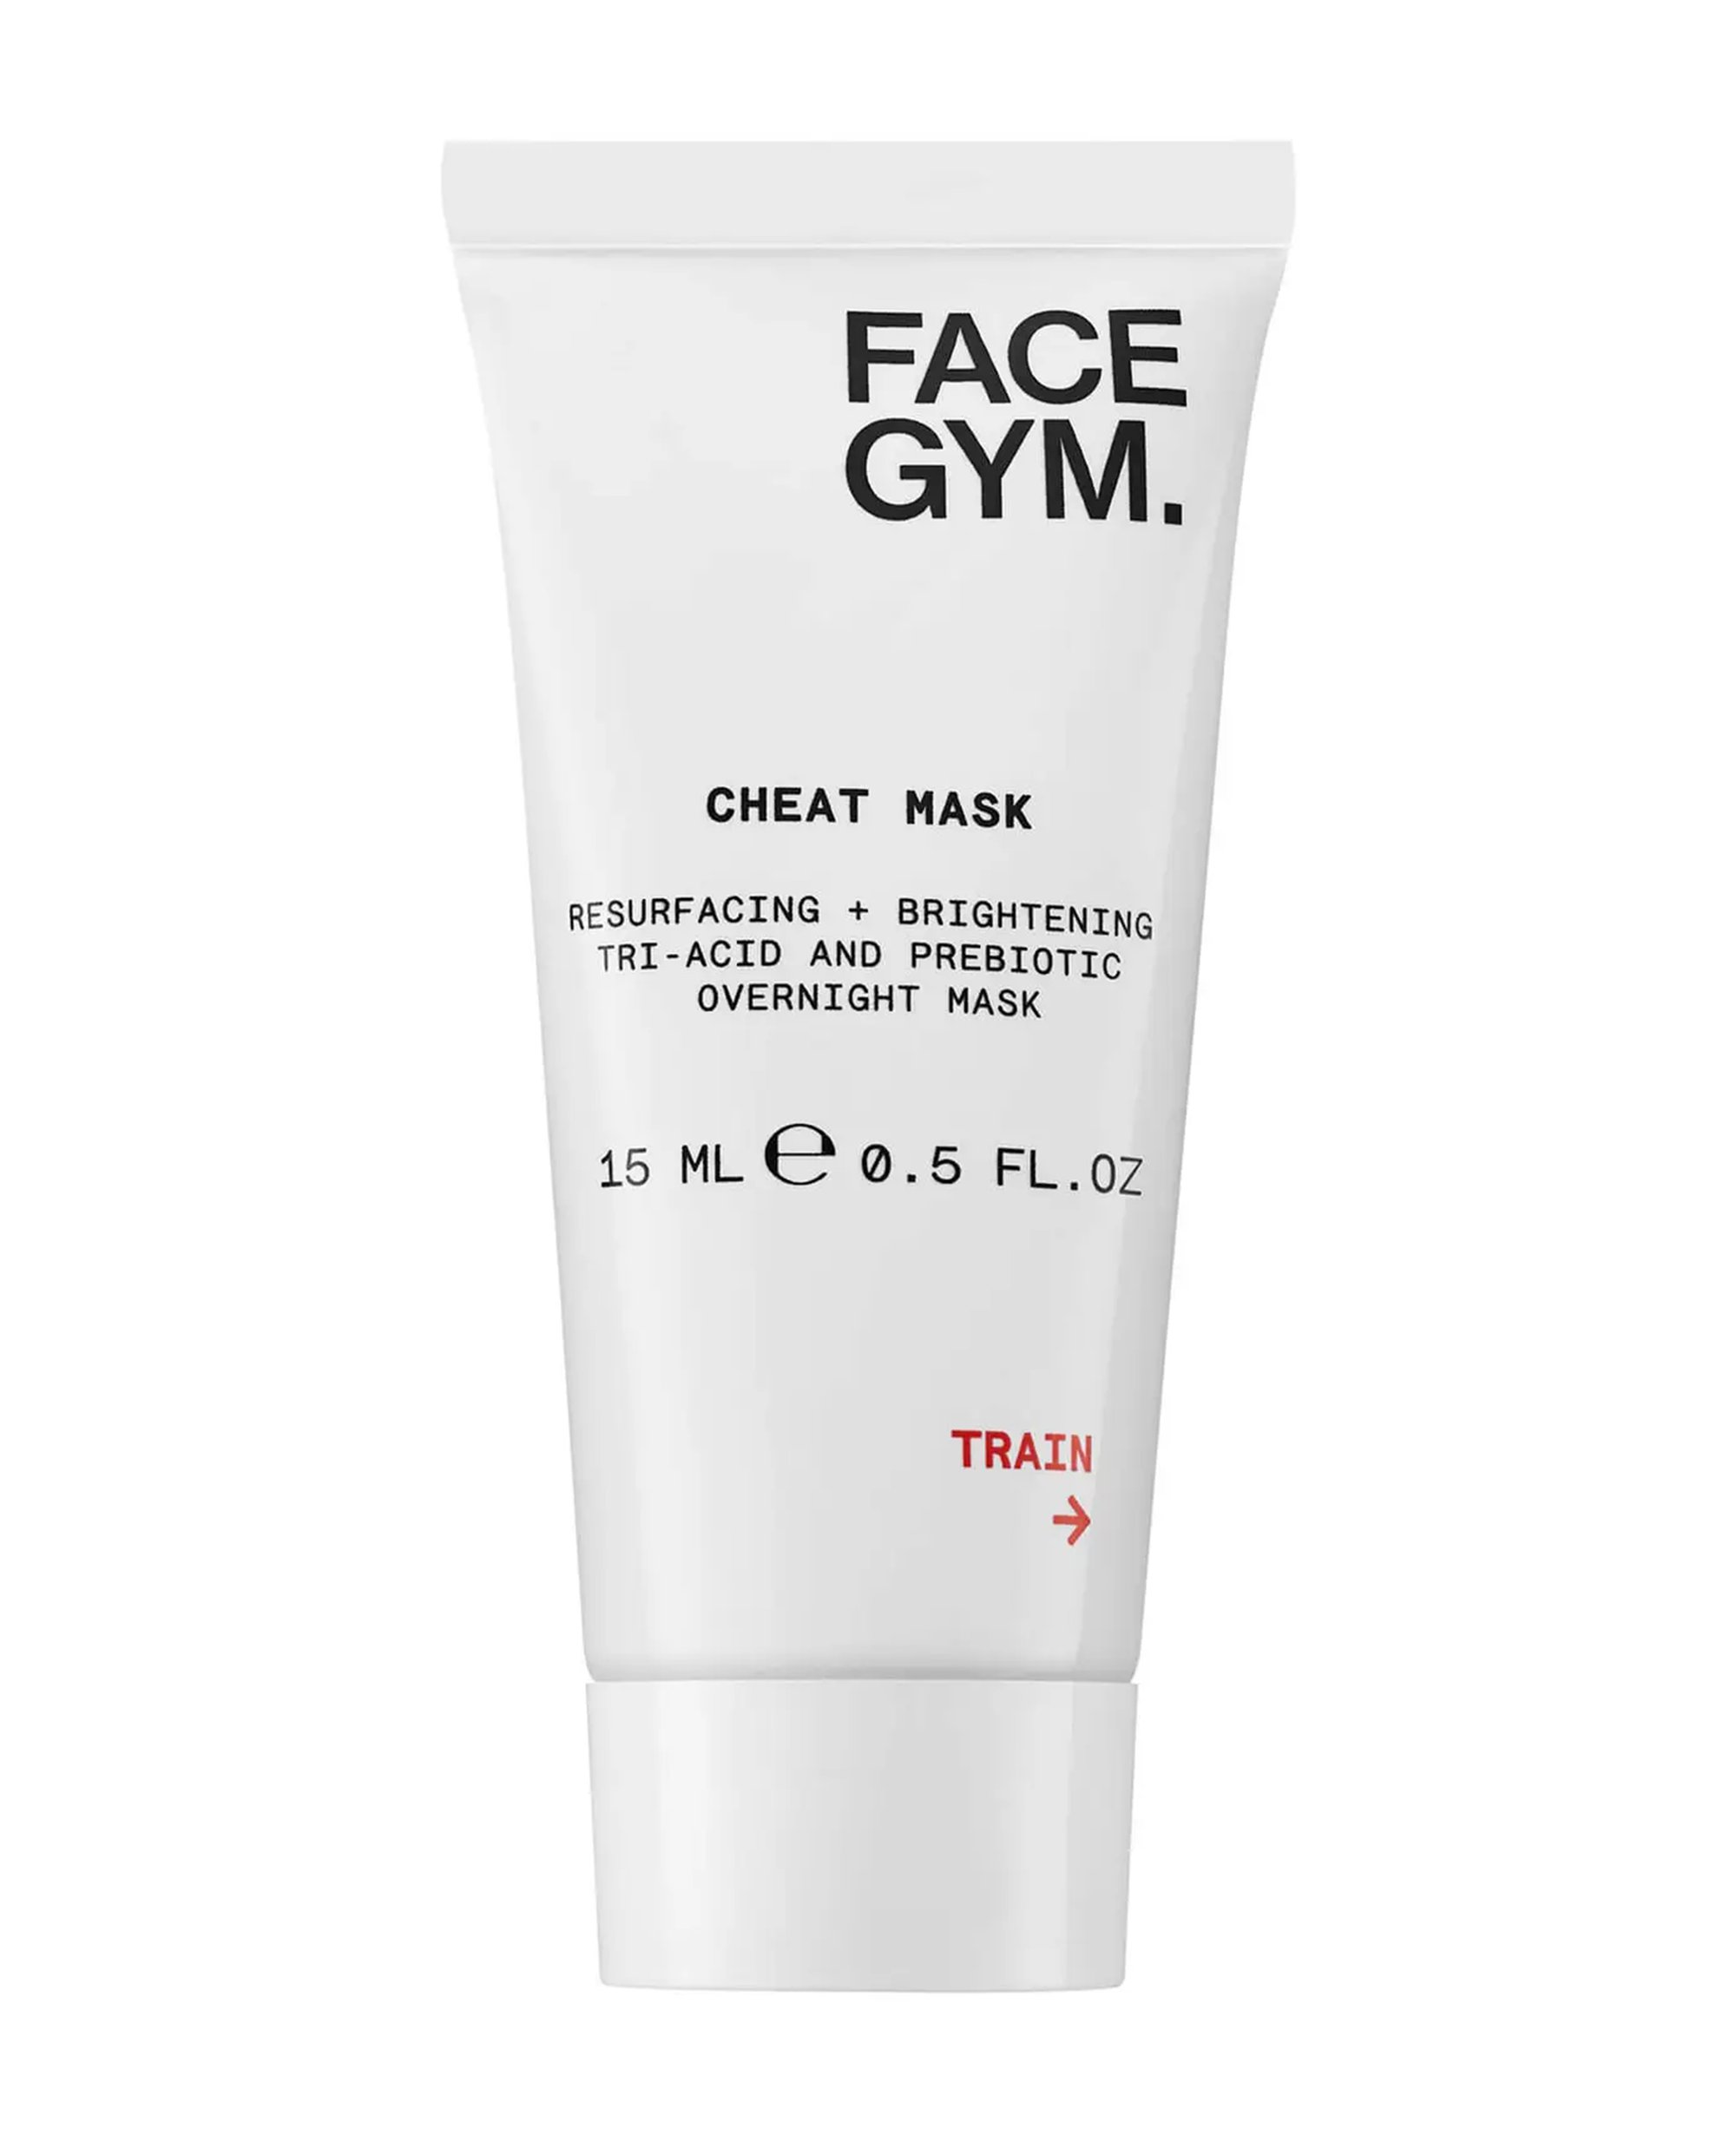
The night before, apply an overnight treatment, such as the FaceGym Cheat Mask Resurfacing and Brightening Tri-Acid and Prebiotic Overnight Mask, £65, Cult Beauty (which also comes in a mini size for £20) and wake up with brighter skin, tighter-looking pores and a major reduction in blemishes (you don’t want that spot on your chin for the next decade).
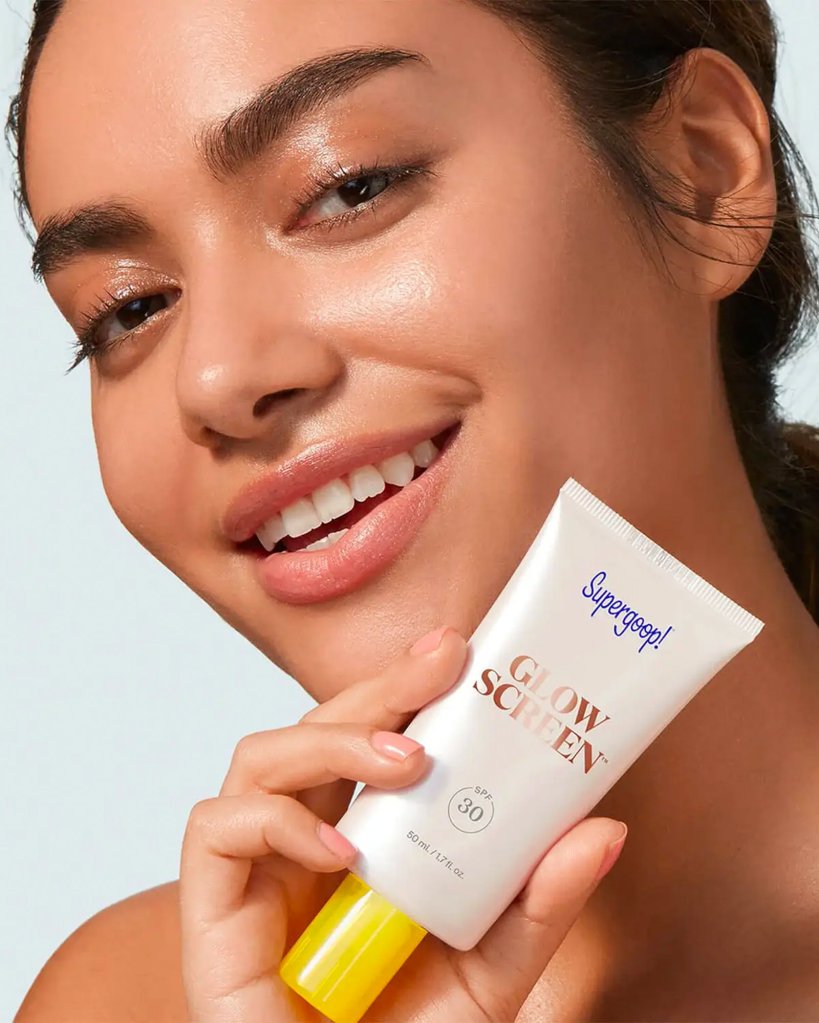
In the morning, a hyaluronic-rich sheet mask will add extra plumpness to skin (try the Dr.Jart+ Dermask Water Jet Vital Hydra Solution, £6, Look Fantastic), add a nourishing moisturiser (TikTokers and makeup artists alike swear by the Embryolisse Lait-Crème Concentré, £20, Feel Unique), a firming, lifting cream to hydrate the under-eyes (such as Beauty Pie Über Youth™ Super Eye Energy Peptide-Infusion Cream, £13.50 with a membership or £65 without) and finish with an SPF that also acts as a great primer for makeup (you can’t beat Supergoop! Mineral Sheerscreen, £34, Cult Beauty, for this), and you’ll be glowing.
Swipe and shop: Passport photo skin prep
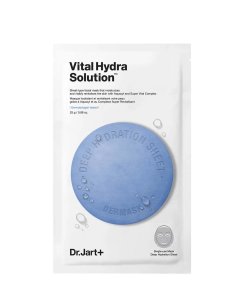
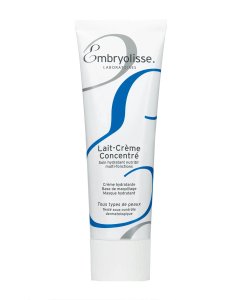
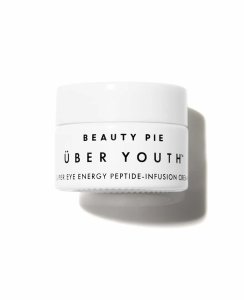
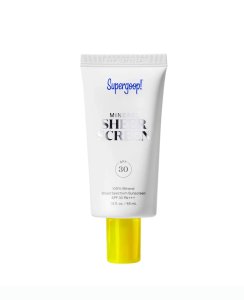
*Eliza may earn commission on sales from these product links
Step 2: Passport makeup 2.0
We’ve all seen the videos of people doing the viral #PassportMakeup, turning themselves into sexy, pouty cherubs – which looks great, but it’s not very me. That’s the thing with passport makeup, it has to look like you.
Half of the time you go through passport control, you’re probably being assessed by a mechanical scanner, so dramatically altering the shape of your facial features could affect how long it takes for you to pass through.
It might even affect your picture being accepted in the first place. Eliza’s Beauty Editor Rebecca found her (gorgeous) image being rejected because the amount of dewy skincare and highlighter she’d used across her cheekbones was shining too brightly, thanks to the camera’s flash (I guess there’s worst things to be rejected for than a perfectly placed celestial glow.)
As well as being annoying, it also meant she had to go out, take another photo in a rush and submit it ASAP to get her passport in time. The result? A picture she can’t stand that she’s stuck with for the next decade. So, it’s best to get things right first time around.
So, how to get a glowing look without resembling a Twilight vampire stepping into the sunshine? It’s all about being “natural but defined,” says hair and makeup artist Joe Pickering-Taylor, whose red-carpet and studio looks are the perfect mix of natural yet glam.
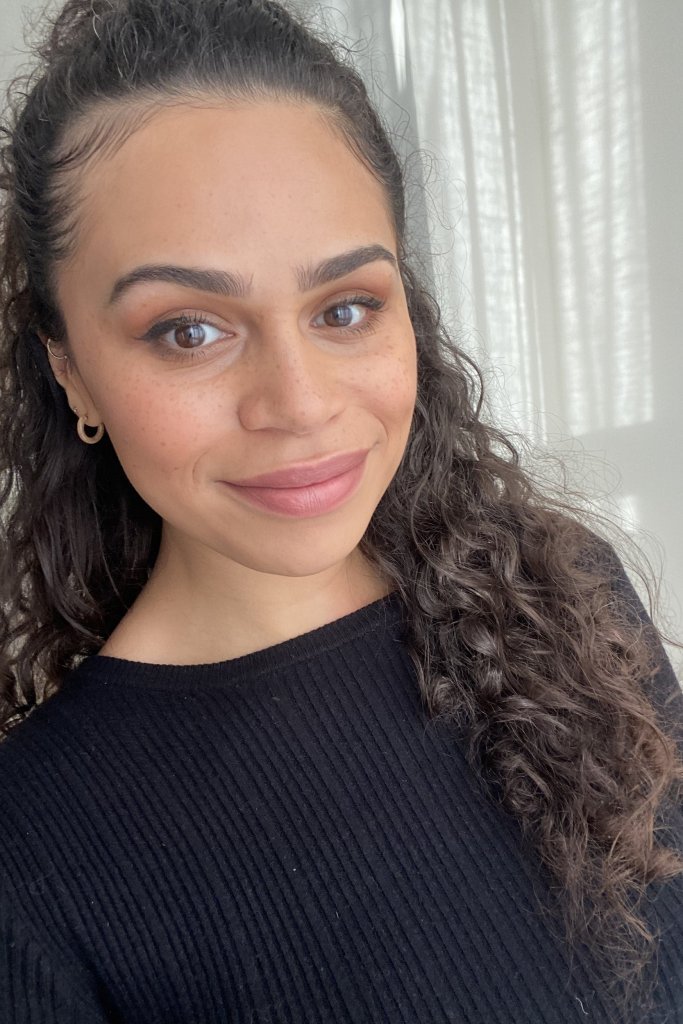
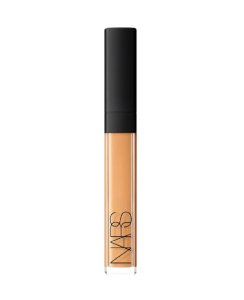
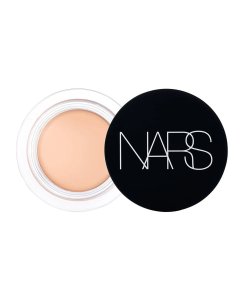
“Avoid heavy highlighter and powder your forehead, chin, around the nose and any other places you get shine to avoid flashback from the camera,” he says. If you don’t need a full-coverage base, try just using concealer where you need it. “I love the Nars Radiant Creamy Concealer, £25, Boots, for under eyes and the Nars Soft Matte Complete Concealer, £25, Feel Unique, is a dream to cover anything stubborn spots or marks around the face,” Pickering-Taylor adds.
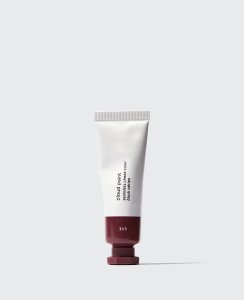
For a subtle sculpt, “a nice warm bronze on the cheeks will mean you won’t look washed out, and a touch of blush will add some life to your skin – I swear by the Glossier Cloud Paint, £17, Glossier, for a beautiful wash of colour,” he continues.
Swipe and shop: Passport photo makeup
*Eliza may earn commission on sales from these product links
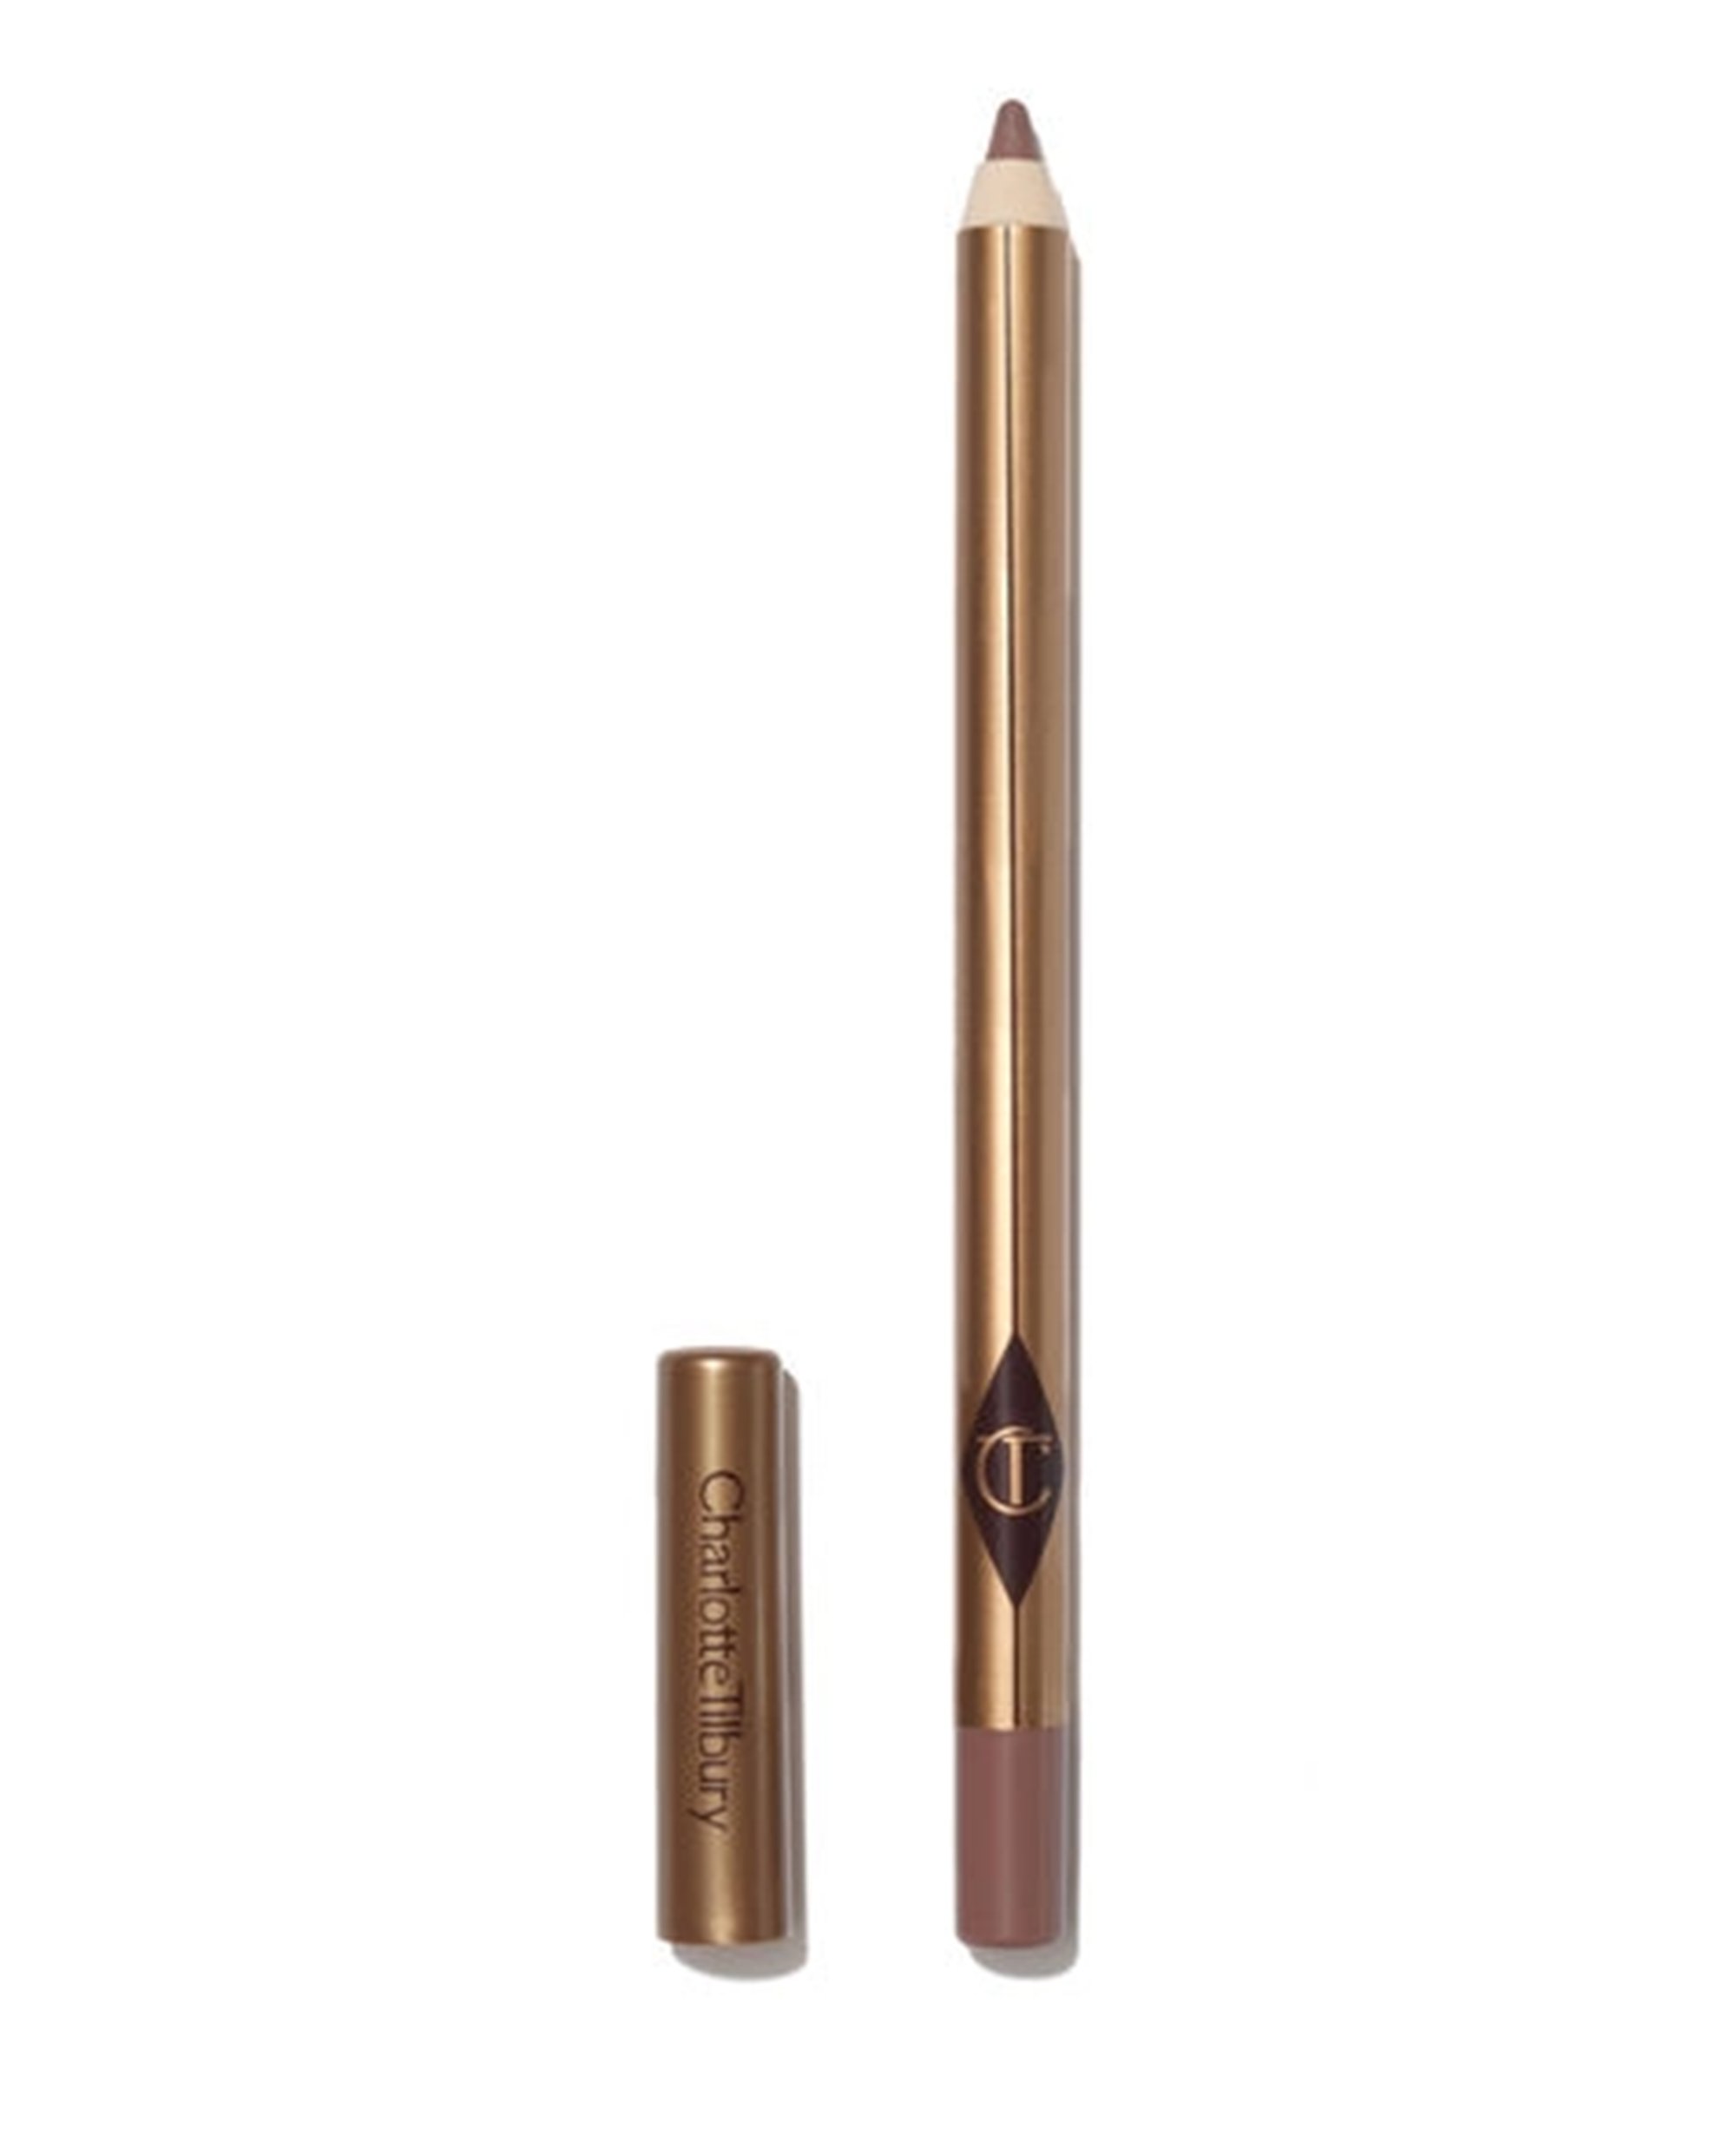
For some final touches, “well-defined and brushed-up brows always lift the face, and a nice, natural contour of the eye with a good lick of mascara opens up the eyes nicely” and to finish, “a good defined nude lip is always a winner. Charlotte Tilbury has an amazing array of Lip Cheat Liners, £20, SpaceNK, to suit all skin tones – just fill your lip in and add a lip balm over the top, so it’s not too glossy but still has a nice shine.”
To make sure you’re camera-ready, Pickering-Taylor suggests to “take a photo with a flash using your phone’s back camera, so you can really see what you look like in bold lighting. And remember, you don’t need to zoom in and worry so much about the finer details, as this picture will be so small.” There you have it – tips from a pro.
Step 3: Consider your hair
There’s been so much focus on passport makeup, that it’s easy to forget that some of the official regulations apply to your hair, too. The Gov.uk website states that you must:
- Not have hair in front of your eyes
- Not have a head covering (unless it’s for religious or medical reasons)
- Not have anything covering your face
So that’s big, sweeping fringes out, then. For most people, having their hair down and swept back over their shoulders should be enough to pass the passport test.
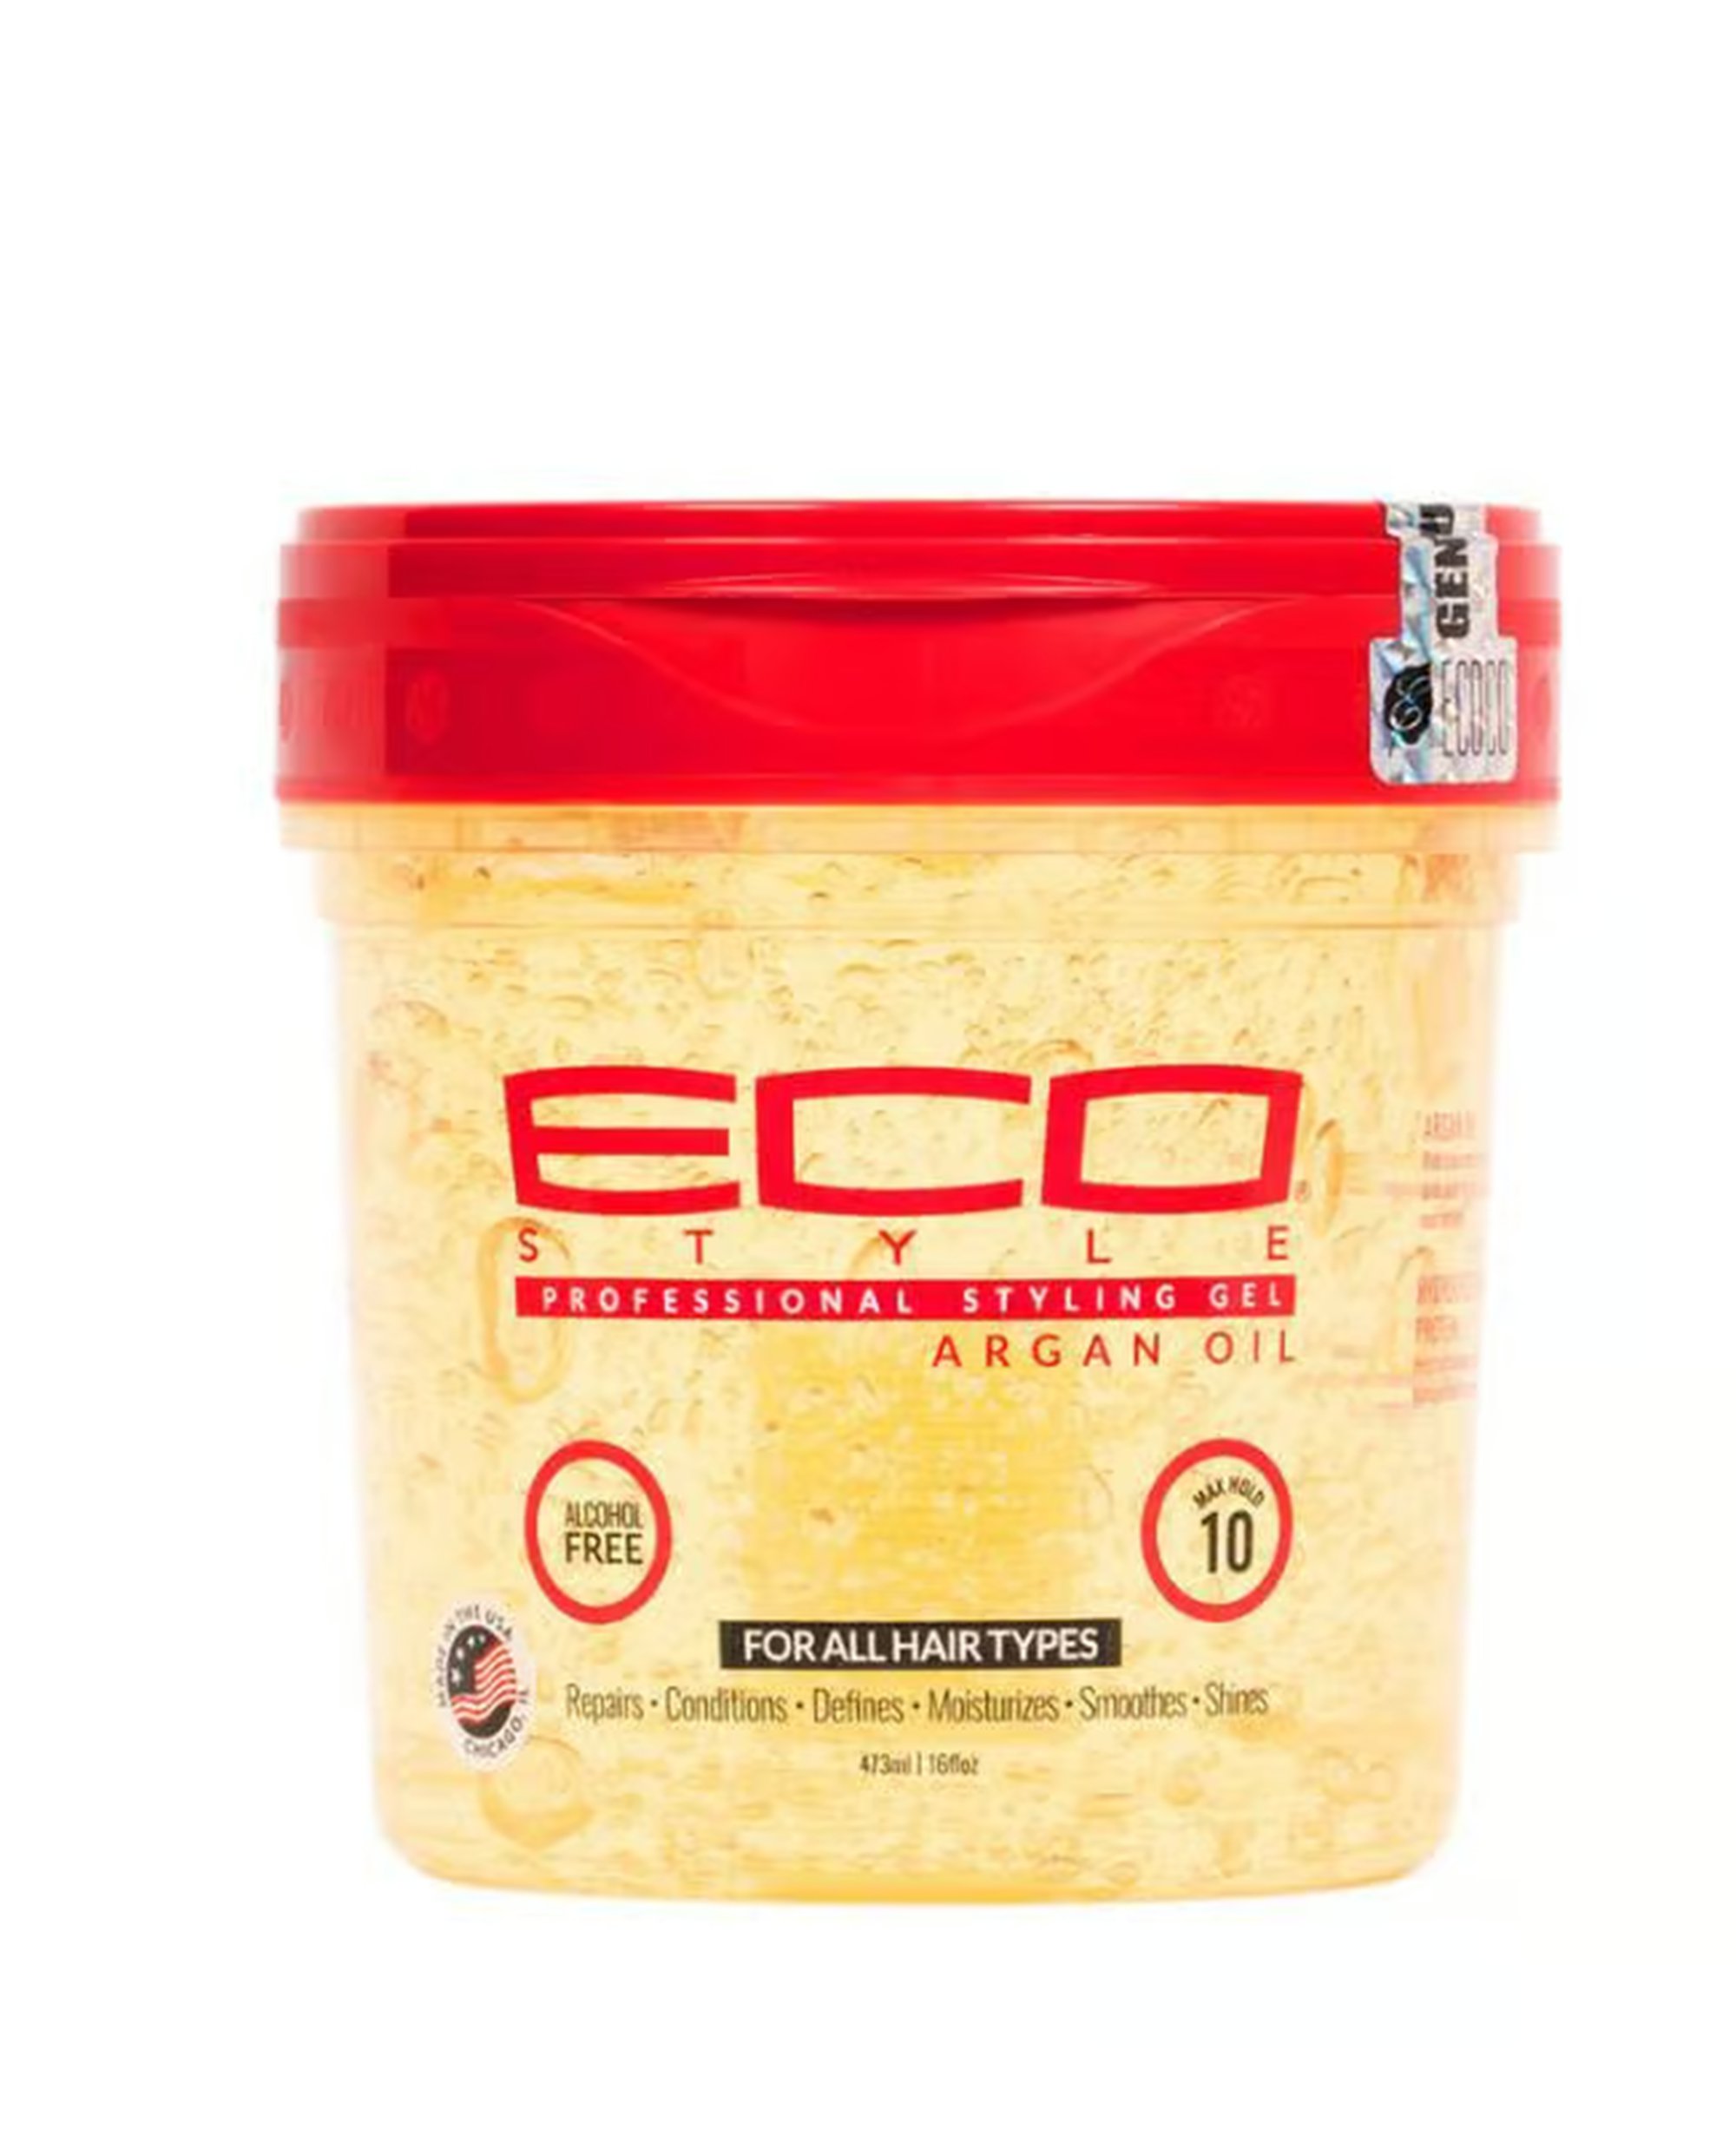
I, however, am always overly conscious about this, and so I sweep as much hair as I can off my face, just to be sure – half-up, half down is always super flattering and allows for a little flowing hair at the back, or you could go full ‘clean girl’ aesthetic and sweep your hair back into a bun. For either of these looks, some strong-hold gel, like the Eco Style Moroccan Argan Oil Styling Gel, £5.99, Sephora, and the Pattern Edge Tool, £12, Cult Beauty, are key.
Step 4: Dress for the occasion
Like your hair and makeup, when it comes to choosing your clothes for your passport photo, simple is best. Think neutral colours, nothing with patterns or slogans, and nothing that will date too quickly. And maybe don’t go for a strapless top, otherwise you’ll look completely naked in your picture.
Your best bet here would be a simple T-shirt or crew-neck jumper for a fuss-free, timeless look. Also, you’ll only see a tiny bit of it in your picture, so it doesn’t really matter.
As for jewellery and other accessories, I’d leave out as much as possible. Keep earrings small and subtle, and avoid bold, oversized hair accessories. The more items you have on, the less likely your photo is to be accepted – as my sister found out when her photo got rejected because she’d forgotten to take her AirPods out. You might not notice you have them in, but the passport people sure do!
Step 5: Find your light
Unless you go somewhere to get your picture professionally taken, chances are you or a friend will be taking this photo at home. The official guidelines say the photo must “be taken against a plain light-coloured background” – so a white or cream wall will do. Avoid anything else – photo frames, light switches, etc – being in the background. The closest you can get to recreating the old-school passport photo booths, the better. Only this time, you’re in charge of the lighting.
For the most flattering light, the easiest thing to do is head to a window – natural light will ensure a clear, crisp picture. If in doubt, or if it’s not very bright outside, put your phone’s camera on selfie mode and spin around until you hit the spot where you look the best – that’s your light.
Step 6: Actually, finally, take the photo
Your makeup is done. You’re dressed. Your hair looks sensational. The light has been found. And now, it’s time to take the damn thing.
In terms of posing, there’s no room for Colgate smiles, I’m afraid. You must “have a plain expression and your mouth closed” and, as Gov.uk helpfully reminds us, “have your eyes open and visible”.
If in doubt, practise in the mirror first – sit straight on and work out which angle to tilt your head, what to do with your mouth (not too pouty, not too smiley) and check you’re happy with your hair.
Then, get your phone out, and click away. If you’re taking the photo yourself, it’s a good idea to use a stand or a ring light to hold your phone (though be careful of too much bright light and any ring-light reflections in your eyes).
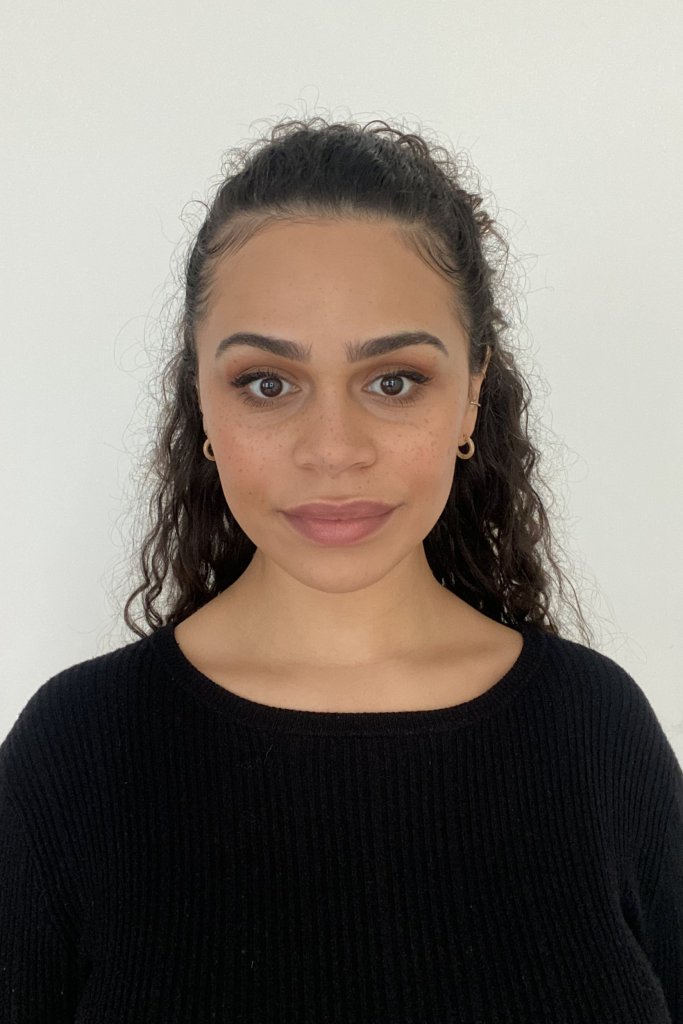
And, really importantly, don’t forget to turn your camera’s “mirror” settings off before you start taking photos. While it might be a more flattering look, it can lead to your image being rejected. Or, like one of my friends, it might get accepted, but you won’t be able to use the electric passport scanning machines at the airport – as your face isn’t perfectly symmetrical, the flipped “mirror” shot won’t align with how you look in real life, so often the electric gates won’t let you through. Nightmare.
If you’re anything like me, trial and error is the way to go; taking a million and one selfies must mean that one or two will be ‘good enough’ to submit. Your biggest job will be sifting through them all to find your favourites. Good luck!
