If you’re a hay fever sufferer, you’ll know that the visible signs of an allergic reaction to pollen. Think puffy, watery eyes, a red nose and blotchy, itchy skin. Then there’s the need to sneeze five times a minute.
I’ve had hay fever since I was 16, and let me tell you, there are few things more annoying than feeling the rising itch of an impending sneeze when your mascara is still tacky and hasn’t had a chance to set. For me, eye makeup always comes after base, so that means stamping black smudges around my eyes is inevitable as I squeeze them shut mid-achoo – just what I wanted on my fresh foundation.
Over the years, I’ve learned a few tricks on how to minimise the collateral of the arrival of spring on my makeup and skin (turns out under-eye makeup should probably come last), and have picked the brains of three top makeup artists for their tips too.
How to hide the tell-tale signs of hay fever
Soothe with skincare
Before we dive into makeup, let’s take a quick diversion across to skincare.
“Hay fever can weaken the skin barrier in areas like the eyes and nose, so be careful if you already have a compromised skin barrier, with dryness, dehydration or sensitivity, or if you suffer from conditions like eczema and psoriasis,” says skin expert and facialist Fiona Brackenbury.
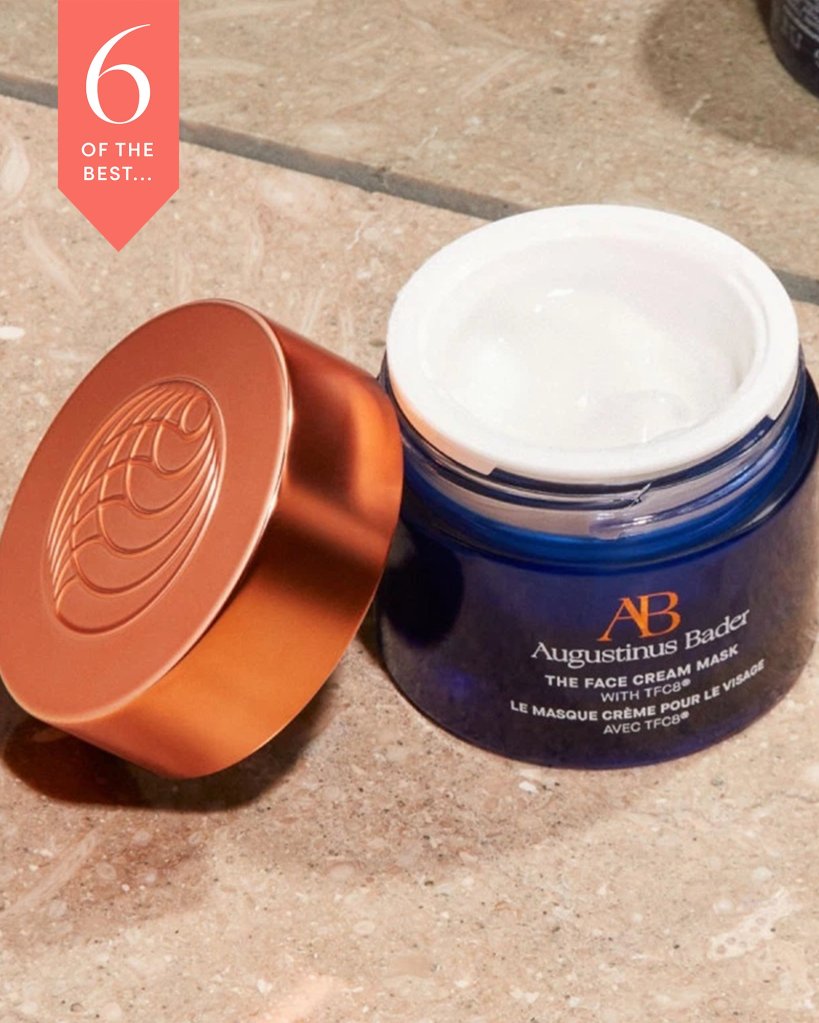
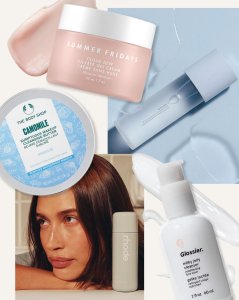
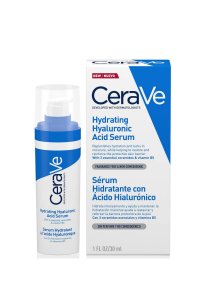
To support the barrier and keep your skin happy, focus on using skincare with hydrating ingredients like glycerin and hyaluronic acid, and nourishing ones like squalane and ceramides. This will set the tone for your makeup and help to reduce redness and changes in texture.
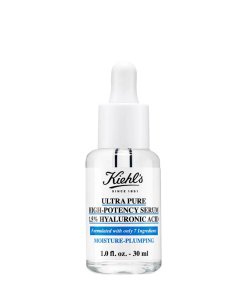
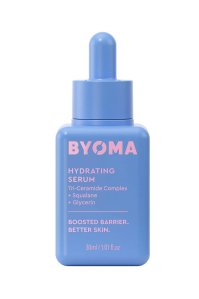
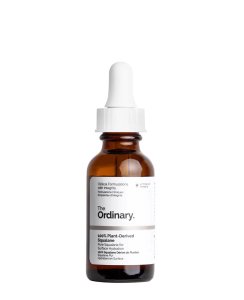
*Eliza may earn commission on sales from these product links
Now’s probably not the time to hit the ground running with acid exfoliants and retinoids, so pare these back until your antihistamines have had a chance to kick in.
Use less makeup
The less makeup you use, the less there is to smudge and disturb, and you won’t end up with those glaring gaps where redness peeks through around your nose. “Keep makeup light, especially around the nose area, so you’re not wiping off and re-applying constantly,” says Aimee Connolly, makeup artist and founder of Sculpted by Aimee.
Instead of a heavy-duty foundation, consider something lighter in texture, like a tinted moisturiser or CC cream. Applying with a fluffy brush or the warmth of your fingers will allow you to create a nice thin veil of coverage.
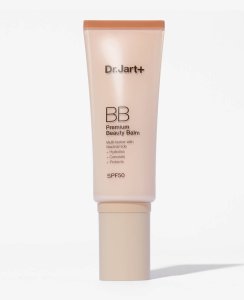

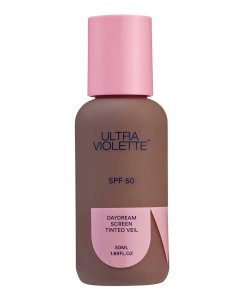
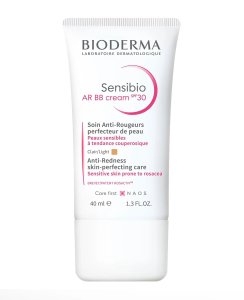
*Eliza may earn commission on sales from these product links
Shade away puffiness
In the same way that big, under-the-skin spots are the trickiest blemishes to disguise, puffiness can’t simply be erased with a dab of concealer. The secret is to use shading to make the swollen skin around your eyes look less raised in order to re-emphasise the brow bone and socket.
“Brushing a small amount of a darker nude shade into the eye socket can help define the eyes and visually will combat the flattening effect that puffy eyes can have on the surrounding area,” advises Aimee.
The kind of product you’re using here matters too. “Switch to lighter textures around the eyes to minimise the look of puffiness,” suggests Amanda Bell, pro makeup artist at Pixi Beauty.
Make itchy eyes look bigger
Pawing at and rubbing itchy eyes will make even the widest of peepers smaller.
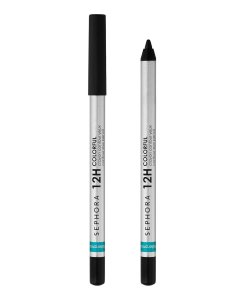
“Using different tones of makeup on the eyes can make them appear wider,” says Lampros Faslis, pro makeup artist at Bobbi Brown. “Start with a wash of a medium tone, then add a soft, smudged liner as close to your lash line as possible. Blend this out towards a soft point on the outer corner and finish with mascara.”
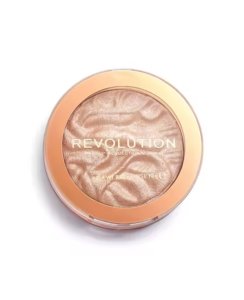
If you want something a little fresher, try using a touch of nude eyeliner on your lower waterline, use eyelash curlers to lift your lashes or follow Aimee’s lead with “a touch of highlighter to the inner corners of the eye”.
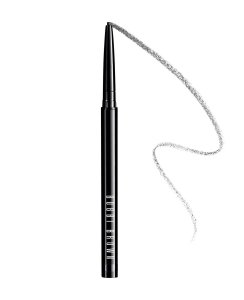
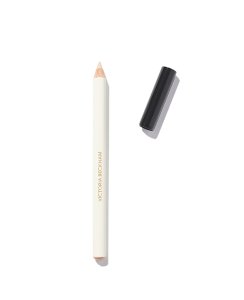

*Eliza may earn commission on sales from these product links
Set your under eyes
Watery eyes can send rivers running through your under-eye makeup, and unless post-breakup chic is your desired look, you’ll want to avoid that.
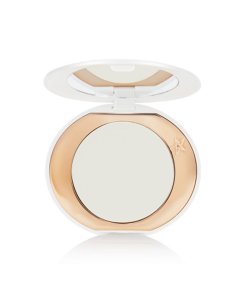
“Avoid putting too much product on your lower lashes, and set your under-eye makeup with a lightweight setting powder,” says Aimee. Ideally, make this a very fine translucent powder, as tinted ones are more likely to cake and settle into the lines around our eyes.
A flat, fan-shaped brush will be narrow enough to reach right beneath your lower lashes.
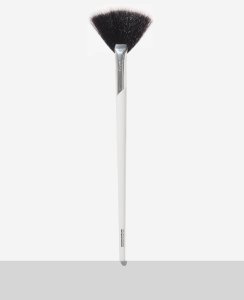
*Eliza may earn commission on sales from these product links
Take care around the nose
Along with your eyes, your nose takes the brunt of hay fever symptoms. Runny noses can disturb makeup (as can blowing them) and redness is driven by a combination of sneezing and rubbing with tissues.
Unlike the eye area (where its USP is thinner skin and a lack of oil glands) the nose has oil in abundance, which creates quite the slip-and-slide for makeup – especially when you’re snotty.
According to Amanda, you’ll need three things to keep your makeup in place here. “A primer that holds pigment perfectly, a colour corrector to minimise redness and blotting papers that will soak up excess oil while keeping your base pristine.” I’d suggest a gentle smattering of translucent setting powder too – especially on the tip and sides of your nose.

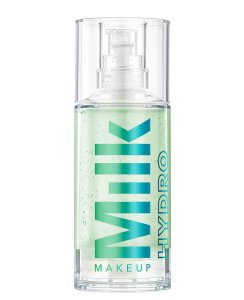
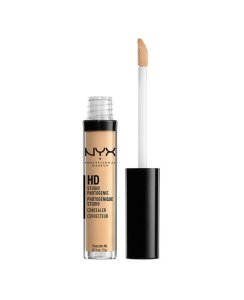
*Eliza may earn commission on sales from these product links
Colour correct
Feel like your entire face is red and blotchy, or just frustrated by scarlet strips at the sides and top of your nose? “Start with a colour-correcting base,” says Aimee. “If you can find one with a slight green tint this will help to cancel out the redness.” On darker skin tones, a terracotta hue will work better.
You can use yours all over, or just in areas where the redness is most obvious. As colour correctors are adding some pretty unnatural tones to the skin, you’ll need to follow with your normal base or concealer to avoid a lizard-like finish.
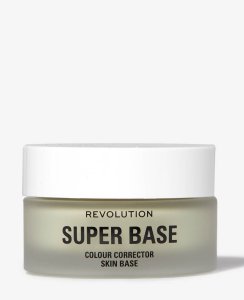
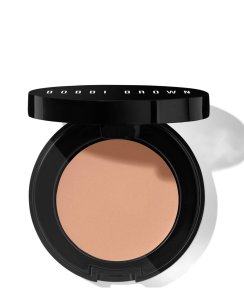
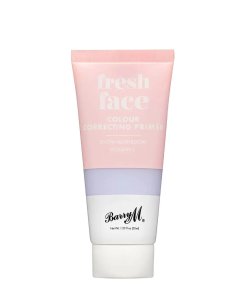
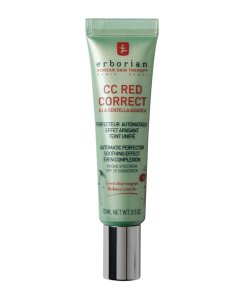
*Eliza may earn commission on sales from these product links
Choose long-wearing products
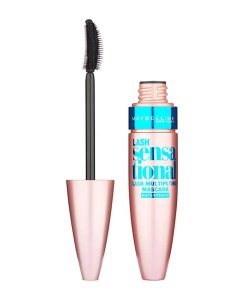
If ever there was a time to acquaint yourself with waterproof eye makeup, it’s hay fever season. “I would recommend long-wear and waterproof formulas around the eyes,” says Lampros. “These work best as they don’t smudge or move around.”
If you don’t want to buy a new eyeliner (cost of living crisis, I get it) then Amanda has the answer. “My ultimate tip is dampening your liner brush first with a little makeup setting spray before dipping into your shadow for a long-lasting alternative to crayon liner.”
Swipe and shop: Hay fever face makeup saviours
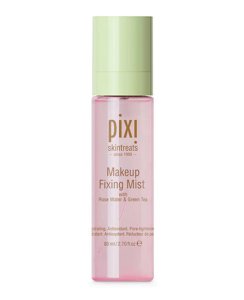
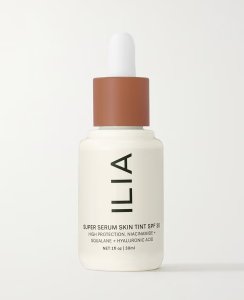
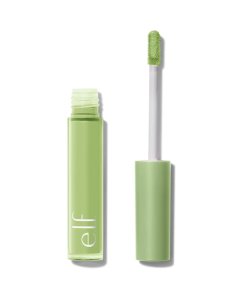
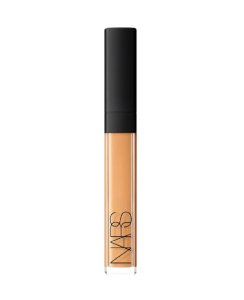
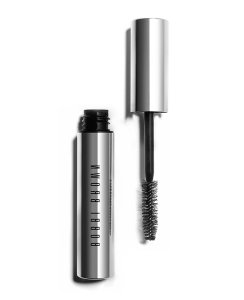
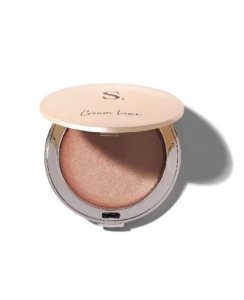
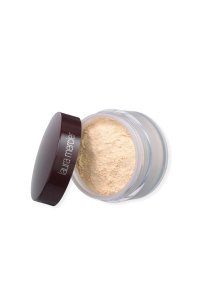
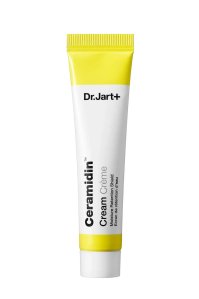
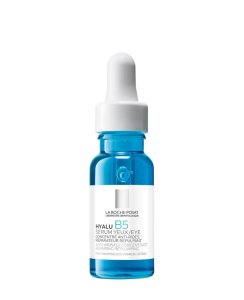
*Eliza may earn commission on sales from these product links

