Demystifying ingredients, clarifying how to apply products and revealing everything you’ve always wanted to know about skin types; Eliza Explains will help you become a beauty pro.
If you were stranded on a desert island and could only take a handful of beauty products, what would they be? I think about this a lot, even though my London flat is about as far from tropical as could be. You’ve got to be prepared for these things.
After careful consideration, top of my list would be SPF (obviously), then, somewhere within my imaginary makeup bag, you’d 100% find some sort of blusher.
It’s one of the most underrated makeup items out there, if you ask me. When you want to look fresh and healthy – like you’ve spent time convalescing in the fresh mountain air, Heidi-style – only blusher will do.
I’m not alone in thinking this – makeup mogul and founder of Jones Road, Bobbi Brown, agrees: “Whenever I don’t feel my vibrant self, blusher fakes it. I pop a little bit of colour high on the cheekbones, across the nose or swept over the forehead to add an injection of vitality to the skin.” There you go, approved by the best.
Though it may seem like a simple step in your makeup routine, blusher is surprisingly easy to get wrong – not one shade suits all, so finding that perfect match is essential. Where to start? Consider this your comprehensive guide to perfectly flushed cheeks, in five easy steps…
Step 1: find your undertone
It’s important not to get confused with your actual skin tone here – your undertone is your skin’s underlying hue, which ranges from warm to cool and doesn’t necessarily reflect how light or dark your skin is.
For example, while fair complexions are often ‘cool’, medium and dark skin tones in particular can range from warm to cool in undertone. This affects which blushers (and foundations, and lipsticks) really pop against your skin. Of course, there’s a huge range of varying undertones, but for a quick guide, try this:
Skin undertones explained
Warm means your skin has golden, yellow undertones.
Cool means there is a blue or pinkish tone to your skin.
Neutral is when you have a combination of both warm and cool tones.
To find your undertone, try taking a look at your wrist: if your veins are greenish in colour, you’re probably warm. If they’re blue, you’re cool. If you see a mix of the two, you’re most likely neutral. There’s also the T-shirt test: pop on a white top, or hold a piece of white paper up to your face. If your skin looks yellowish, you’re warm. If it goes rosy, you’re cool. If it stays the same, you’re neutral.
Step 2: pick your blush shade
Undertone identified, it’s time to use that to pick your blush colour. Generally, warm undertones suit orange or red-based blushers best, while cool undertones suit bluish, pink-based blushes (note the link between your skin’s and the blusher’s base tones). And as for those with neutral undertones, well you suit just about anything, you lucky things.
It’s important to note that this doesn’t mean you’ll be walking around with bright orange or blue cheeks, unless that’s your vibe. Undertones are super subtle (which is why it’s so easy to get your shade wrong), so both warm and cool types can still wear a wide range of blush hues, just in slightly different shades.
But if you’re new to the blusher-matching game and are stood in the middle of Boots with no idea where to begin, here’s the one tip that saves me, every time: pinch your cheek for 5-10 seconds to get that blood flowing to the surface, then find a blush that matches the rosy hue for a super natural, flattering flush.
Step 3: find your formula
Finding a formula that suits your skin type is also key to long-lasting makeup. So if you have dry skin, opt for cream or gel-based blushers and tints – they’re a makeup artist favourite. “I am loving using cream formula blushers in my kit as they are really blendable and buildable,’ says Bobbi Brown. “Plus, they’re great in the winter months to keep skin hydrated and don’t feel drying.”
For oily or combination skin, powders are a good go-to. But, Brown adds, don’t feel restricted to just one formula: “If you have a more oily complexion, creamy stick formulas can help accentuate areas of glow.” In short, if you prefer more of a radiant finish (more on this later), you may want to opt for a cream or a liquid, regardless of skin type.
There’s also the option to mix up your formulas: “Using a cream blush then setting with powder blush in a similar tone will add dimension to your cheeks while locking in your blush colour until you wash it off,” says makeup artist and founder of Vieve, Jamie Genevieve. “Layering products in this way works for every makeup step,” she adds.
As for the finish, it depends on your desired effect. “I like to use shades that don’t have glitter or sparkle as it gives a nice amount of glow that looks natural, dewy and healthy – a great option for those no makeup makeup days when you just want a subtle perk,” says Brown. However, for all-out evening glam, a little sparkle can go a long way – just be sparing with your application.
Step 4: choose your tool
Unsurprisingly, the tool you use depends on your blush formula. Lightly tap on creams, tints or gels using fingers for a natural finish. You can also dab them on using a damp sponge, and if brushes are your thing, stick to a super compact, dense buffing-style brush to blend away liquids, creams, or gels.
For powders, a fluffy brush is key. Use sweeping, circular motions to gently buff colour onto skin. “Apply sheer layers and build up for your desired intensity. It’s easy to add product but taking it away can be tricky,” says Genevieve.
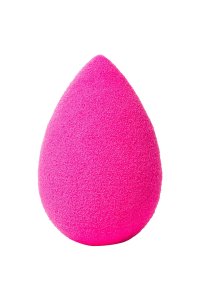
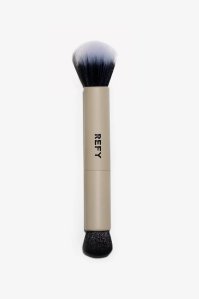
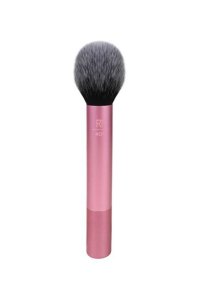
*Eliza may earn commission on sales from these product links
Step 5: consider your application technique
So, you’ve identified your undertone, chosen your hue, picked your formula and are armed with the tools to apply – but where to put your blusher?
“Gone are the days where ‘apples of the cheeks’ were the rule for blush application,” says Genevieve. “We’re all looking at our individual face shapes to see how we can enhance features.” Here are three methods to try for a modern twist on blush…
For an everyday flush: start with the apples-of-the-cheeks method, applying product where you’d naturally blush. Then, for added cuteness, Tiktok’s application method of the moment comes into play: try dabbing any leftover colour across the bridge of your nose (and even a touch on your chin), blending well for a fresh-faced finish. This look pairs perfectly with a few faux freckles (or real, if you’re blessed) for a summery glow.
For a subtle sculpt: apply just under your cheekbones, from about halfway up, blending upwards and outwards for gentle definition without needing to fully contour. “Using your blush along the tops of cheekbones and temples gives a youthful lift to the face – this has definitely been the most popular technique lately,” says Genevieve.
For evening glamour: focus on the tips of your cheekbones, working the blush up towards your forehead for a little Eighties-inspired drama. Vivid colours work especially well, and formulas with added shimmer are perfect for this look – the bolder, the brighter, the better.
Ready to put these tips into practice? These are the 6 best formulas to try now…
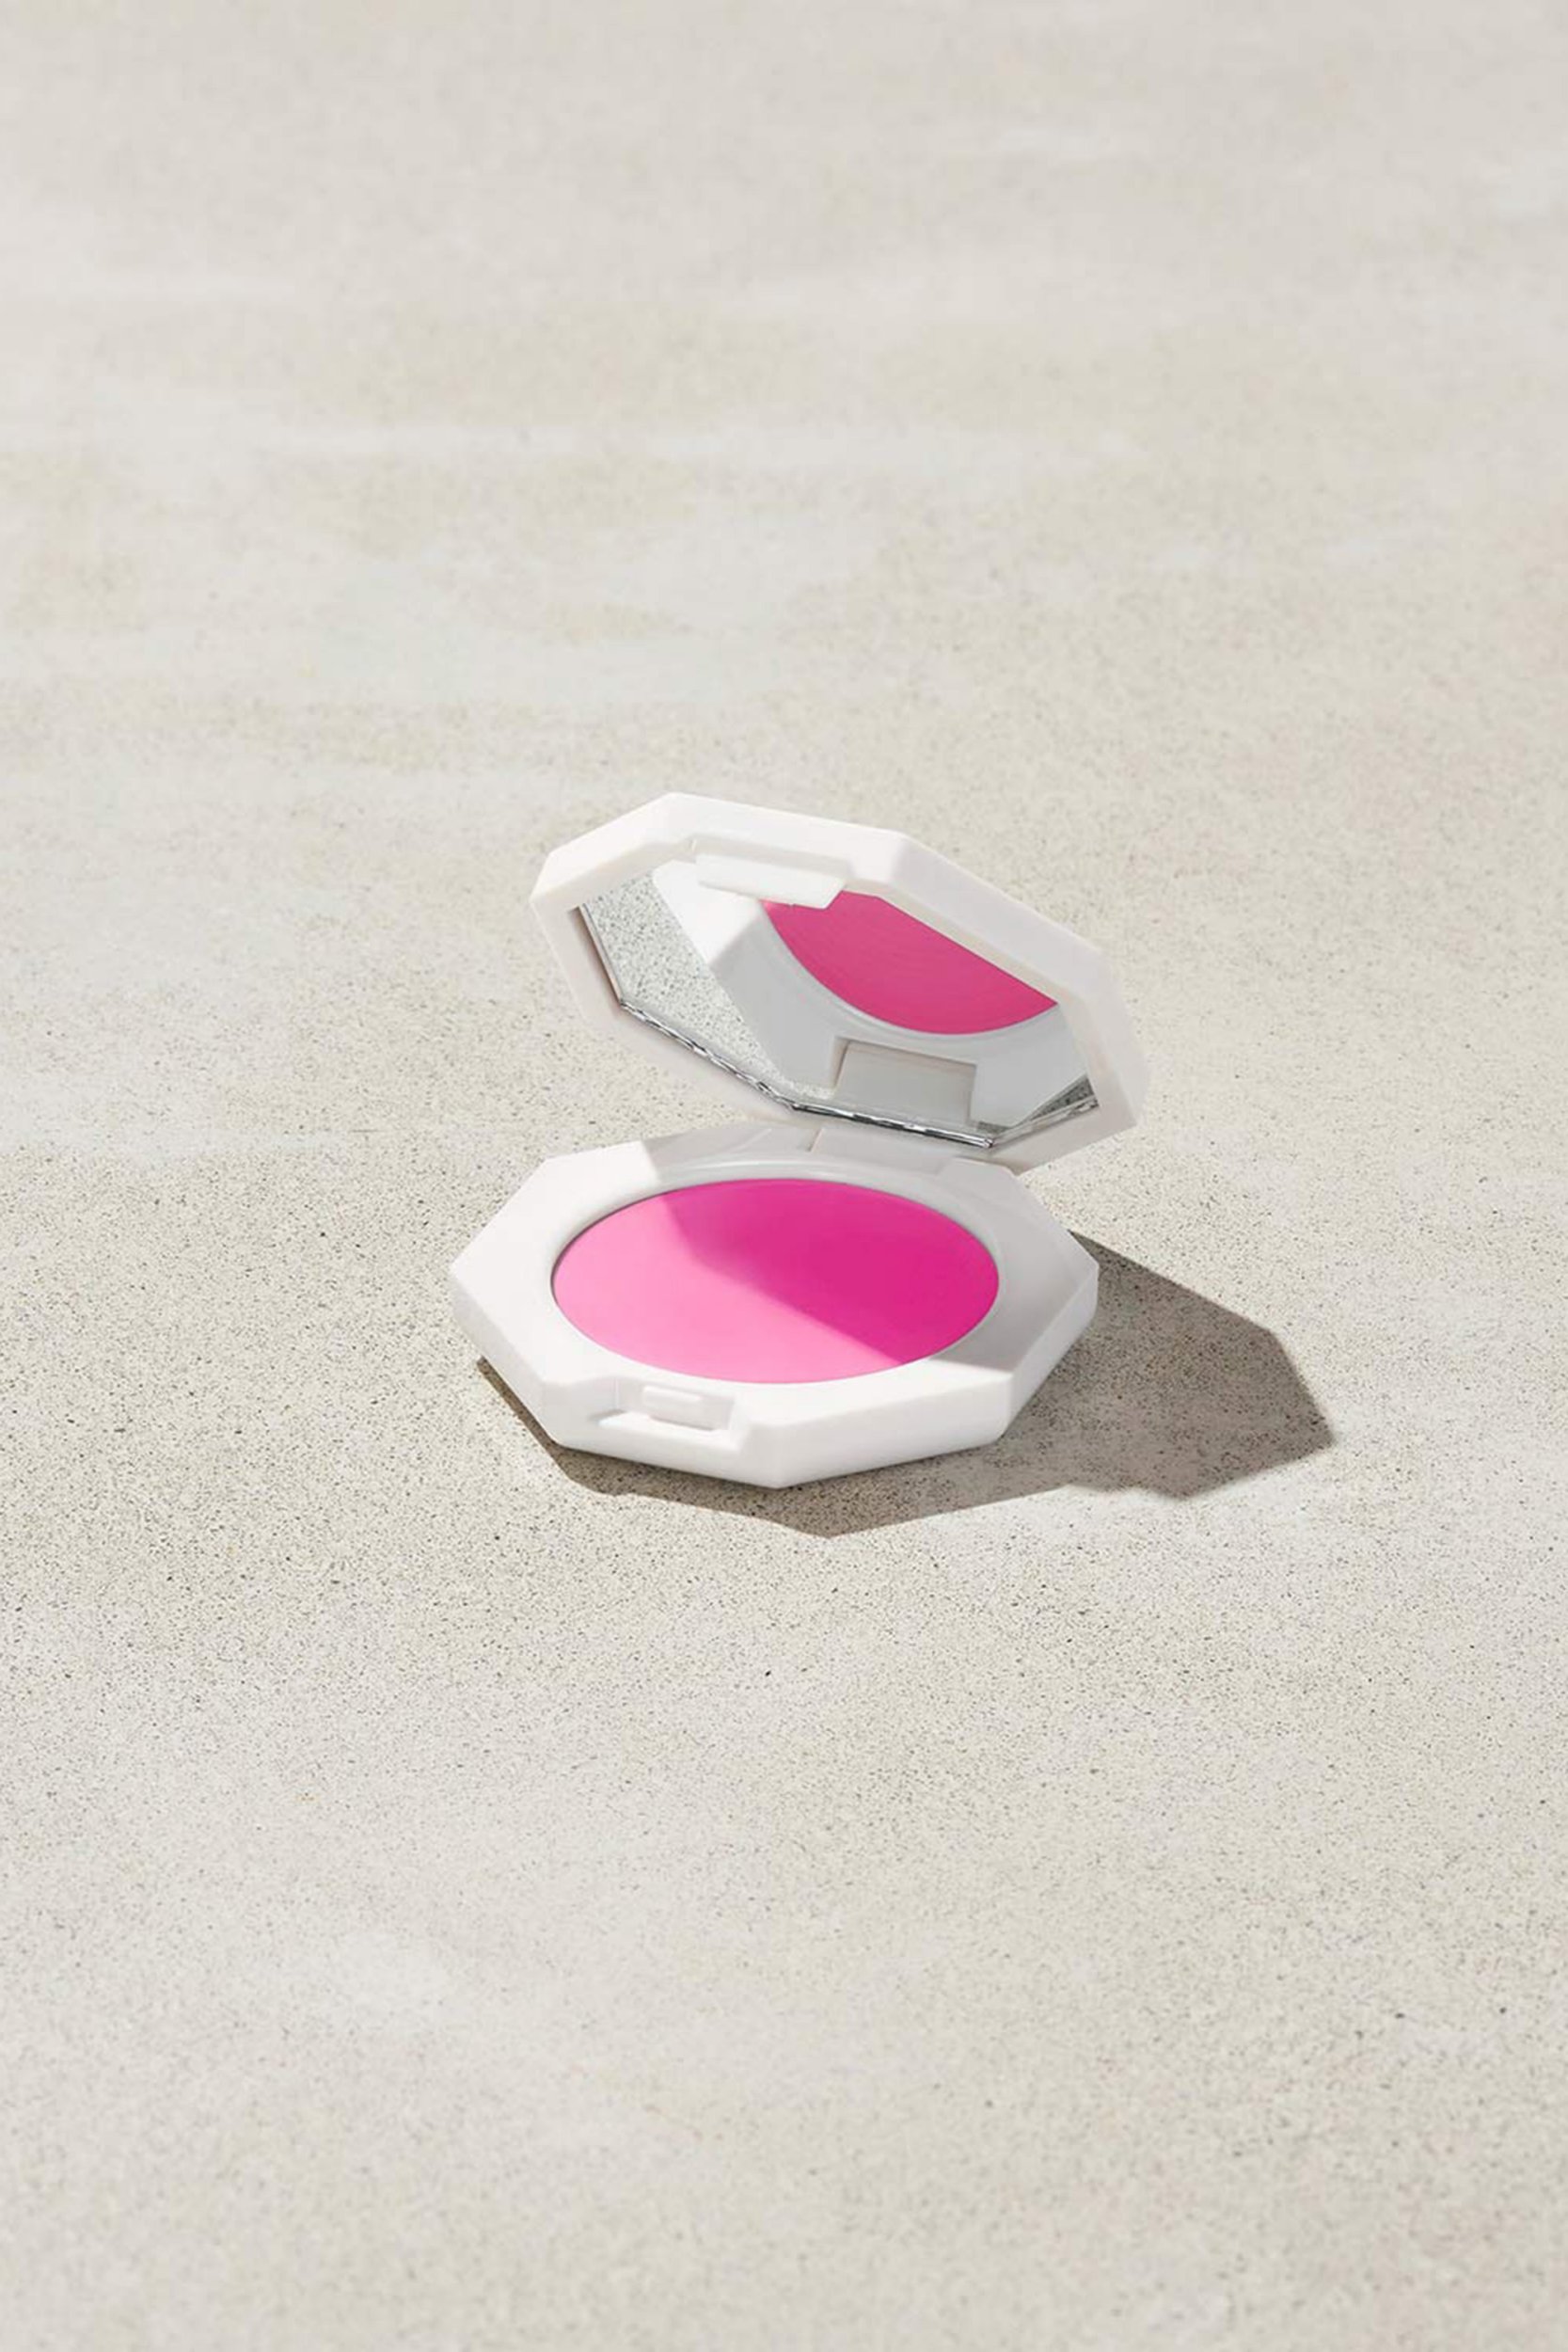
The cream blush: Fenty Beauty Cheeks Out Freestyle Cream Blush
Anything Rihanna-approved instantly gets a yes from me, and when put to the test, these cream blushers really do deliver. The 10 shades might look very bold, but one swipe across your cheeks will reveal a sheer, buildable formula, so you can tailor the colour intensity to suit you (without disturbing any makeup you have on underneath). Plus, it’s sweat- and water-resistant, meaning it lasts all day. The dream.
Cool undertones, try: Cool Berry or Bikini Martini
Warm undertones, try: Fuego Flush or Daiquiri Dip
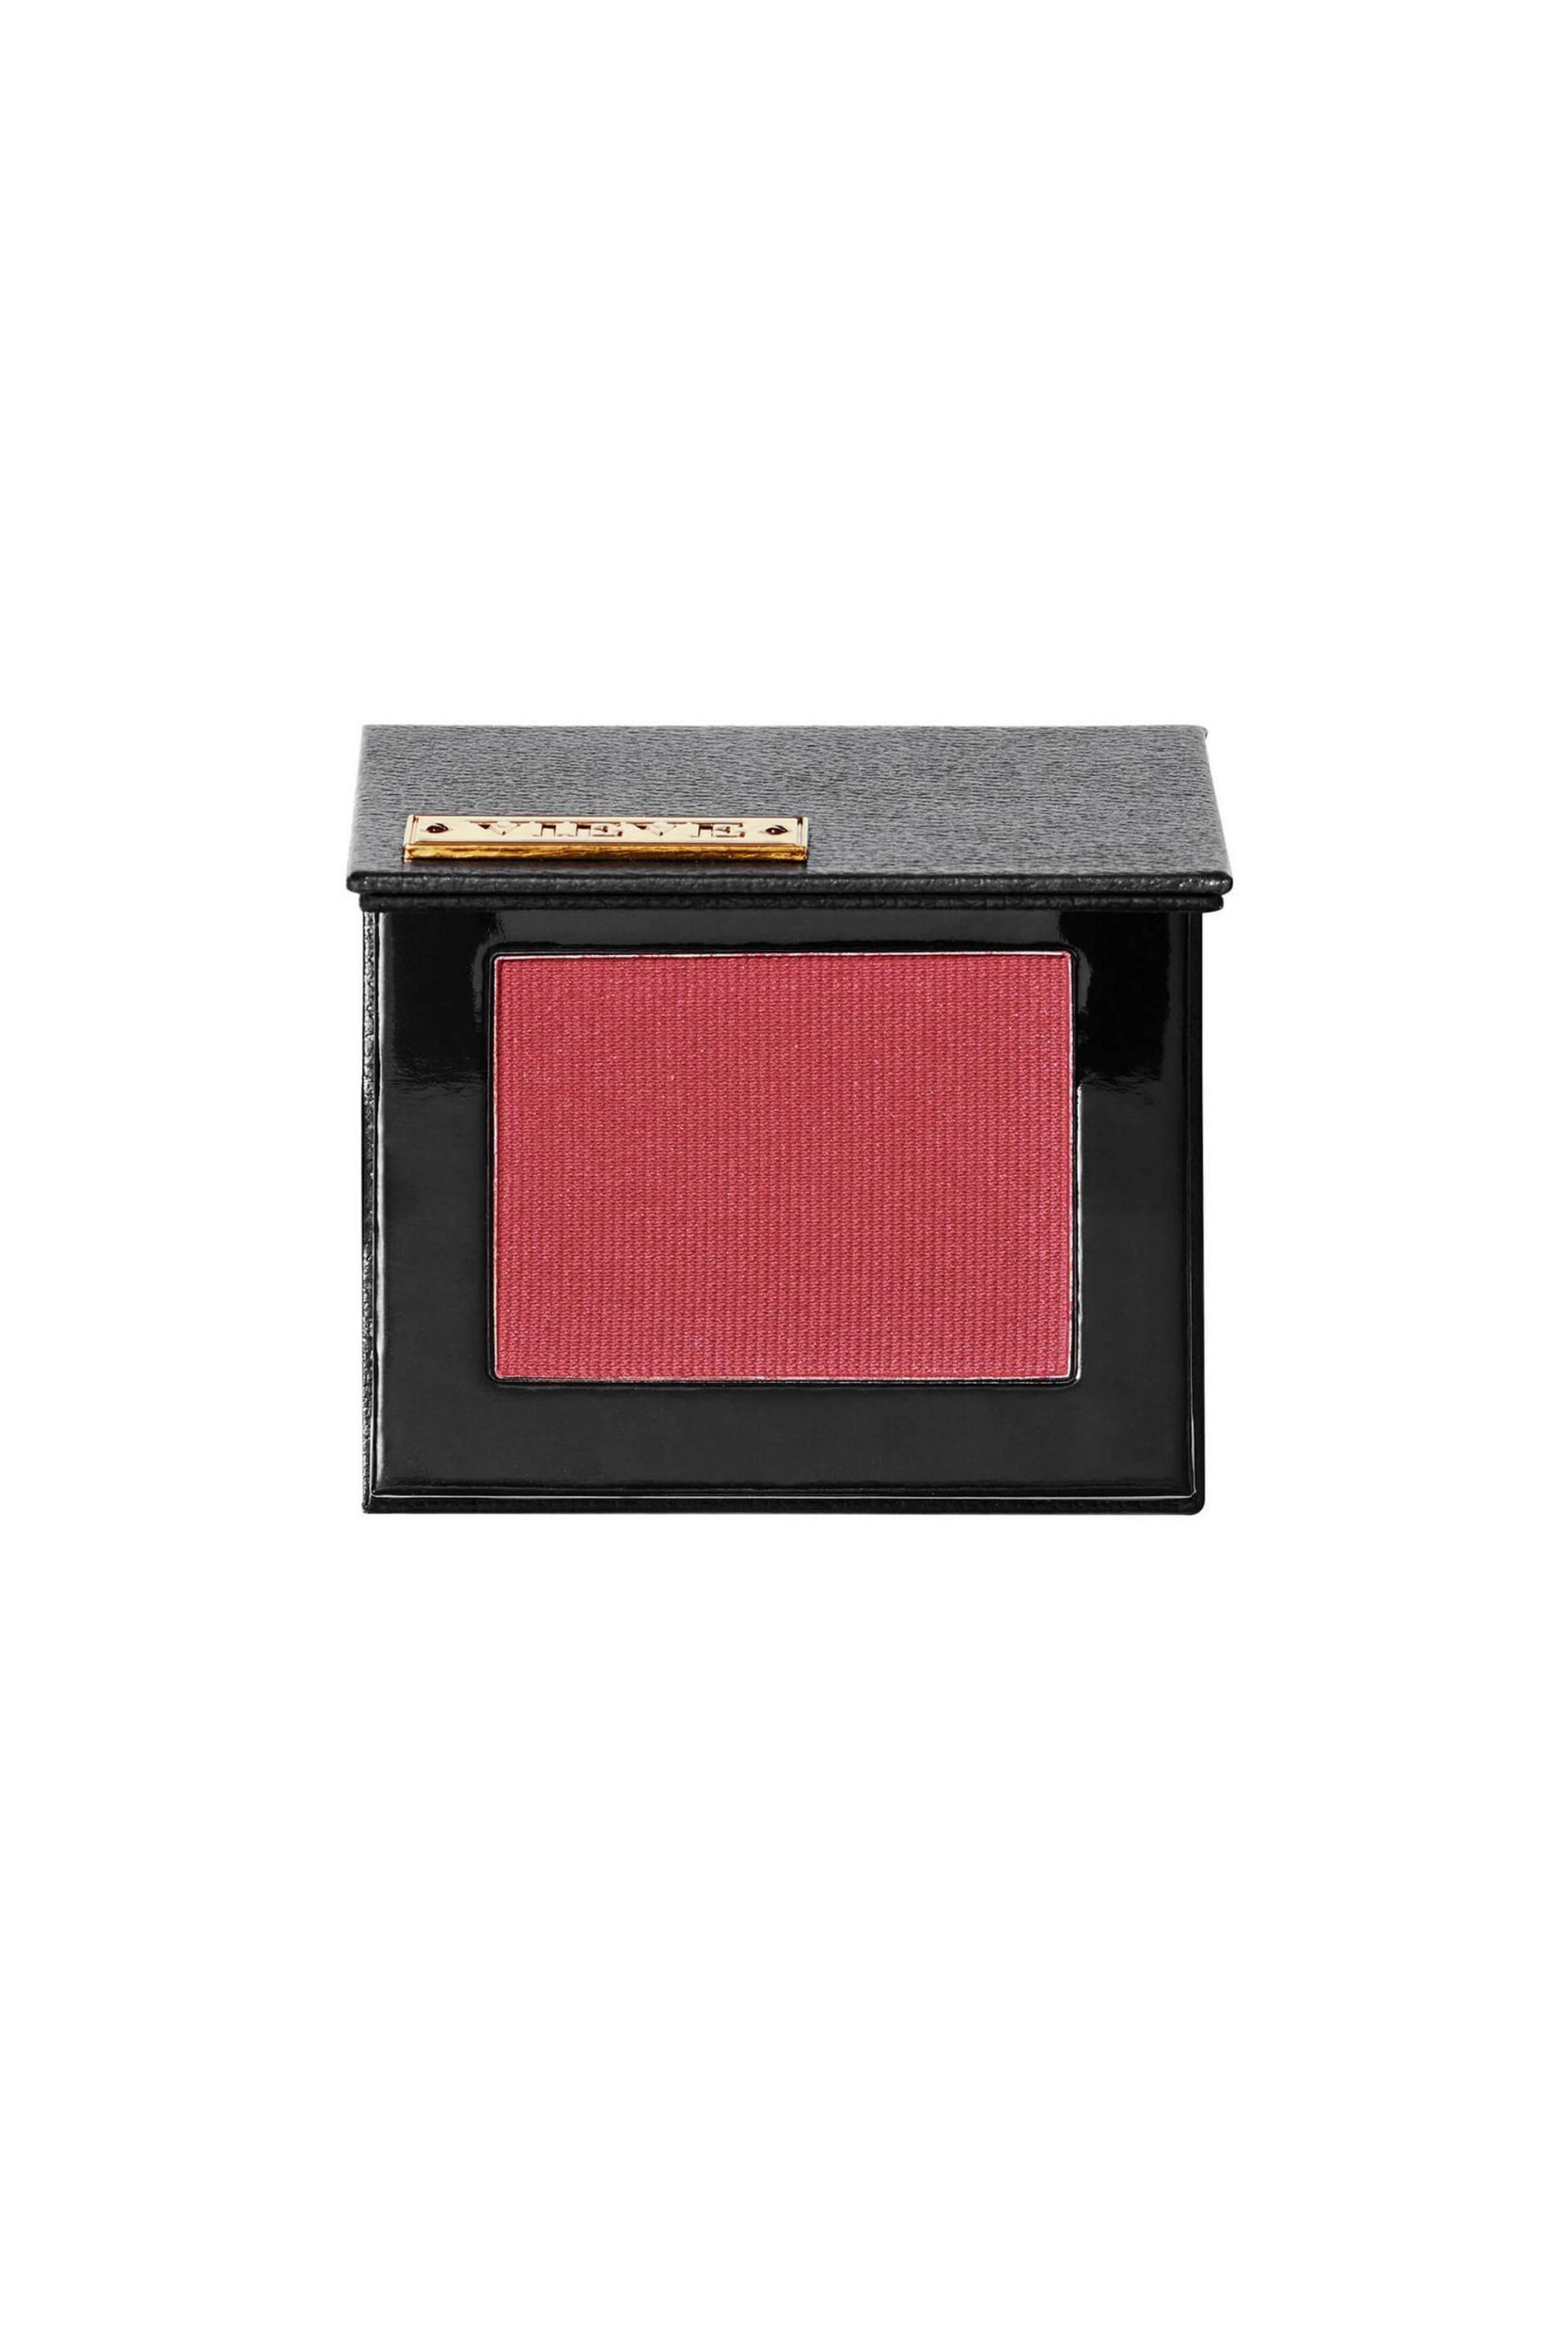
The powder blush: Vieve Sunset Blush
Five shades go a long way, with Vieve’s now-cult powder formula; the finely milled pigments offer major colour pay-off. How to balance out the bold hues? I’ll let the brand’s founder share her method: “Take a tiny amount of blush and apply over your temples, eyes, nose and chin – it sounds scary but it lifts the complexion so much and really ties in your whole look,” says Genevieve.
Cool undertones, try: Cherub
Warm undertones, try: Malbec
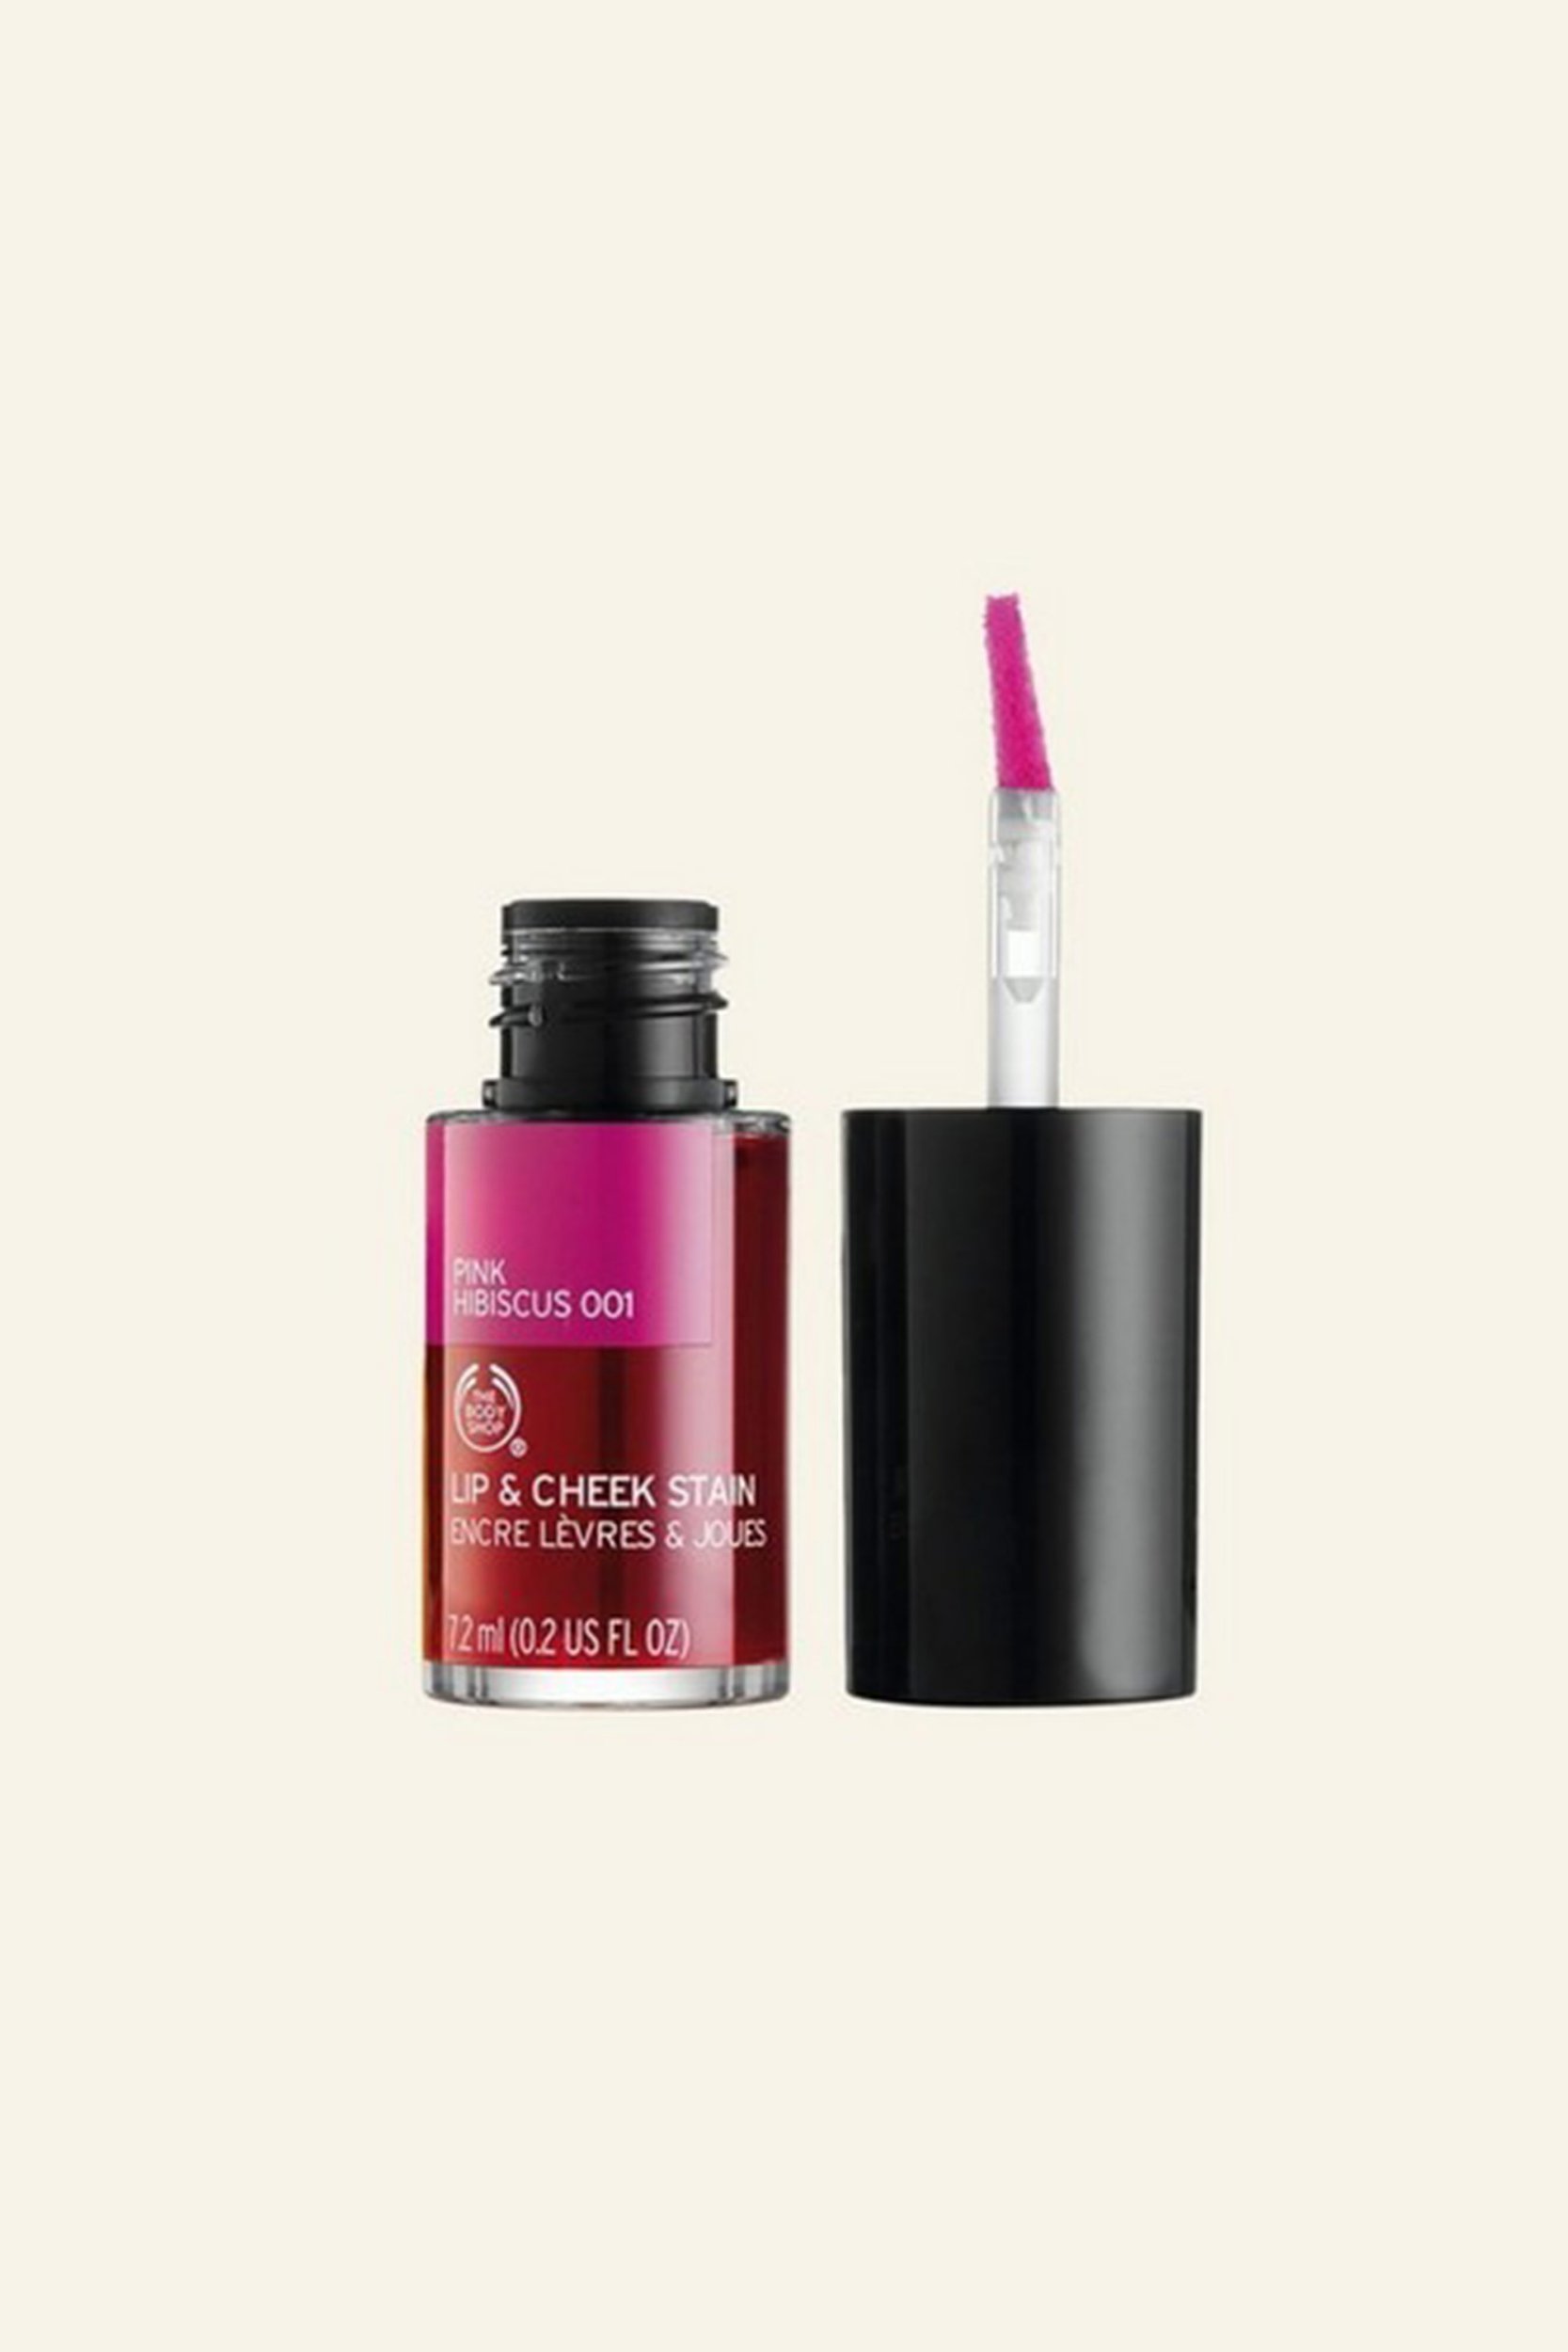
The cheek tint: The Body Shop Lip & Cheek Stain
A budget-friendly multitasker that provides a gorgeous wash of colour, 12 hours of moisture and, in true Body Shop style, is vegan-friendly: I’m sold. A couple of dabs across cheeks and you’re done – this also works really well on lips and doesn’t budge.
Cool undertones, try: Pink Hibiscus
Warm undertones, try: Sunshine Orange
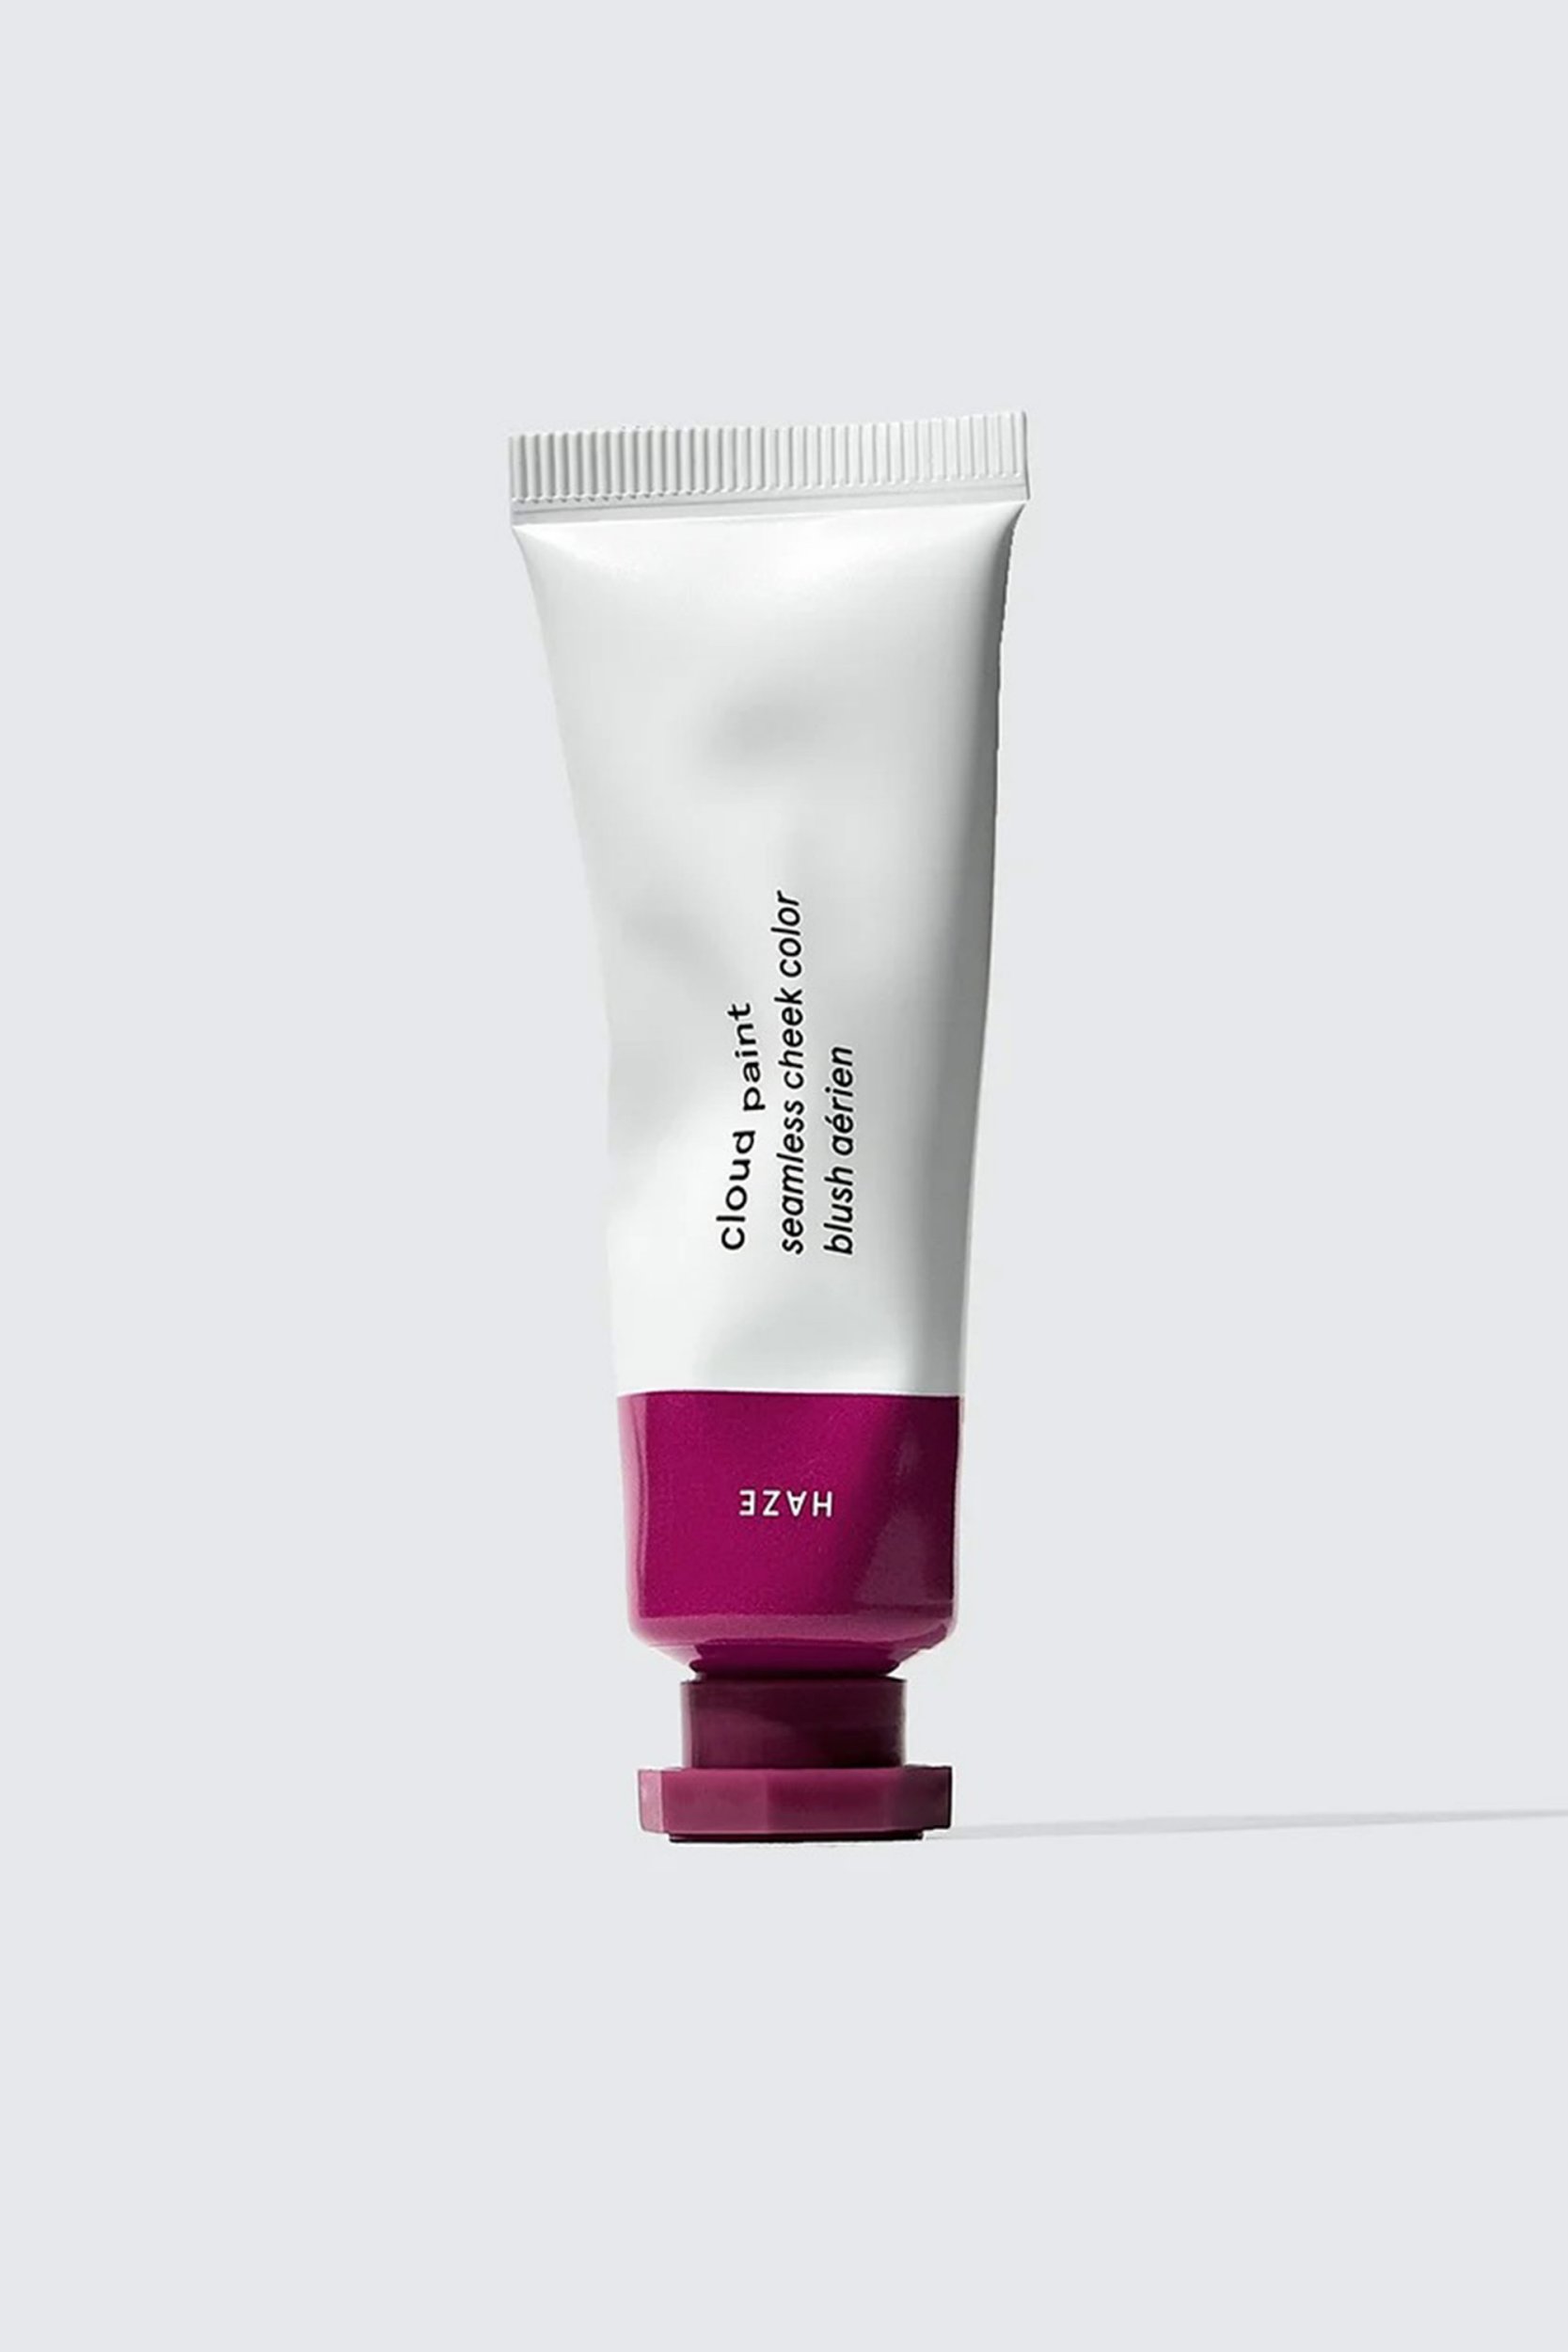
The gel: Glossier Cloud Paint
Of course, the cool-girl’s beauty brand delivers an easy-to-use, natural-looking blusher. Light as, well, a cloud, this gel-cream effortlessly blends into skin. Plus, it contains special blurring pigments for a soft-focus effect – so it glides over any uneven texture or pores.
Cool undertones, try: Haze
Warm undertones, try: Storm
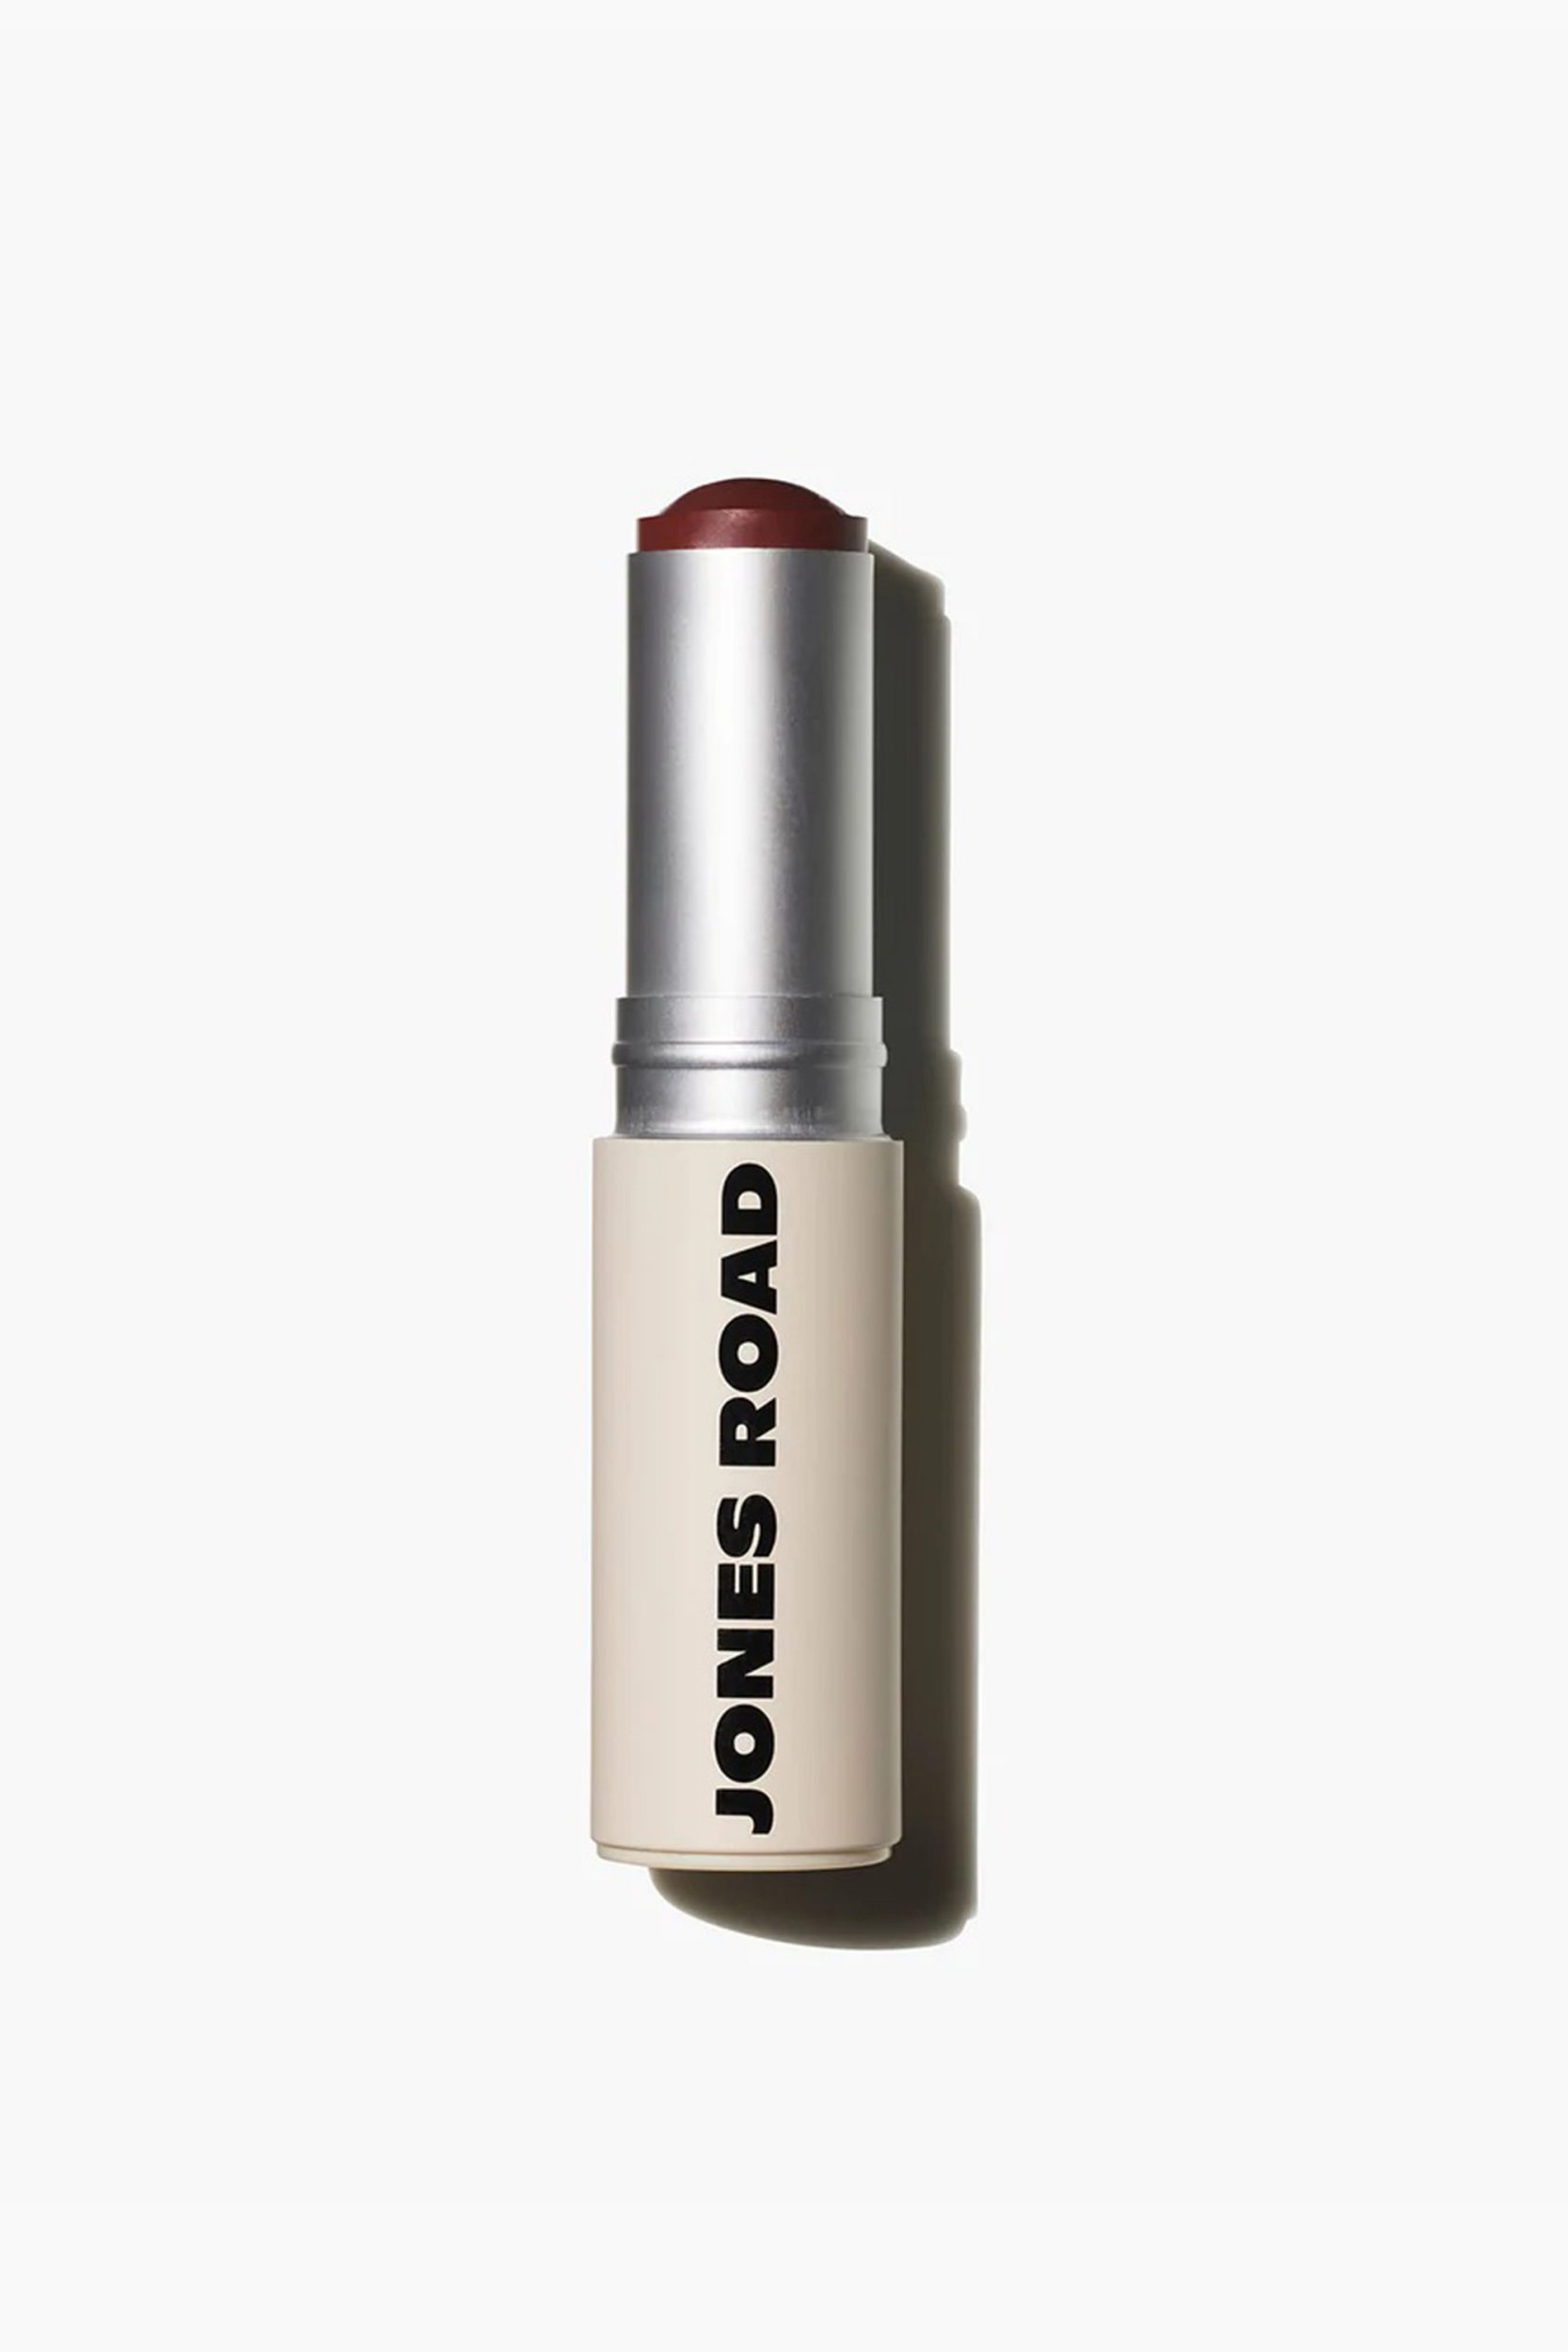
The do-it-all multitasker: Jones Road Lip and Cheek Stick
While this one might be at the higher end of your price point, don’t fear – its versatility means you’re getting maximum bang for your buck. It’s even in the name: it’s a blush/cheek tint, plus a lip balm and lipstick, all in one. Plus, it contains nourishing castor seed oil, which has vitamin E to boost collagen production and help reduce acne, hyperpigmentation and fine lines, and it comes in a handy stick for on-the-go application. Win, win.
Cool undertones, try: Mauve Rose
Warm undertones, try: Chocolate Mocha
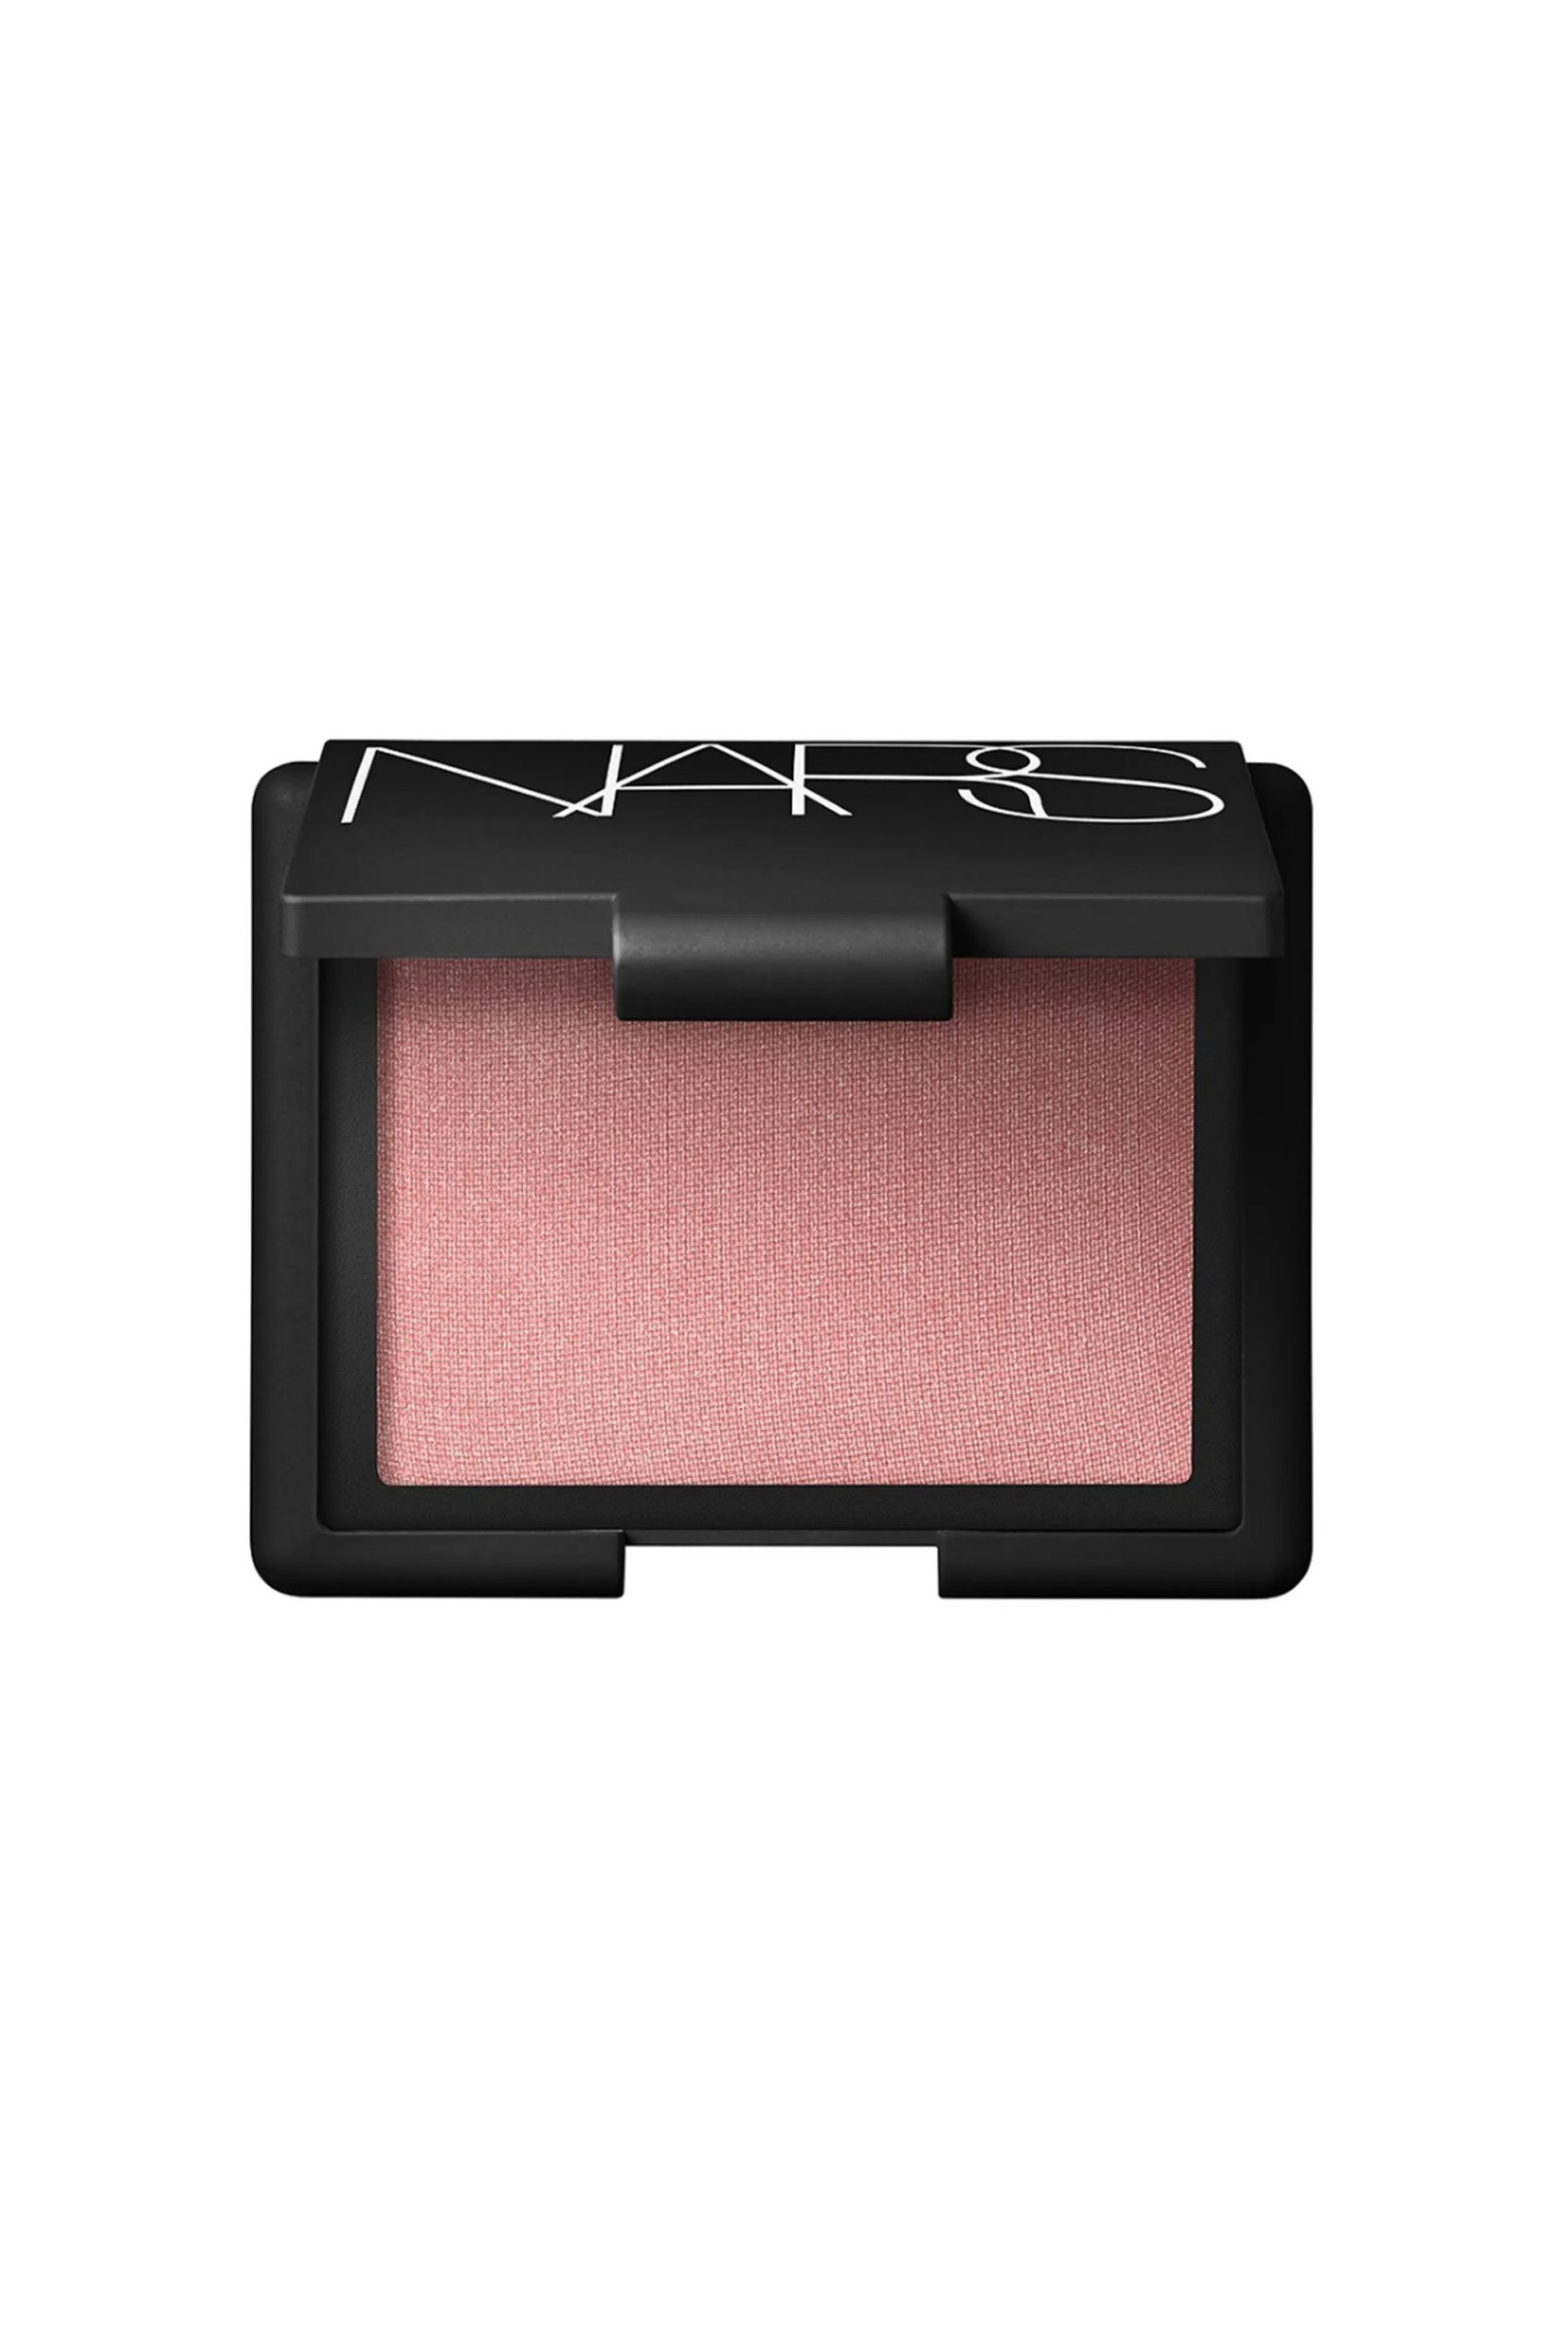
The subtle shimmer: NARS Blush, £25
Because what’s a blusher round-up without the UK’s number-one-selling blush brand? And for good reason. While you’re probably used to seeing its cult ‘Orgasm’ shade everywhere, the powder blush range actually extends to a brilliant 25 shades. Incorporating a mix of matte and glimmering finishes, its shimmering shades are where this blush really comes into its own. No need for highlighter; dust this powder formula across cheekbones for a lit-from-within glow.
Cool undertones, try: Bumpy Ride
Warm undertones, try: Taos
